


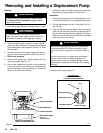
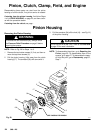


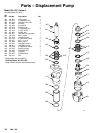
308-125 25
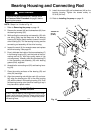
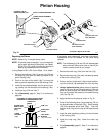
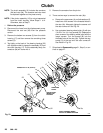
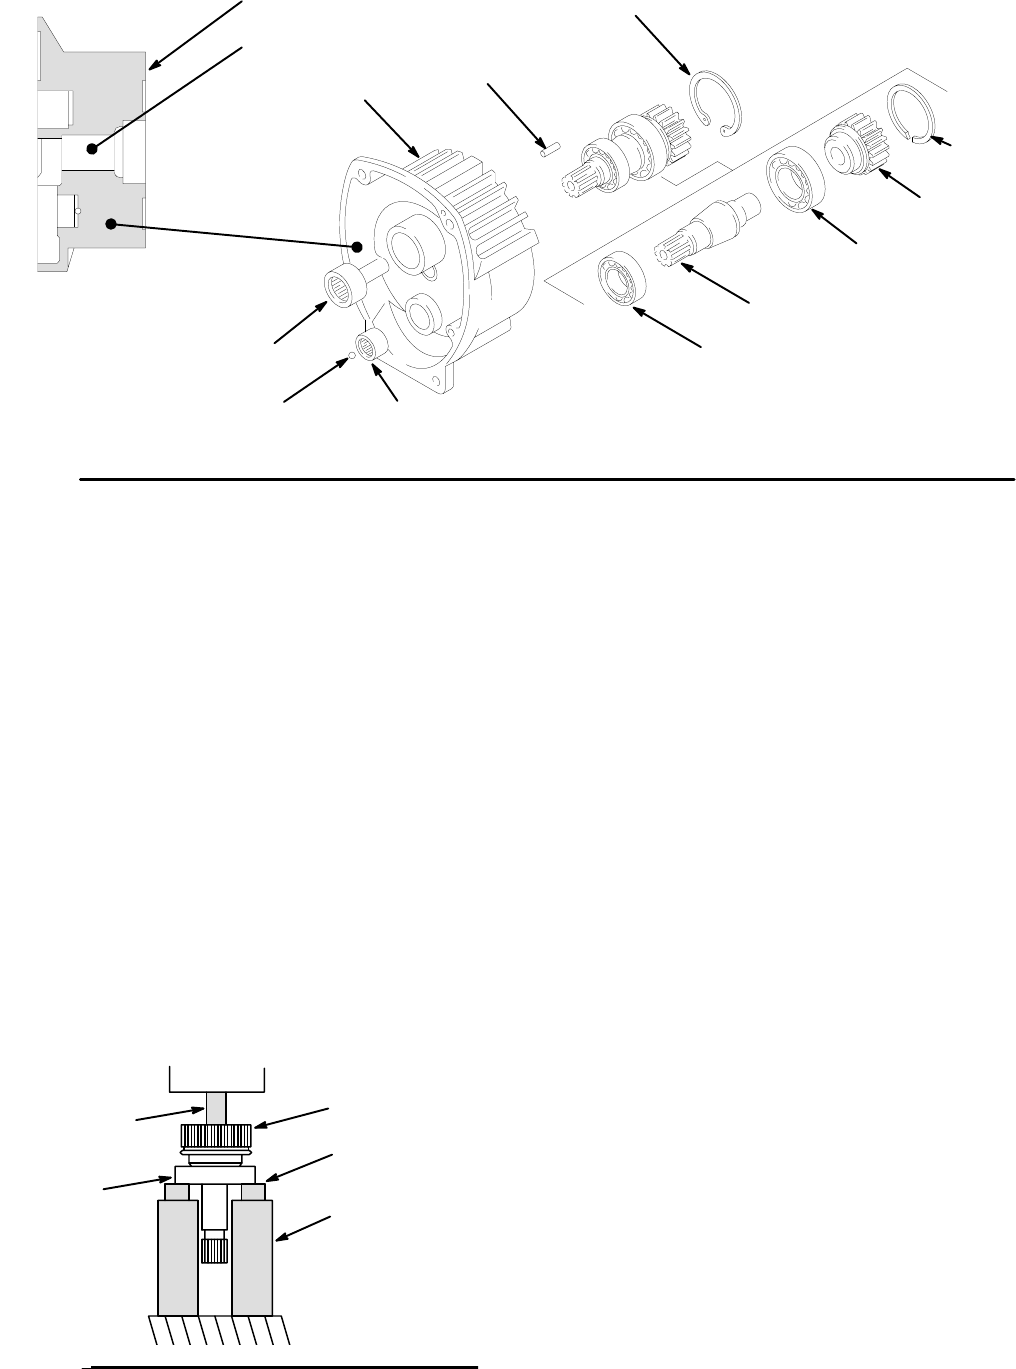
Pinion
Housing
0169
0041
19f**
Lubricate
inner and
outer diameters
19g**
Lubricate teeth
19h**
Lubricate inner and
outer diameters
19j**
19m**
19k
19b
19a
19c
Lubricate exterior
19c
Lubricate exterior
19d
BACK OF PINION HOUSING (19a)
PRESS PINION ASSEMBL
Y
IN HERE
CUTAWA
Y VIEW OF
PINION HOUSING (19a)
**Included in Repair Kit 221–032
Fig.
21
Repairing the Pinion
NOTE: Refer
to Fig. 21 except where noted.
NOTE: A
hydraulic press is required
if you purchase the
pinion parts individually.Otherwise, use Repair
Kit No. 221–032, which includes the shaft and
bearings
pre–assembled and lubricated.
If using Repair Kit 221–032, follow Steps 1 to 5, below
.
1. Remove
the small ring (19m**) from the hub (19j) and
the large ring (19k) from the bearing recess of the
pinion
housing (19a).
2. Push on the front of the shaft (19g**) to force the
bearing
and hub assembly out of the housing (19a).
3. Install the new shaft assembly into the pinion hous-
ing,
pushing it to the shoulder of the housing (19a).
4.
Install the rings (19k and 19m**).
5. Go
to
Reassembly
, page 31, Step 7, or continue on
page
26.
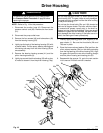
HUB
(19J)
STEEL BAR
STOCK
TWO STEEL
BLOCKS
(only one shown)
HYDRAULIC
PRESS
ROUND STEEL
BAR T
O PUSH
ON SHAFT
(19g)
LARGE
BEARING
(19h)
PLACEMENT OF STEEL BLOCKS WHEN
PRESSING OFF LARGE BEARING (19h)
0043
PRESS PLA
TFORM
Fig.
22
If purchasing parts separately, use these instructions.
Disassemble as far as needed for the parts being
replaced.
NOTE: The
old
bearings (19h and 19f) will be damaged
when
removed.
Have extra ones on hand if you
need
to remove them for any reason.
1.
Remove the small ring (19m) from the hub (19j).
2. Remove
the snap ring (19k) from the bearing recess
of
the pinion housing (19a).
3. Push
on the front of the shaft (19g) to force the bear
-
ing
(19h) and hub (19j) assembly out of the housing.
4.
Using a hydraulic press,
place pieces of steel bar
stock
on the inner race of the large bearing (19h) and
press the shaft through the hub and bearing. Then
turn over the shaft and press out the small bearing
(19f).
See Fig. 22.
5.
Apply lubricant to the parts as shown in Fig. 21.
6. Press fit the following parts: Large bearing (19h) to
the
large shoulder of the shaft (19g).
Small
bearing
(19f) to the shoulder of the shaft (19g). Hub (19j)
onto the shaft (19g) all the way to the large bearing
(19h).
7. Install
the shaft assembly
, pushing it
to the shoulder
of
the housing (19a).
8. Install the snap ring (19k). Install the small ring
(19m).
9. Go
to
Reassembly
, page 31, Step 7, or continue on
page
26.