-20-
G0444/G0444Z 10" Table Saw
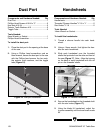
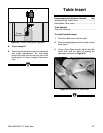
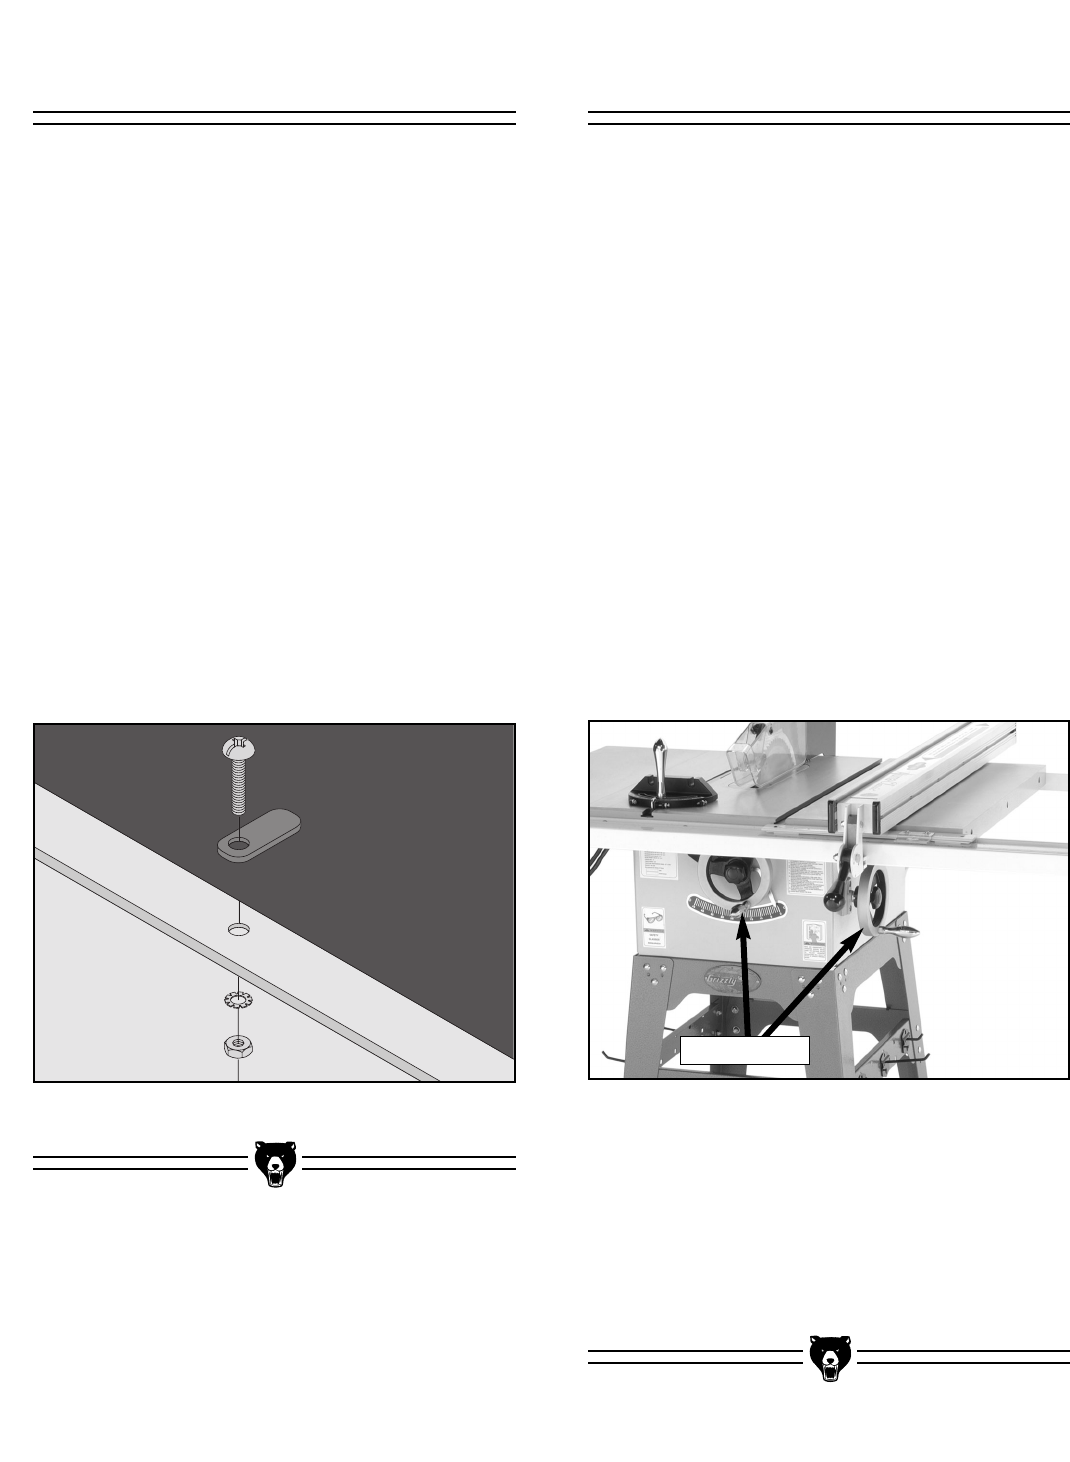
Figure 16. Dust port installation.
Components and Hardware Needed: Qty
Dust Port ............................................................1
Phillips Head Screws #10-24 x
5
⁄8" ....................2
Hex Nuts #10-24 ................................................2
Exterior Tooth Washers #10 ..............................2
Toggle Tabs........................................................2
Tools Needed:
8mm Wrench or Socket......................................1
Phillips Head Screwdriver ..................................1
To install the dust port:
1. Place the dust port in the opening at the base
of the saw.
2. Using a Phillips head screwdriver and an
8mm wrench, secure the dust port to the saw
with the Phillips head screws, the hex nuts,
the exterior tooth washers, and the toggle
tabs (Figure 16).
Components and Hardware Needed: Qty
Handwheels........................................................2
Threaded Chrome Handles
3
⁄8"-16 x
1
⁄2" ............2
Star Knobs
3
⁄8"-16 ..............................................2
Tools Needed:
14mm Wrench or Socket....................................1
To install the handwheels:
1. Thread a chrome handle into each hand-
wheel.
2. Using a 14mm wrench, final tighten the han-
dles on each handwheel.
3. Slide each handwheel over the threaded
shafts that protrude from the side and front of
the saw (Figure 17). Note—Align the keyway
on the back of each handwheel with the roll
pin on the threaded shafts.
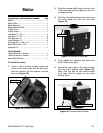
4. Secure the handwheels to the threaded shaft
with the star knobs (Figure 17).
5. Using the blade tilt handwheel, adjust the
trunnion assembly until the bevel scale reads
90˚.
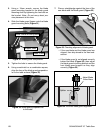
Figure 17. Installed handwheel.
Handwheels
HandwheelsDust Port


