G0460/G0461 12" Sliding Table Saw
-21-
Extension Tables
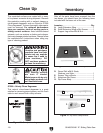
Components and Hardware Needed: Qty
Large Extension Wing .......................................
1
Small Extension Wing w/Set Screws ................
1
Support Leg w/Hex Bolt & Nut ..........................
1
Cap Screws M8-1.25 x 25
(Small Wing/Table) ............................................
2
Lock Washers 8mm (Small Wing/Table) ...........
2
Flat Washers 8mm (Small Wing/Table) ............
2
Cap Screws M8-1.25 x 25
(Large Wing/Table) ............................................
2
Lock Washers 8mm (Large Wing/Table) ...........
2
Flat Washers 8mm (Large Wing/Table) ............
2
Hex Bolt M10-1.5 x 45 (Leg/Large Wing) ..........
1
Lock Washer 10mm (Leg/Large Wing) .............
1
Flat Washer 10mm (Leg/Large Wing) ...............
1
To install the extension tables:
1. Make sure the set screws in the small exten-
sion wing do not stick out from the mating
surface.
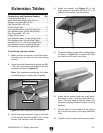
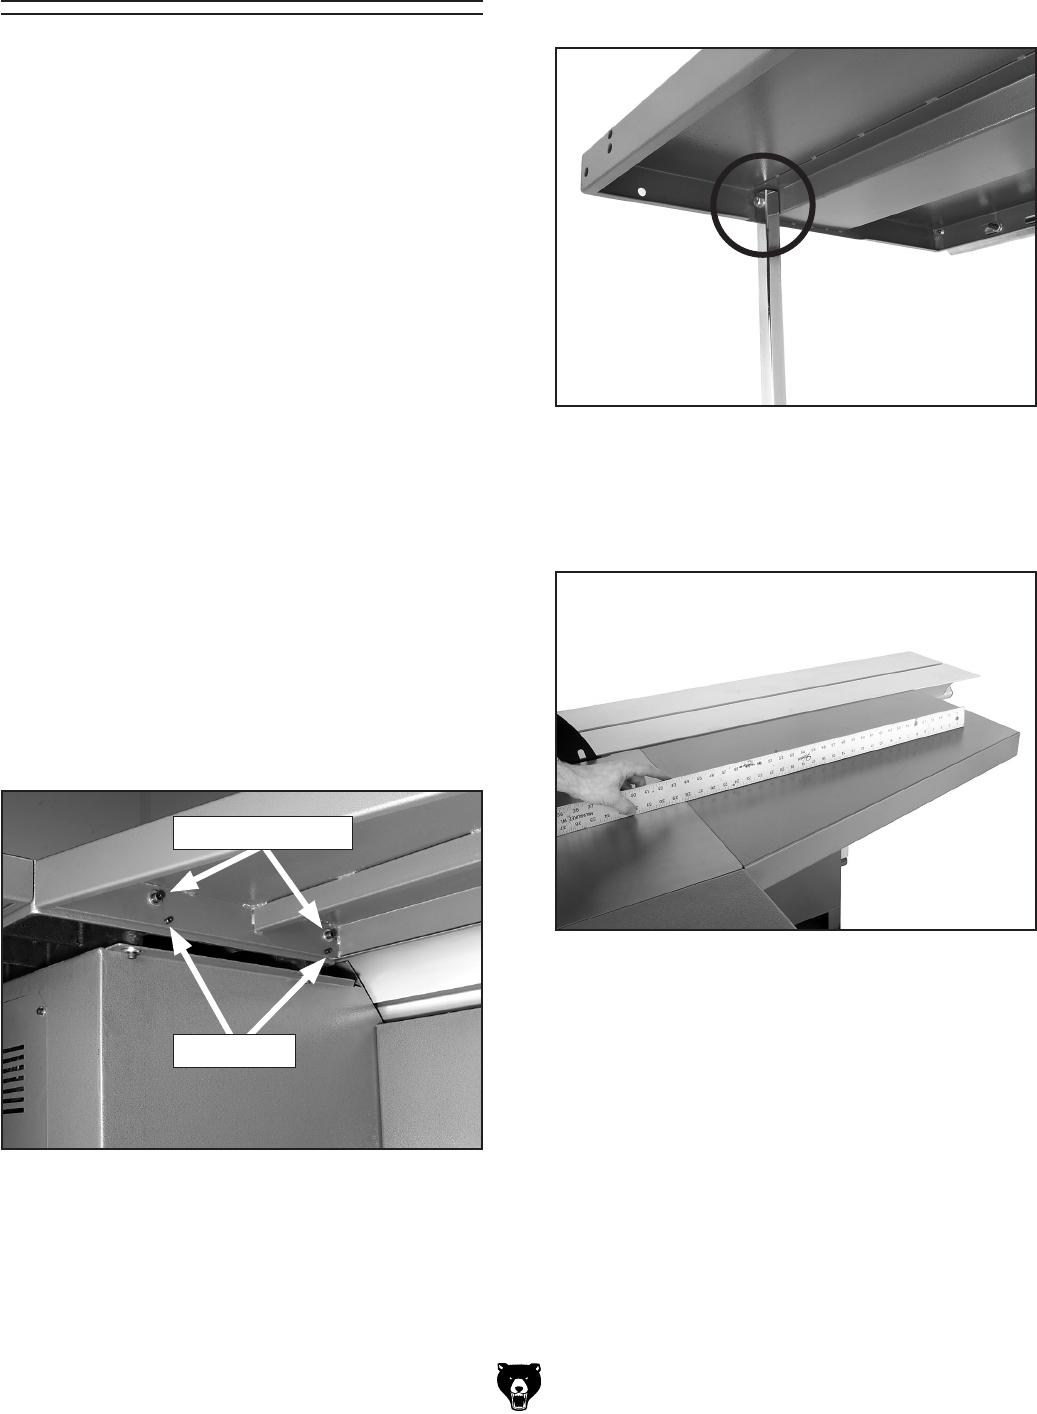
2. Attach the small extension wing with two M8-
1.25 x 25 cap screws, lock washers, and flat
washers as shown in
Figure 20.
Note: Get assistance positioning the tables
and holding them in place while installing.
3. Attach the large extension wing to the back
of the machine with the two M8-1.25 x 25 cap
screws, lock washers, and flat washers.
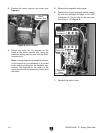
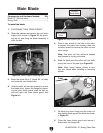
4. Attach the support leg (Figure 21) to the
large extension wing with the M10-1.5 x 45
hex bolt, lock washer, and flat washer.
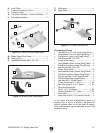
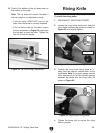
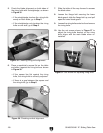
Figure 21. Support leg installed.
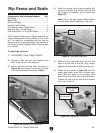
Figure 22. Checking with a straightedge.
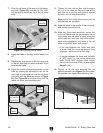
6. Adjust the set screws under the small exten-
sion wing to align it with the main table sur
-
face. (You may need to slightly loosen the
wing mounting cap screws to adjust the wing
position.)
7. Use the hex bolt in the bottom of the support
leg to level the surface of the large extension
wing.
8. Tighten all of the wing mounting cap screws.
5. Check the table surfaces with a straightedge,
as shown in
Figure 22, to ensure that they
are flush and even with each other.
Figure 20. Small extension wing attached.
Set Screws
Mounting Screws


