G0528 Sliding Router Table
-15-
Components Needed: Qty
Miter Fence ........................................................
1
Miter Plate ..........................................................
1
To attach the sliding table:
1. Secure the miter plate to the sliding table by
sliding the T-bolts into the table T-track.
2. Position the miter plate in the desired posi-
tion and tighten the threaded star knobs.
Note—Do not worry about precise placement
of the of the miter plate at this time.
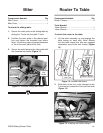
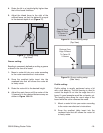
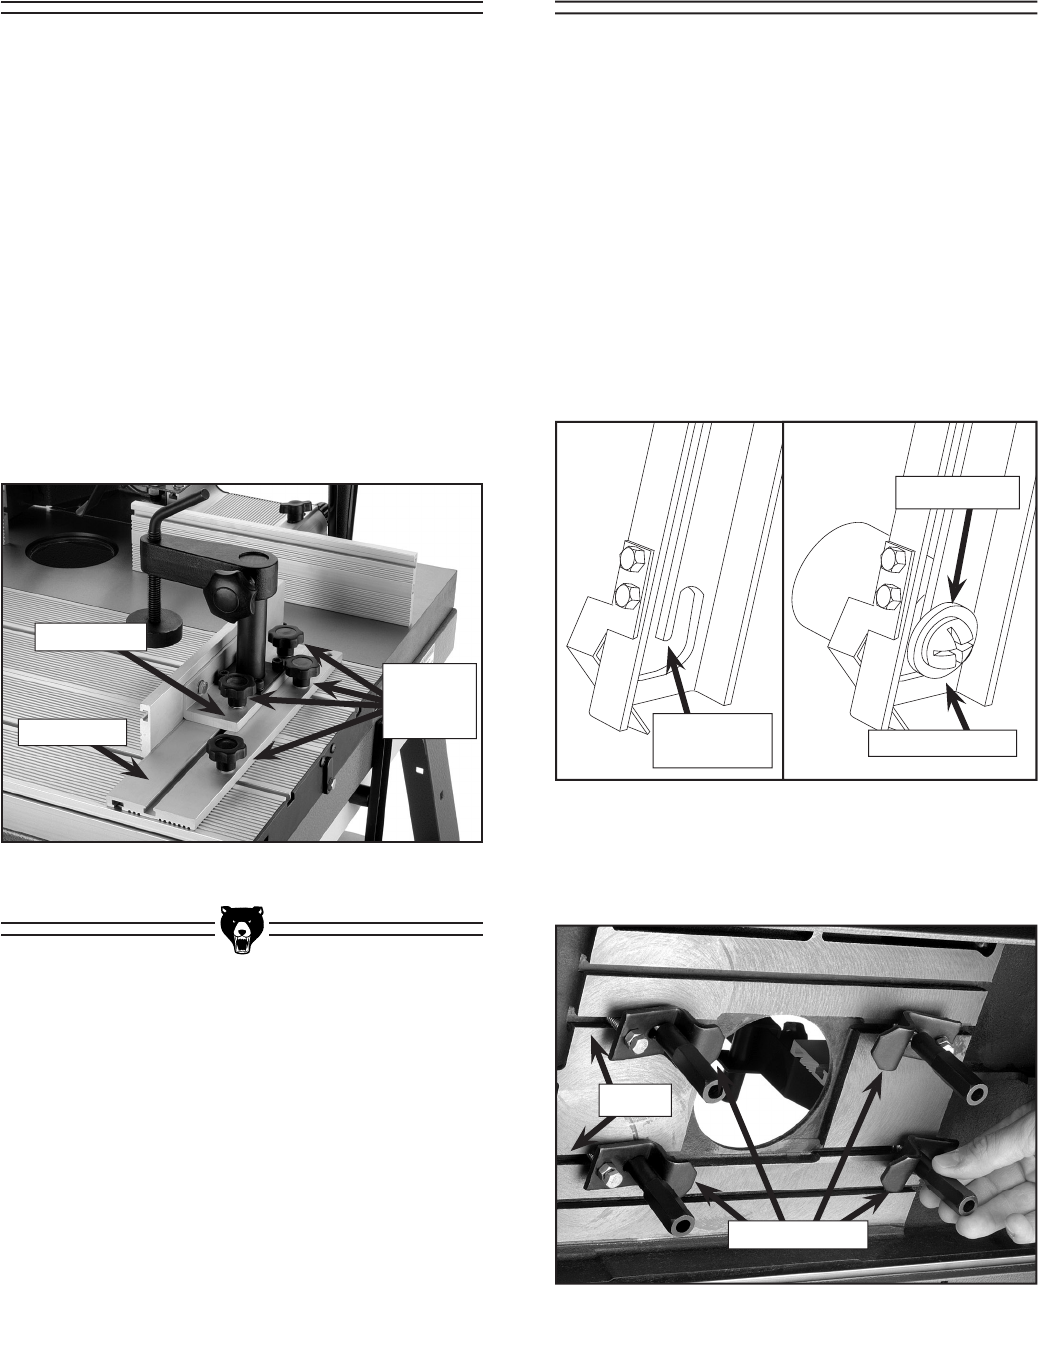
3. Secure the miter fence to the miter plate with
the threaded star knobs (Figure 11
).
Figure 11. Installed sliding table fence.
Miter Plate
Miter Fence
Threaded
Star
Knobs
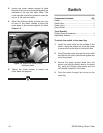
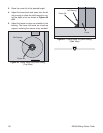
Figure 12. Locked table brace.
Components Needed: Qty
Router Clamps ...................................................
4
Tools Needed:
10mm Wrench ....................................................
1
14mm Wrench ....................................................
1
To attach the router to the table:
1. Lift the table assembly up and engage the
table braces on each side. Note—
Ensure
that the table brace lock tabs are engaged
completely around the lock screws (
Figure
12).
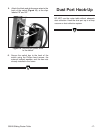
2. Slide each of the four router clamps into the
T-slots on the underside of the cast iron table
(Figure 13).
Figure 13. Installing the router clamps
Router Clamps
T-Slots
Router To TableMiter
Locked Position
Lock Screw
Table Brace
Lock Tab


