-40-
G0604 6" X 56" Jointer
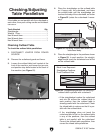
The fence stops simplify the task of adjusting the
fence to 45˚ inward, 90˚, and 45˚ outward (135˚).
Tools Needed Qty
45° Square ........................................................
1
90° Square ........................................................
1
Sliding Bevel ......................................................
1
Wrench 10mm ...................................................
1
Hex Wrench 4mm ..............................................
1
To set the 45˚ inward fence stop:
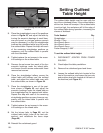
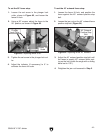
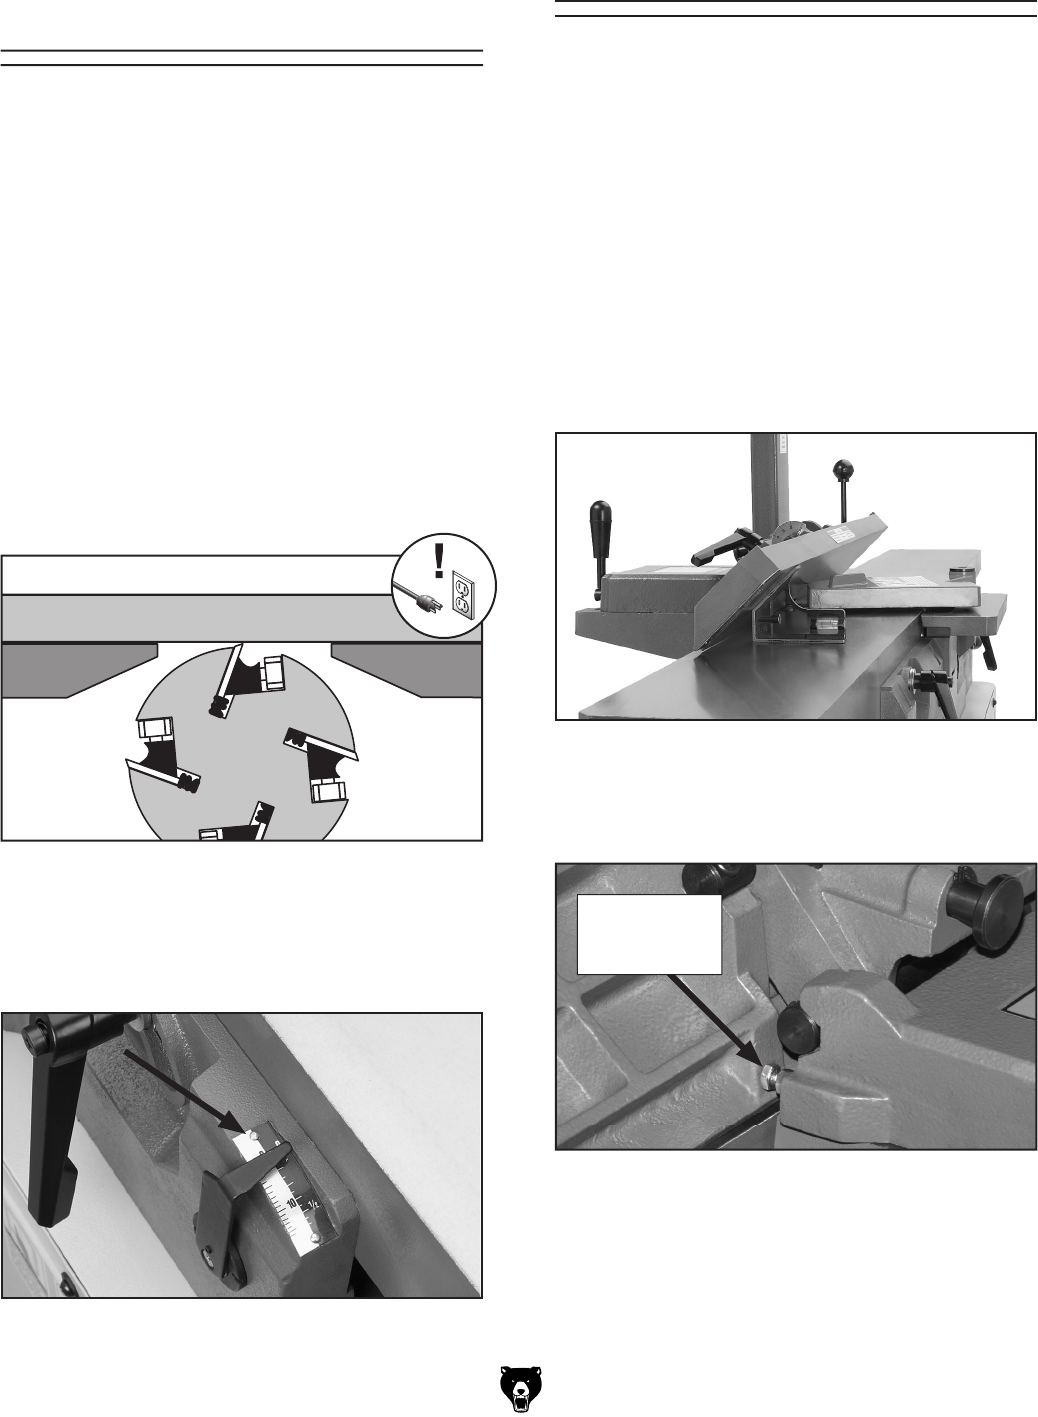
1. Tilt the fence approximately 45° inward
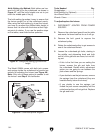
(Figure 61) onto the positive stop bolt.
3. Adjust the positive stop bolt until the fence is
exactly 45° inward while resting on the bolt
(verify the angle with a 45° square)
.
4. Retighten the jam nut loosened in Step 2.
Setting Fence Stops
Figure 61. Fence adjusted 45˚ inward.
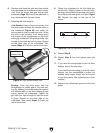
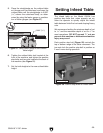
2. Loosen the jam nut on the 45° inward positive
stop bolt shown in
Figure 62.
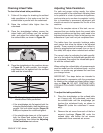
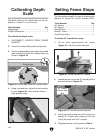
Figure 60. Depth scale adjusted to “0” position.
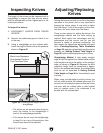
Figure 59. Infeed table even with outfeed table.
4. Using a screwdriver, adjust the scale pointer
to zero (
Figure 60), then reset the infeed
table positive stops.
The depth scale on the infeed table can be cali
-
brated or "zeroed" if it is not correct.
Tools Needed Qty
Straightedge ...................................................... 1
Phillips Screwdriver ...........................................
1
To calibrate the depth scale:
1. DISCONNECT JOINTER FROM POWER
SOURCE!
2. Loosen the infeed table positive stop bolts.
3. Use the straightedge to help adjust the infeed
table exactly even with the outfeed table, as
shown in
Figure 59.
Calibrating Depth
Scale
45° Inward
Positive Stop
Bolt
Figure 62. 45° inward positive stop bolt.


