-16- G1183/1276 Combination Sander
9. Test the tracking by cycling the machine on
and off very quickly. See if the belt stays
centered during this test cycle. If the belt
doesn’t remain centered on the rollers, it
must be adjusted further.
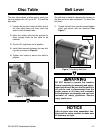
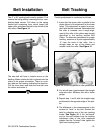
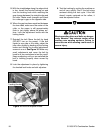
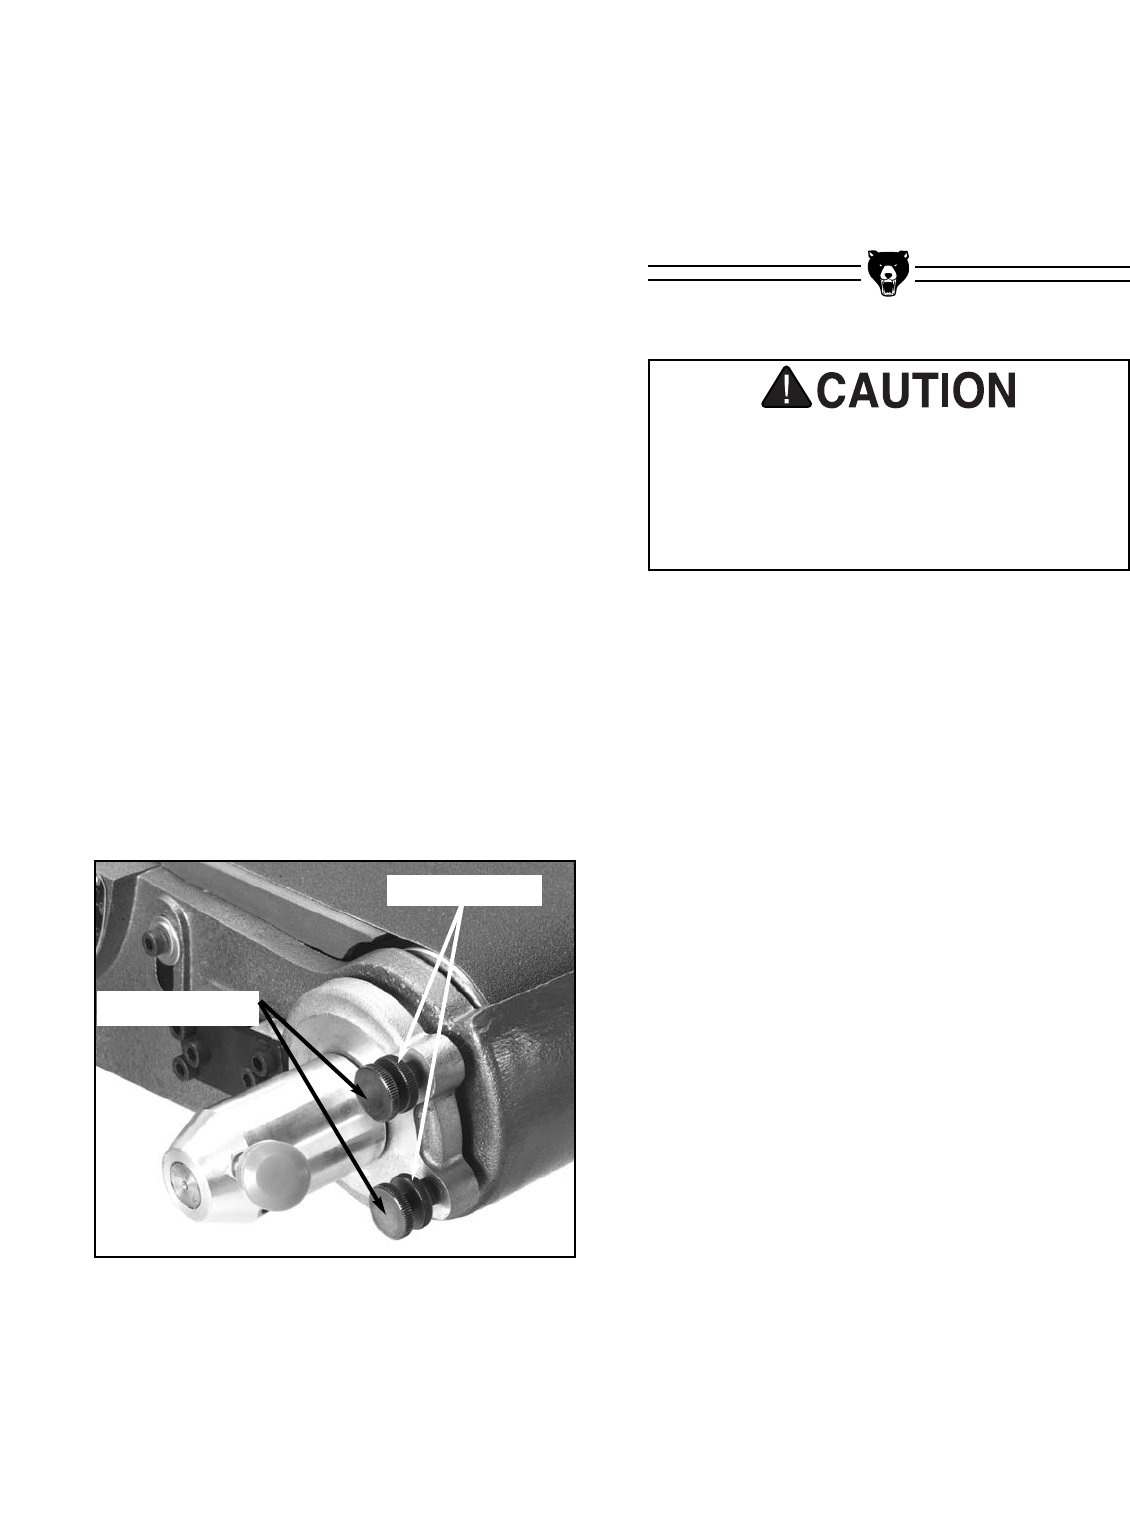
Figure 16. Belt arm adjuster knobs.
5. With the straightedge along the edge which
is low, loosen the knurled locking nut and
turn the tracking knob while watching the
gap change between the straight edge and
the roller. Make small changes and check
for a change in gap on the opposite side.
6. When the gap has been equalized between
the two sides, make sure the center of the
roller, or the crown, is still approximately
flush or just slightly above the platen sur-
face. Lock the adjustment knobs with the
locking knobs.
7. Reinstall the belt. Move the belt by hand
(DO NOT turn on the power). If the belt
tracks to one side or the other, adjust the
idler roller slightly by backing off the locking
knobs and turning the knurled adjustment
screws in or out. See Figure 16. Make very
small adjustments and move the belt by
hand for a few revolutions to test the result.
Keep readjusting until you are satisfied the
belt is tracking properly when moved by
hand.
8. Lock the adjustment in place by tightening
the knurled lock knobs on both adjusters.
Moving sanding discs and belts are danger-
ously abrasive. Use extreme caution when
working near sanding surfaces. Failure to
exercise care while sanding could result in
severe injury.
Tracking Knobs
Locking Knobs


