G8622 Tilting Spindle Sliding Table Shaper -17-
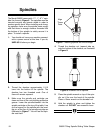
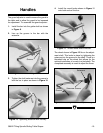
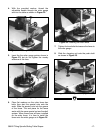
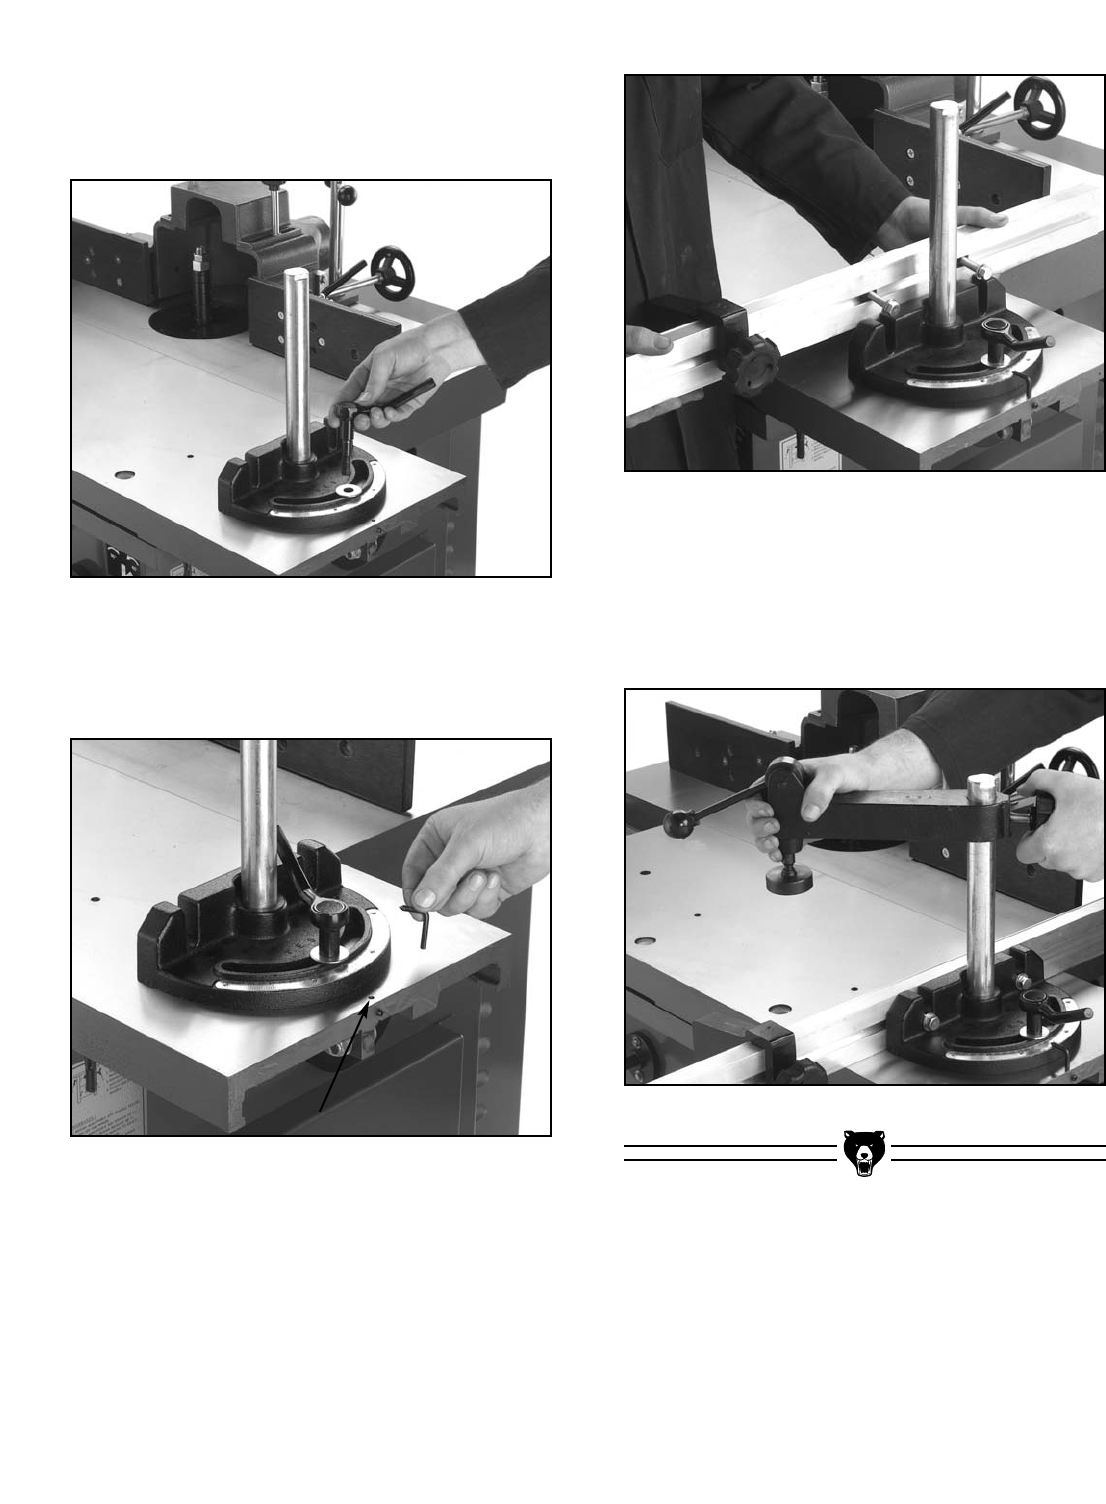
Figure 22. Installing the adjustable handle.
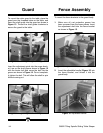
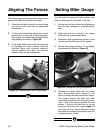
Figure 23. Installing the pointer.
4. With the provided washer, thread the
adjustable handle through the miter gauge
and into the table as shown in Figure 22.
5. Insert the the miter gauge pointer shown in
Figure 23, but do not tighten the nearby
setscrew at this time.
7. Tighten the hex bolts that secure the fence to
the miter gauge.
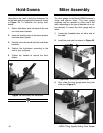
8. Slide the clamping unit onto the push shaft
as shown in Figure 25.
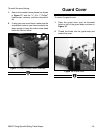
Figure 24. Installing the miter fence.
Figure 25. Installing the clamping unit.
6. Place flat washers on the miter fence hex
bolts, then start the special nuts onto the
ends. Slide the special nuts into the groove
of the fence. The end piece for the fence
works with the same special nut and hex bolt
system. When these have all been installed
on the miter fence, it is time to install the
fence onto the miter gauge as in Figure 24.


