


-10-
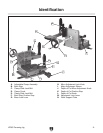
H7583 Tenoning Jig
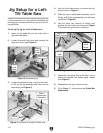
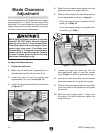
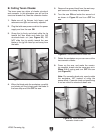
Figure 7. Guide bar locations.
Button
Head
Screw
Left-Tilt
Saw
Location
Right-Tilt
Saw Location
Jig Setup for a Left-
Tilt Table Saw
In this procedure you will partially dissemble the
tenoning jig and reassemble it for use on a left-tilt
-
ing table saw.
To set up the jig for a left tilt table saw:
1. Insert the jig guide bar into the miter slot in
the table-saw table.
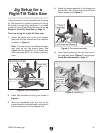
2. Loosen the small lock lever and remove the
large lock lever (see
Figure 5).
7. Reposition the guide bar to the other set of
holes and reinstall the button head screws
(see Figure 7).
8. Reassemble the jig in reverse order.
9. Go to Page 11, and perform the Guide Bar
Adjustment.
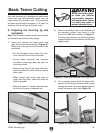
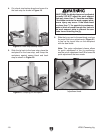
Figure 5. Assembled jig.
Small
Lock
Lever
Large
Lock
Lever
Set Screw
3. Loosen the pointer screw, and turn the point-
er 90º so the jig assembly and base can be
separated (see
Figure 6).
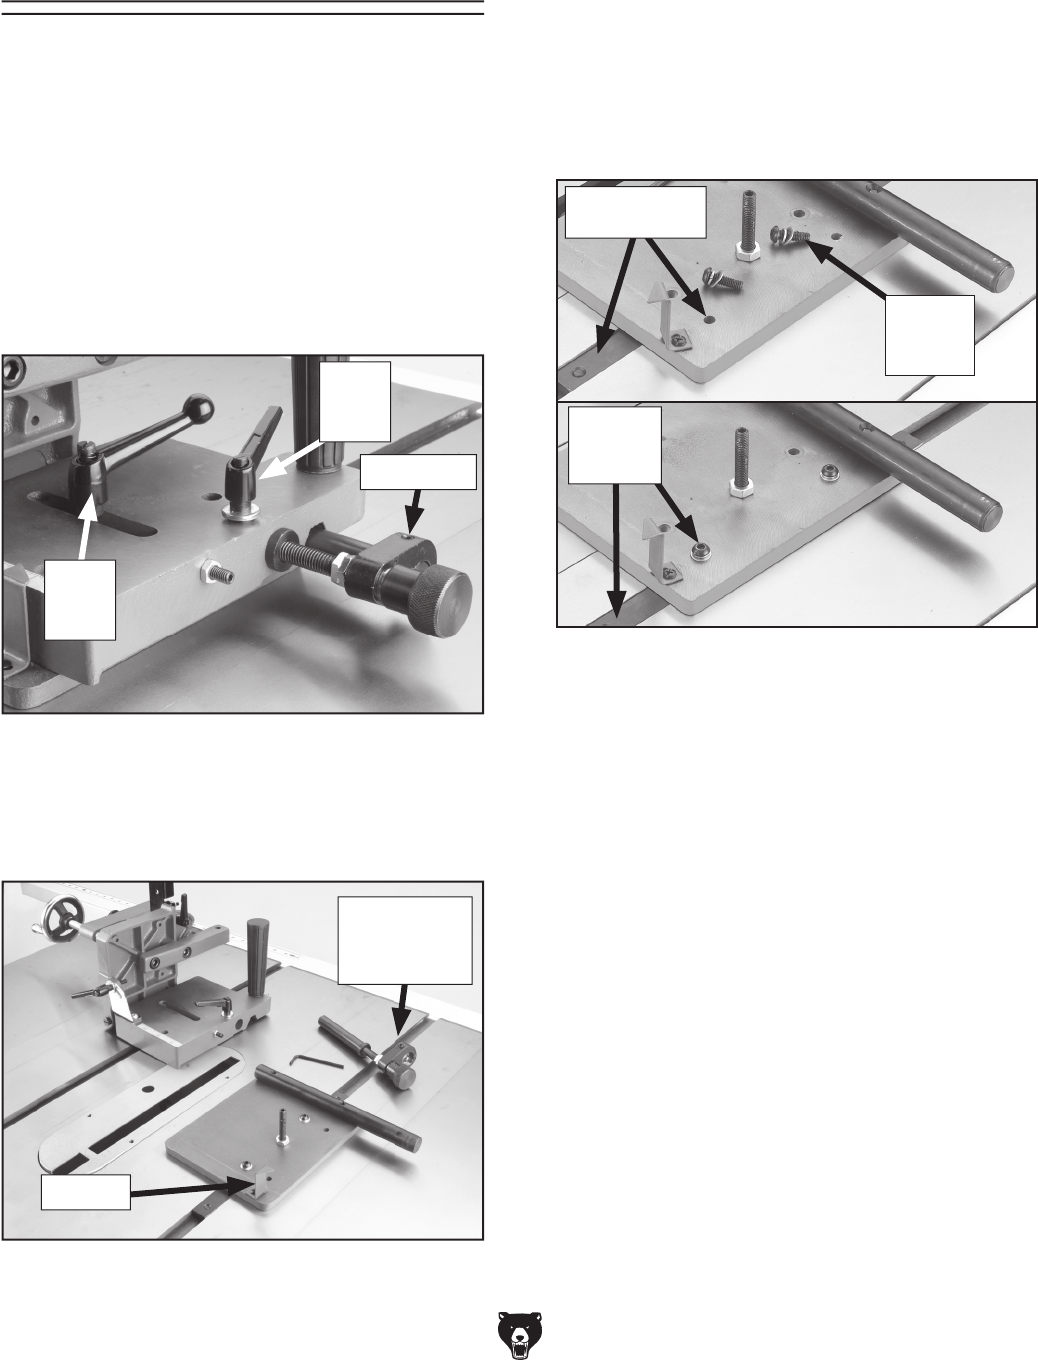
Figure 6. Jig base on a right-tilt table saw.
Pointer
4. Use the 3mm hex wrench to loosen the set-
screw shown in
Figure 5.
5. Slide the micro adjustment assembly out of
the jig, and lift the jig assembly from the base
as shown in Figure
6.
6. Use the 4mm hex wrench to loosen and
remove the two button head screws (
Figure
7) that hold the guide bar to the base.
Micro
Adjustment
Assembly