


H7583 Tenoning Jig
-15-
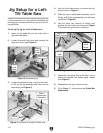
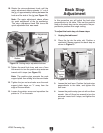
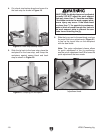
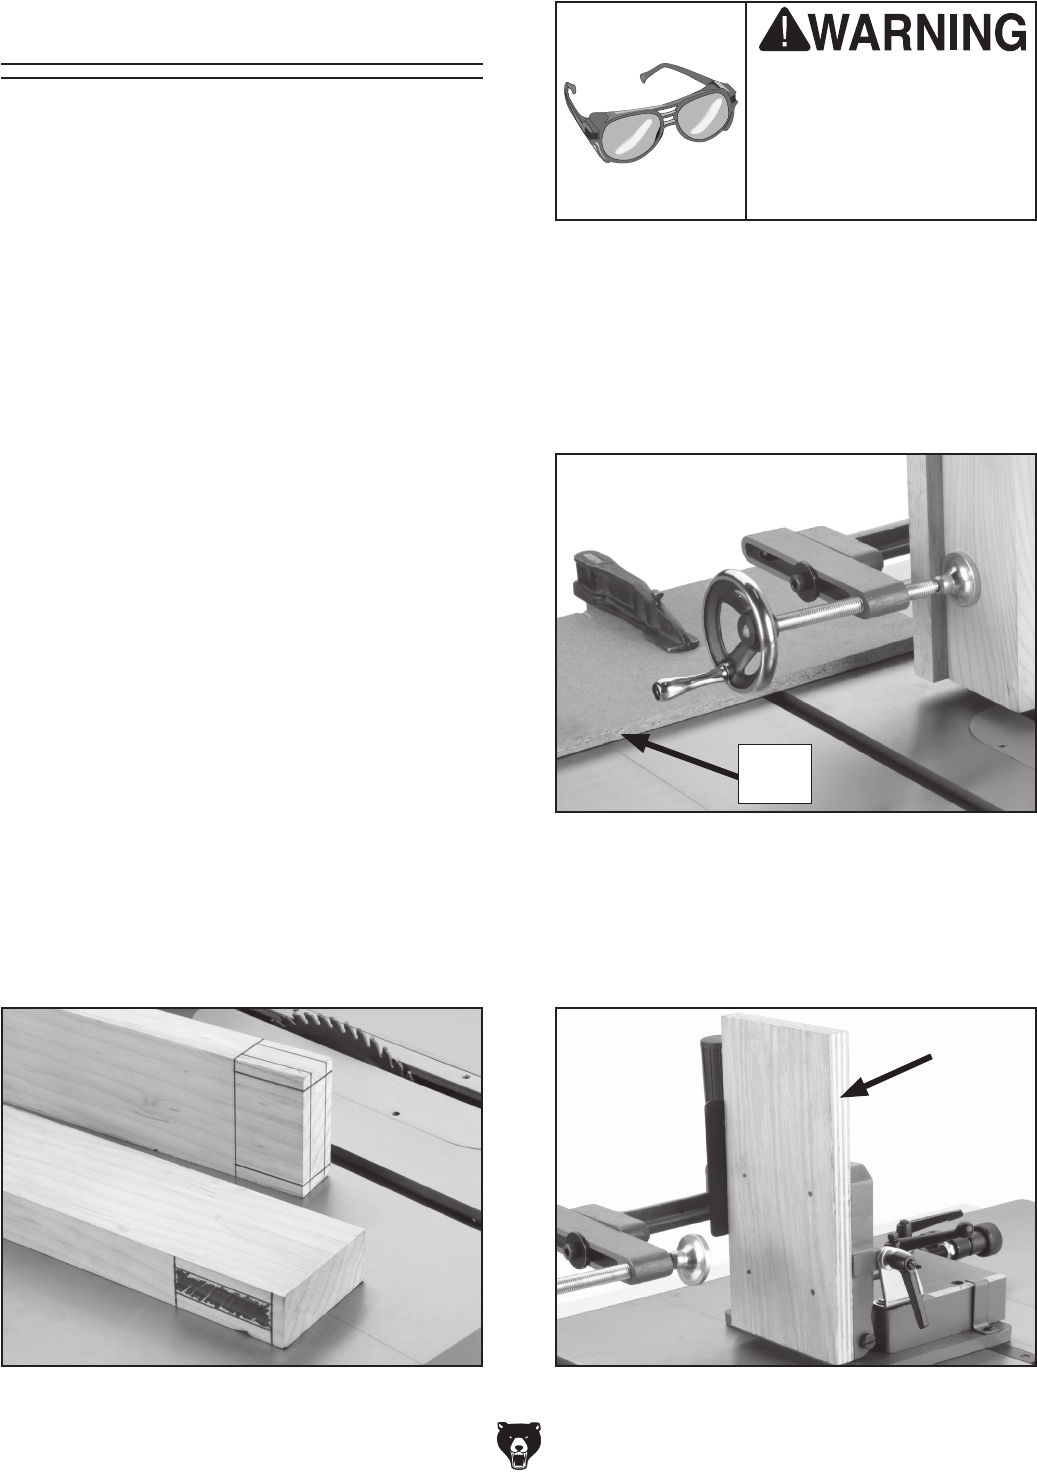
2. Plane a wood base stop to the thickness of
the tenoning jig base, and mount it to the
front of the table saw as shown in
Figure 17.
The base stop prevents cut off pieces getting
trapped between the saw blade and the work
support plate.
Basic Tenon Cutting
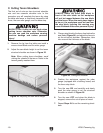
WEAR your safety glass-
es when you perform
any assembly, operation,
and maintenance. Failure
to comply may result in
serious personal injury.
Your new tenoning jig is designed to make tenon
cheek cuts only, and generally, cheek cuts are
made before the shoulder cuts. This procedure
will guide you through three parts; A, B, and C to
show you how to cut your first basic tenon.
A. Preparing the tenoning jig and
workpiece:
Note: The shoulder cuts and angle cuts are made
on the table saw with the miter gauge.
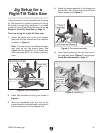
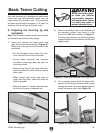
1. Select your mortise and tenon joints, and
draw the cutting lines as shown in
Figure 16.
Make sure to account for the thickness of the
saw blade.
—For the strongest joints, select joint loca
-
tions that are free of knots and twists.
—Tenons need structural and cosmetic
shoulders to hide gaps that may occur as
the wood shrinks.
—When joining parts of the same thickness,
make the tenon the same thickness as the
tenon walls.
—When joining parts where one piece is
larger than the other, make the tenon as
thick as possible.
—Make the mortise
1
⁄8" deeper than the tenon
to allow for the glue to squeeze out.
Figure 16. Tenon layout.
Figure 17. Base stop attached to the table saw.
Base
Stop
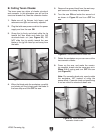
3. Cut a wooden spacer block the same thick-
ness as the tenon plus the saw blade. Screw
through the holes in the work support plate to
attach the spacer block (see
Figure 18).
Figure 18. Work support spacer block.