Model T26416 Crown Stapler -13-
SECTION 7: SERVICE
Always disconnect air from stapler
whenever servicing! During mainte-
nance, a stapler connected to air
may fire accidentally, causing seri-
ous personal injury!
Replacing O-Rings &
Piston Assemblies
If you use your stapler frequently,
replacement piston assemblies (part
PT26416112A) and O-ring kits (part
PT26416428) are cheap insurance against
wasted down time and lost profits, in
the event that the piston assembly or an
O-ring becomes worn out.
To replace piston assembly:
1. DISCONNECT STAPLER FROM AIR
SUPPLY!
2. Remove all staples from the magazine
cartridge.
3. Remove the four cap screws on the
cylinder cap of the stapler, near the
exhaust port.
4. Remove the cap.
5. Pull back the pusher revealing the
magazine compartment.
6. Being careful not to scratch the sides of
the driver guide, insert a slim and stur-
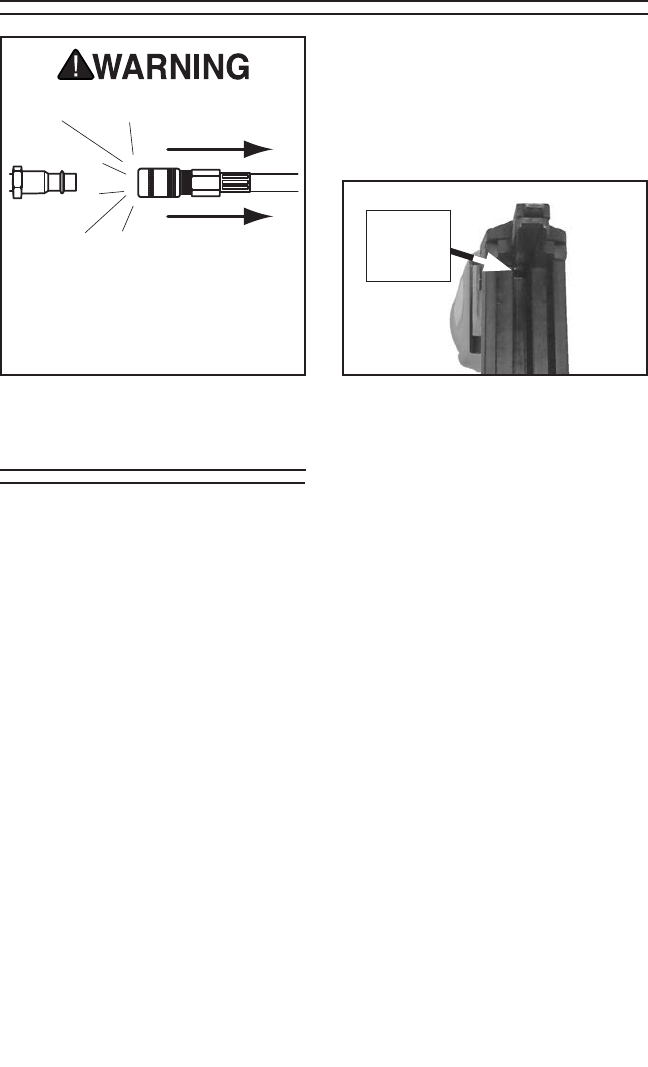
dy piece of metal through the hole at
the top of the magazine compartment
(see Figure 12), and push the piston
assembly out the back of the cylinder.
Figure 12. Piston assembly access
through magazine compartment.
7. Place a thin film of the stapler lubri-
cating oil on the O-ring of the piston
assembly.
8. Insert the new piston assembly into
the cylinder. Make sure that the end
of the driver on the piston assembly
lines up with the slit at the bottom of
the cylinder. The new piston assembly
should easily slide into the cylinder.
DO NOT force the piston assembly
into the cylinder! If it is not easily
inserted, double-check the alignment of
the driver end with the slit.
9. After the piston assembly is inserted
correctly, close the magazine pusher.
Replace the cylinder cap assembly and
tighten the 4 cap screws.
10. For more assistance, or to install a
complete O-ring set, refer to the appro-
priate breakdown diagram in the back
of this manual for component locations.
Access
to Piston
Assembly


