SKU 05154 PAGE 17
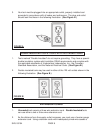
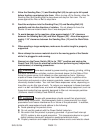
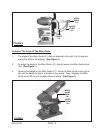
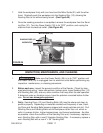
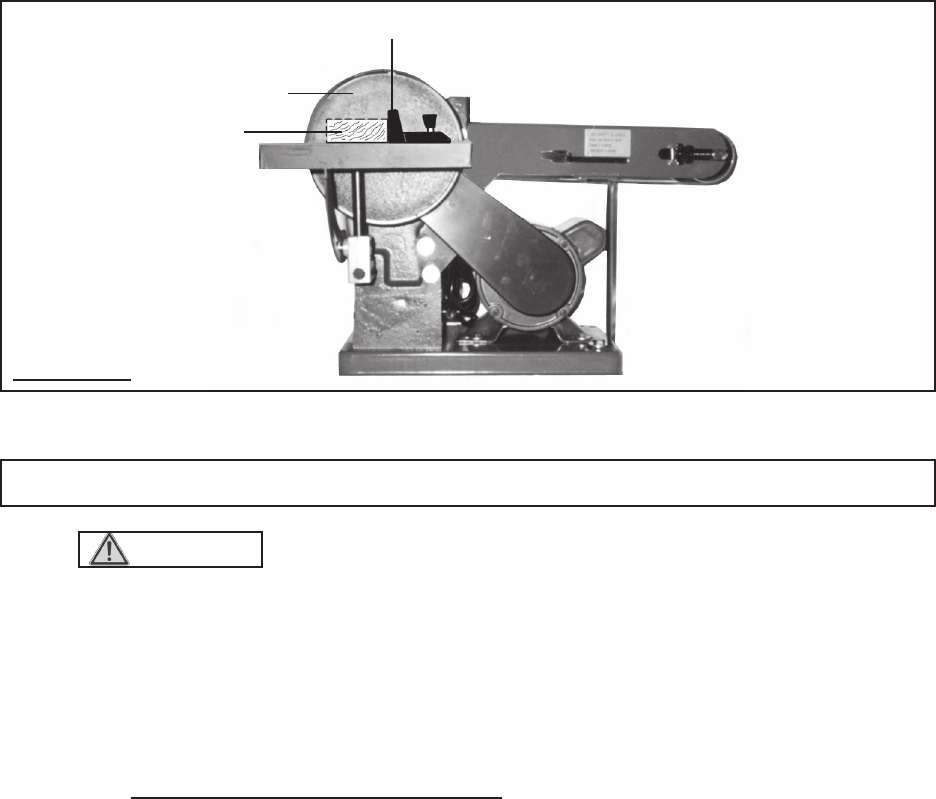
7. Hold the workpiece firmly with one hand and the Miter Guide (21) with the other
hand. Gradually push the workpiece into the Sanding Disc (12), allowing the
Sanding Disc to cut without being forced. (See Figure M.)
FIGURE M
MITER GUIDE (21)
8. Once the sanding procedure is completed, remove the workpiece from the Sand-
ing Disc (12). Turn the Power Switch (30) to its “OFF” position, and unplug the
machine from its electrical outlet. (See Figure M.)
WORKPIECE
SANDING DISC (12)
INSPECTION, MAINTENANCE, AND CLEANING
1. WARNING! Make sure the Power Switch (30) is in its “OFF” position and
the Power Cord (29) is unplugged from its electrical outlet before performing any
inspection, maintenance, or cleaning procedures.
2. Before each use, inspect the general condition of the Sander. Check for dam-
aged electrical wiring, loose connections, broken parts, loose Sanding Disc (12)
and Sanding Belt (45), and any other condition that may affect its safe operation.
If abnormal noise or vibration occurs, have the problem corrected before further
use. Do not use damaged equipment.
3. Daily: Sanding Discs (12) and Sanding Belts (45) must be sharp and clean to
perform properly. Depending on materials sanded and frequency of use, Sand-
ing Discs and Sanding Belts become clogged with wood particles and dull. Dull
Sanding Discs and Sanding Belts rub the workpiece rather than cut, which re-
sults in increase friction, higher temperatures, and burned workpieces. As often
as possible, check the condition of the Sanding Disc and, if necessary, replace a
worn Sanding Disc with a new 6” diameter Sanding Disc. If necessary, replace a
worn Sanding Belt with a new 4” x 36” Sanding Belt.


