SKU 99640 For technical questions, please call 1-800-444-3353. Page 9
To Attach An Air Connector:
1. Attach a 1/4” Connector (not includ-
ed) to the Adapter (82) prior to opera-
tion.
2. Wrap about 3” of pipe thread seal
tape (not included) onto threads of
the Connector before attaching it to
the Adapter.
OPERATING INSTRUCTIONS
Read the ENTIRE IMPORTANT
SAFETY INFORMATION
section at the beginning of this
manual including all text under
subheadings therein before set
up or use of this product.
Inspect tool before use, looking
for damaged, loose, and
missing parts. If any problems
are found, do not use tool until
repaired.
Loading Nails and Staples
TO PREVENT
SERIOUS INJURY
FROM ACCIDENTAL
OPERATION: Detach the air
supply, safely discharge any
residual air pressure in the
tool, and release the throttle
and/or turn the switch to its
off position before performing
any inspection, maintenance,
or cleaning procedures.
TO PREVENT SERIOUS
INJURY: Do not adjust or
tamper with any control or
component in a way not
specically explained within
manual. Improper adjustment
can result in tool failure or
other serious hazards.
WARNING! Disconnect the Floor
Nailer from the air compressor when-
ever loading or servicing. After dis-
connecting the Floor Nailer from the
air compressor, there could still be
enough air pressure to re the Nailer.
After the air hose is disconnected,
always re the Nailer into scrap wood
repeatedly to make sure all of the
compressed air is expended.
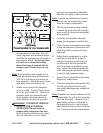
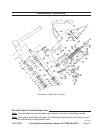
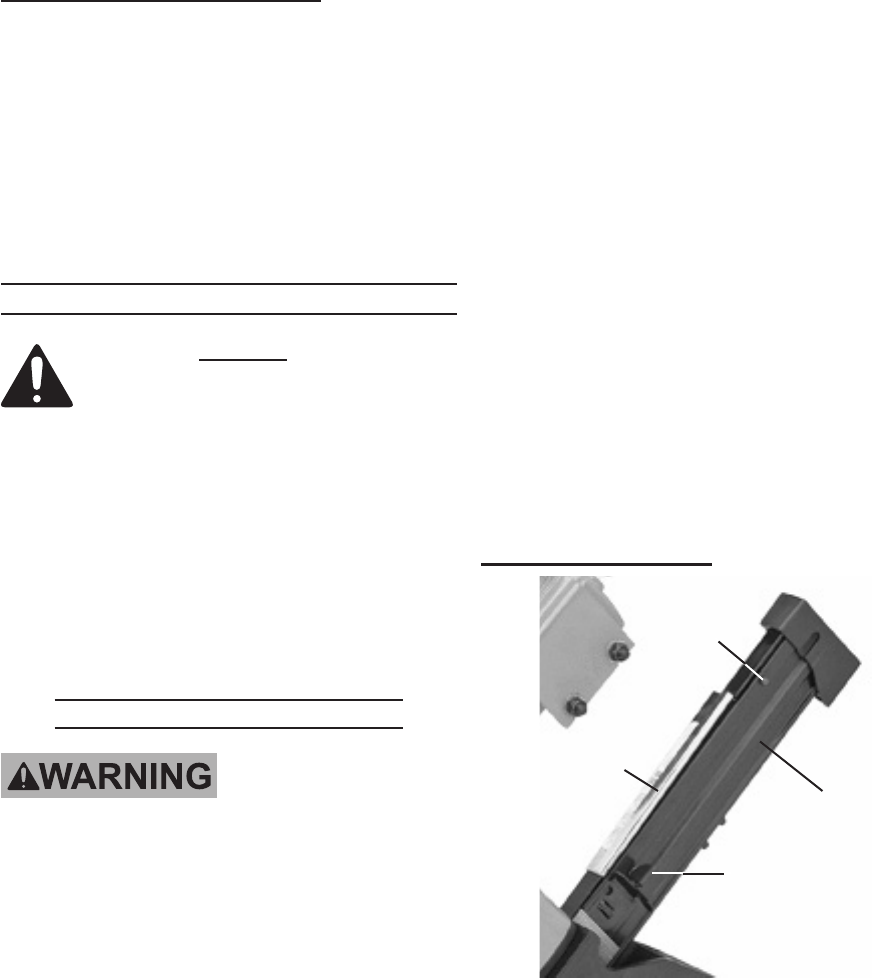
Loading Cleat Nails:
1. Pull the Pusher (56) back to end of
Magazine (52). Lock Pusher in place
by using Safety Lock (54). Then pull
Side Load Magazine (61) back.
2. Place full clip of desired fasteners
into Magazine (61) from the side.
Up to 100 Cleat Nails may be loaded
into Nailer.
REV 09i, 10d
Safety
Lock (54)
Side Load
Magazine
(61)
Magazine
(52)
Pusher (56)


