— — 18
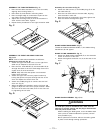
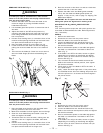
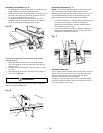
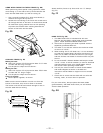
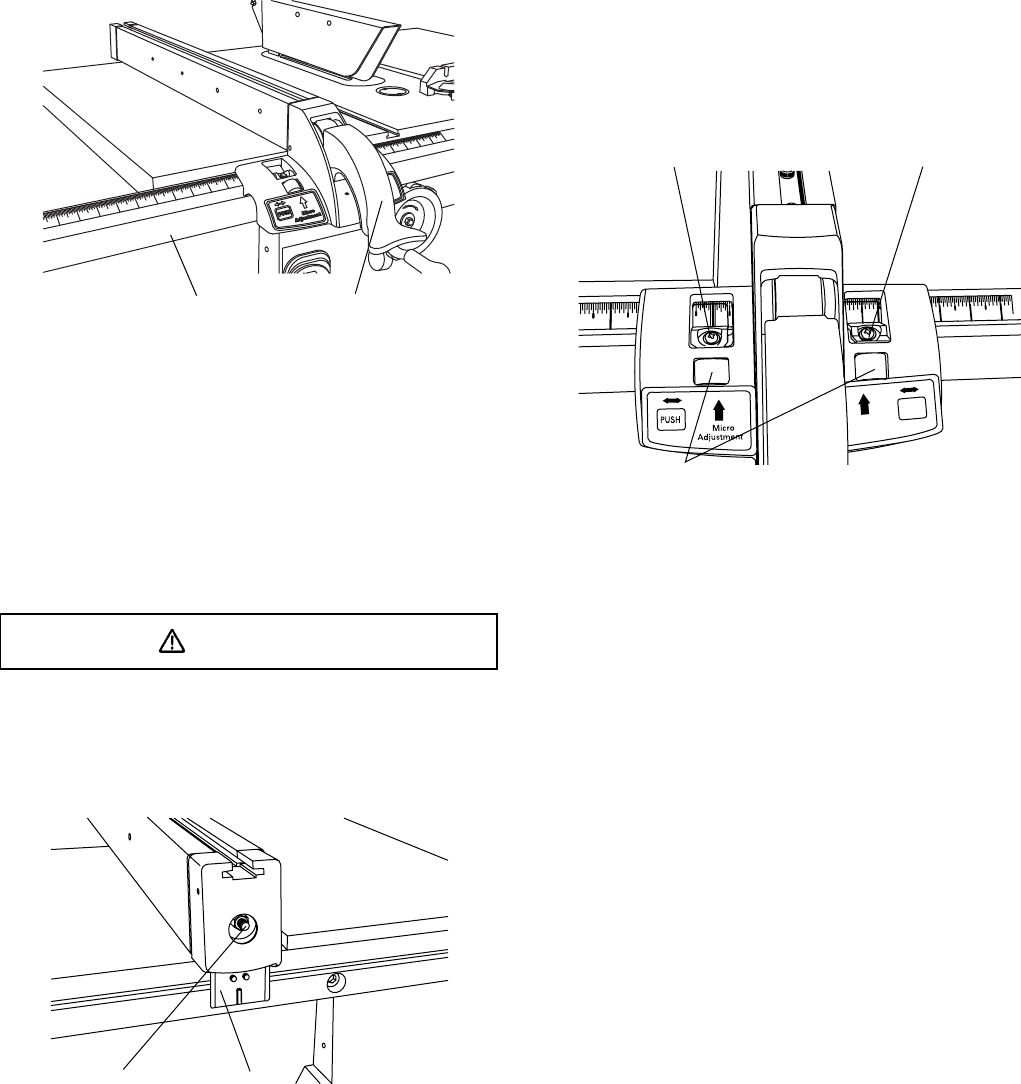
RIP FENCE ADJUSTMENT (Fig. R)
1. For adjustments, position the fence to the right of the
blade, parallel with the miter gauge groove.
2. Place the rear clamp (1) of the fence on the back rail of
the table, and lower the front end over the front rail
(2). Push the handle (3) down to lock.
3. To change the position of the fence, lift up on the
handle to unlock, and slide the fence to the desired
position, then push the handle down to lock.
Fig. R
23
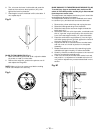
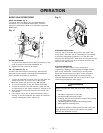
If the fence is loose when the handle is in the locked
position: (Fig. S)
1. Move the handle upward to the unlocked position.
Turn the adjusting screw (4) clockwise until the rear
clamp is snug.
2. DO NOT turn the adjusting screw more than 1/4 turn
at a time.
3. Over-tightening the screw will cause the rip fence to
come out of alignment.
WARNING
Failure to properly align the fence can cause "kickback"
and serious injury could occur.
Fig. S
41
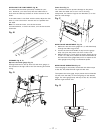
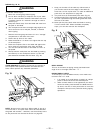
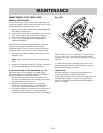
RIP FENCE INDICATOR (Fig. T)
NOTE: The rip fence indicator points to the scale on the
front of the table saw. Measurement shown by the
indicator will provide the user with accuracy up to 1/16 of
an inch. Measurement shown is the distance from the
blade to the side of the fence closest to the blade.
1. To check the accuracy, measure the actual distance to
the side of the rip fence. If there is a difference
between the measurement and the indicator, adjust
the indicator as shown next.
2. Loosen the indicator screws (1). Slide the indicator to
the correct measurement position on the scale, then
retighten the indicator screws (1).
Fig. T
12
13
16
20
23
24
25
PUSH
Mi
cro
Adj
us tm
ent
11
2
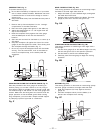
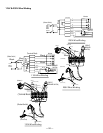
RIP FENCE OPERATION
The rip fence moves to either side of saw blade. The right
side is the most common position. Front and rear guide
the fence. Calibrations on the front guide rail show
distance between fence and saw blade.
To adjust rip fence, raise clamp lever to maximun height,
push fence desired distance from saw blade, and turning
micro-set knob (2) left or right.


