


16
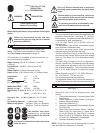
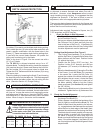
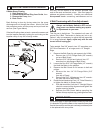
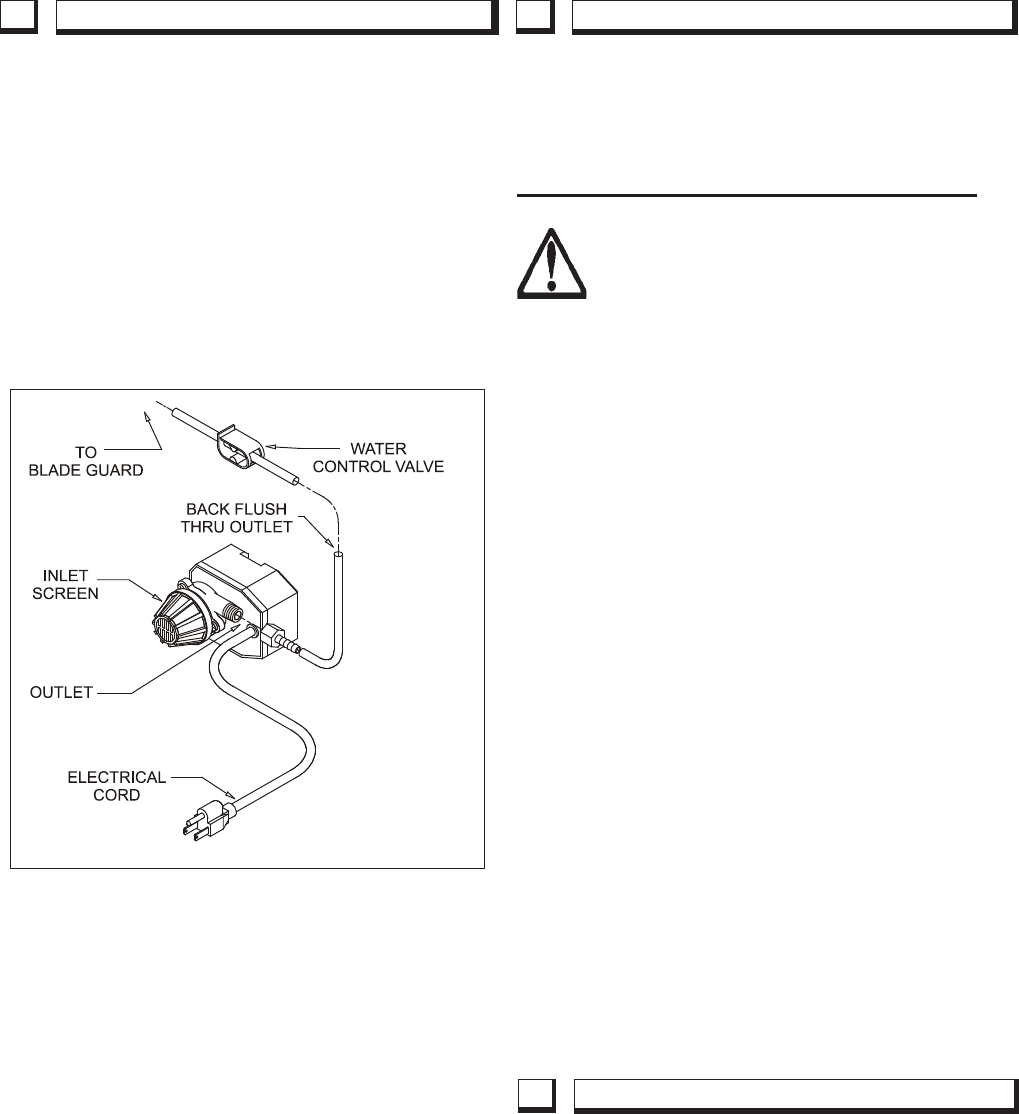
If Water Stops Flowing,
1. Stop Sawing, then
2. Disconnect Electrical Plug from Outlet, then
3. Remove the Pump, then
4. Back Flush.
Back ushing is done by forcing water into the pump
discharge and out through the screen. Most of the time
this procedure works, and the pump can be put back into
service. (See Figure below)
If the back ushing does not work, remove the screen and
turn the impeller manually, looking for and rinsing out the
impeller cavity of any dirt or foreign matter.
12 WATER PUMP TROUBLE-SHOOTING PROCEDURE
For quick supply of spare parts and to avoid any lost time,
it is essential to quote the data on the manufacturers plate
xed to the machine and the part number(s) and description
to be replaced with every order.
We carry out all repairs in the shortest possible time
and at the most economical prices. (See front page for
address and phone numbers) Contact your authorized
Husqvarna® dealer concerning maintenance and re-
13 REPAIRS
14 SPARE PARTS
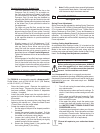
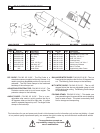
V-Belt Tensioning with Cam Adjustment:
Always set the Motor Switch to OFF and un-
plug power cord before making any repairs
or adjustments to your saw.
This tile saw is belt driven. The standard unit uses a 6
groove Poly-V Belt. The tension is factory set, but on oc-
casion it may be necessary to adjust the belt especially
if it is being replaced. Again, adjust only with the saw
turned off and unplugged.
Tools needed: One 3/8” wrench, two 1/2” wrenches, one
3/8” Drive Extension x 8” or longer, and a 12” Straight
Edge.
1. Remove the Belt Guard to get access to the V-Belt.
a. Remove two 1/4”-20 Flange Bolts (3/8” wrench)
on top of Belt Guard.
b. Remove 5/16”-18 Bolt and Locknut (two 1/2”
wrenches) on side ange of Belt Guard.
2. Loosen the four 5/16”-18 Flange Bolts (1/2” wrench)
that hold the Motor to the platform.
3. Remove the Belt Guard for full access to belt and
pulleys.
a. Remove the two 1/4”-20 Flange Bolts (3/8”
wrench)
from top of Guard.
b. Remove the 5/16”-18 fasteners (two 1/2” wrench-
es) from the side of Belt Guard.
4. Rotate the belt tensioning Cam (1/2” Drive Extension)
to tighten the belt(s) to proper tension.
d. WIth belt tensioned, use the 12” Straight Edge to
check for correct pulley alignment and tighten the
engine mounting screws.
e. Replace the Belt Guard before operating the
tile saw. Always replace any guarding before start-