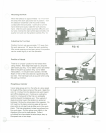
Smoothing a Cylinder
Use a large skew chisel with the cutting point near
the center of the chisel and high up on the work
piece. Support the chisel on the tool rest at all times.
To locate the proper cutting position, placethe chisel
flat against the work piecewith the skew well over
the area to be cut. Pull back slowly on the chisel
until it bites into the wood. Raisingthe handlewill
increase the depth of cut; lowering the handlewill
decrease the depth of cut.
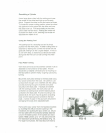
Using the Parting Tool
The parting tool is a scraping tool and is simply
pushed into the work piece.. A better cutting action is
obtained by starting the cut with the handle low and
gradually raising it as the cut gets deeper. If the cut
is over 3/8" deep, a clearance cut should be made
along side the first cut to avoid burning the chisel
point.
Face Plate Turning
Work that cannot be turned between centers mustbe
attached to and turned on a face plate. All work
should be cut slightly oversized prior to mountingon
the face plate to prevent heavy roughingcuts during
turning.
Mount the work piece directly to the face plate using
four wood screws from the back. Be careful to use
screws short enough not to interfere with the cutting
process but long enough to hold the work piece
securely to the face plate. If screws will interfere
with the cutting process, the work piece can be
screwed to a backing block and the backing block
screwed to the face plate. If screw mounting is not
allowed at all, the work may be glued to a backing
block and the backing block screwed to the face
plate. A piece of paper in the glue joint will prevent
damaging the wood when separated later.
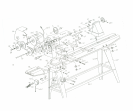
Remove the spur center from the headstock spindle
by inserting the drift pin into the opening in the
headstock and pushing the spur center out. Mount
the face plate with the workpiece already attached
onto the threaded portion of the spindle and hand
tighten.
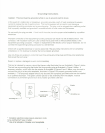
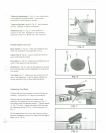
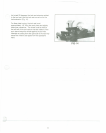
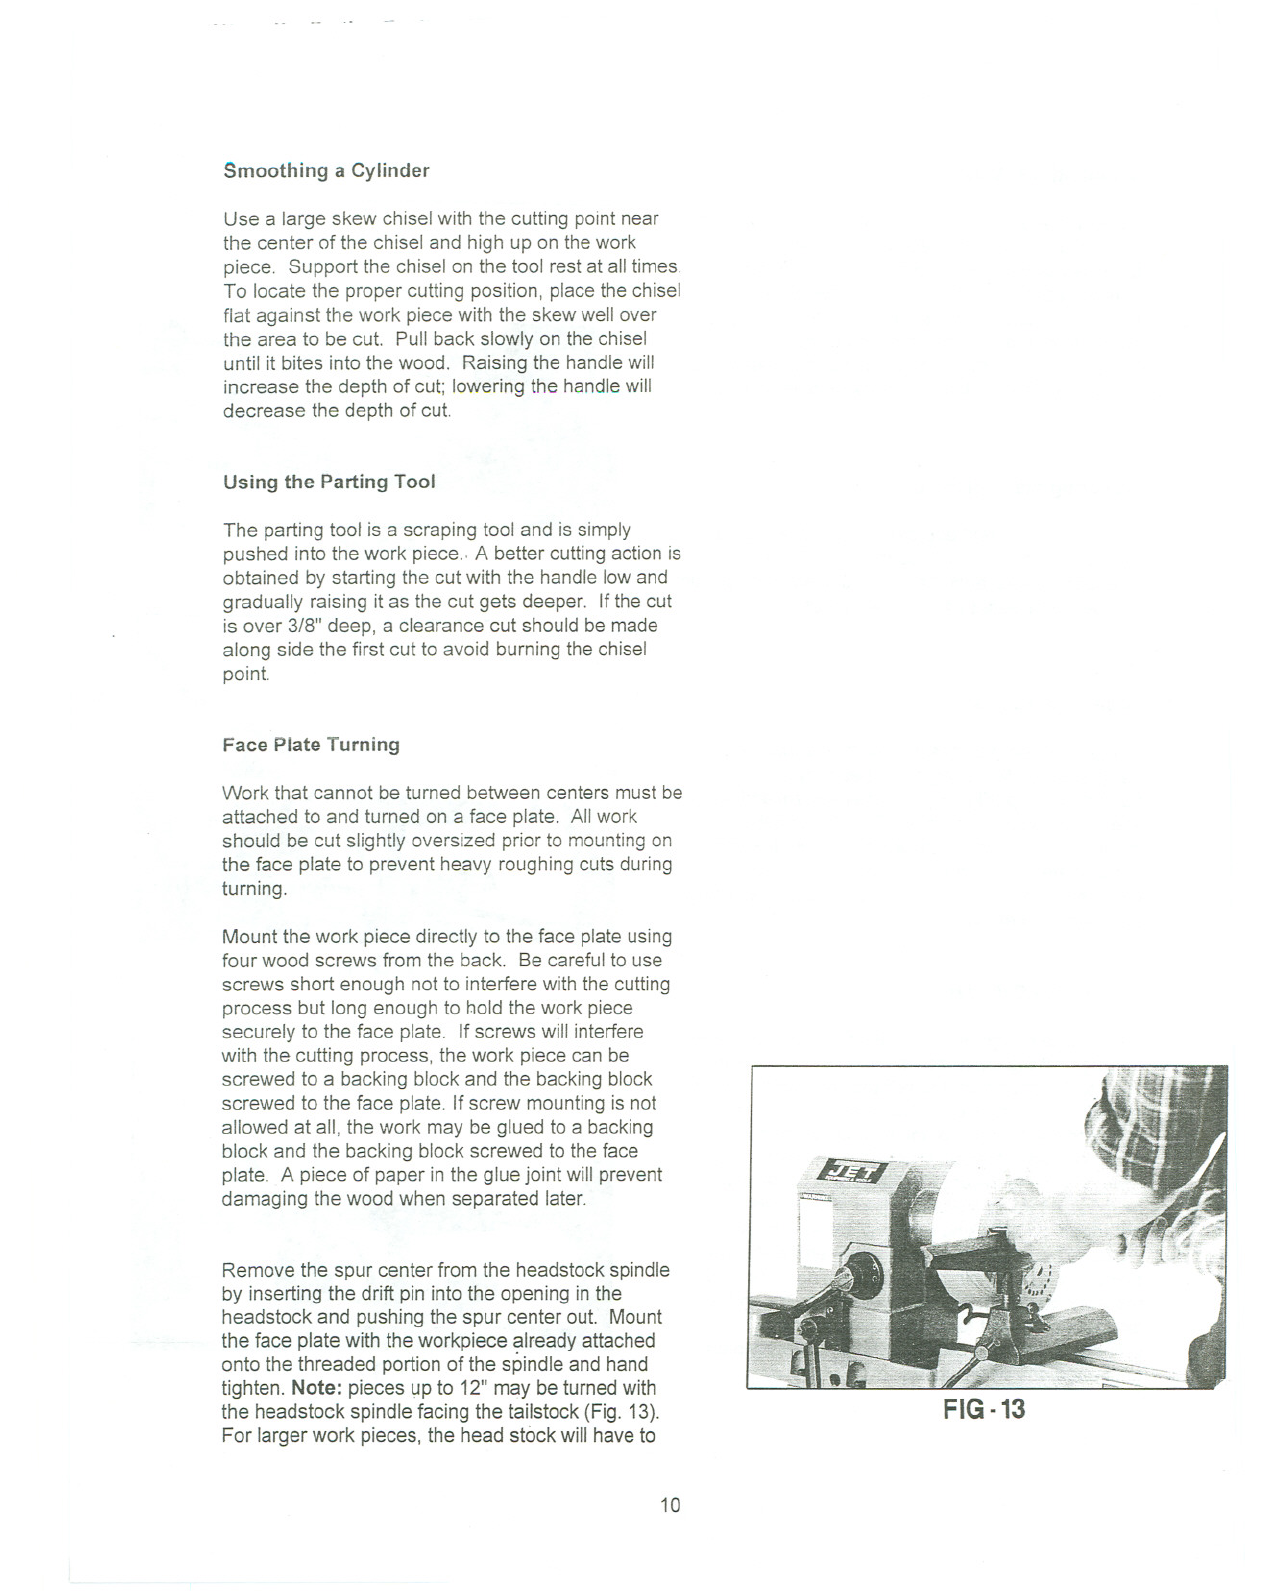
Note: pieces up to 12" may be turned with
the headstock spindle facing the tailstock (Fig. 13).
For larger work pieces, the head stock will have to
10
FIG -13


