Assembly
Note:
Assemble stand completely and mount bed to
stand before tightening all nuts. Hand tighten only
during this part of the assembly'process
1
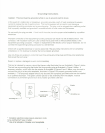
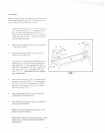
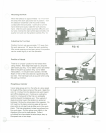
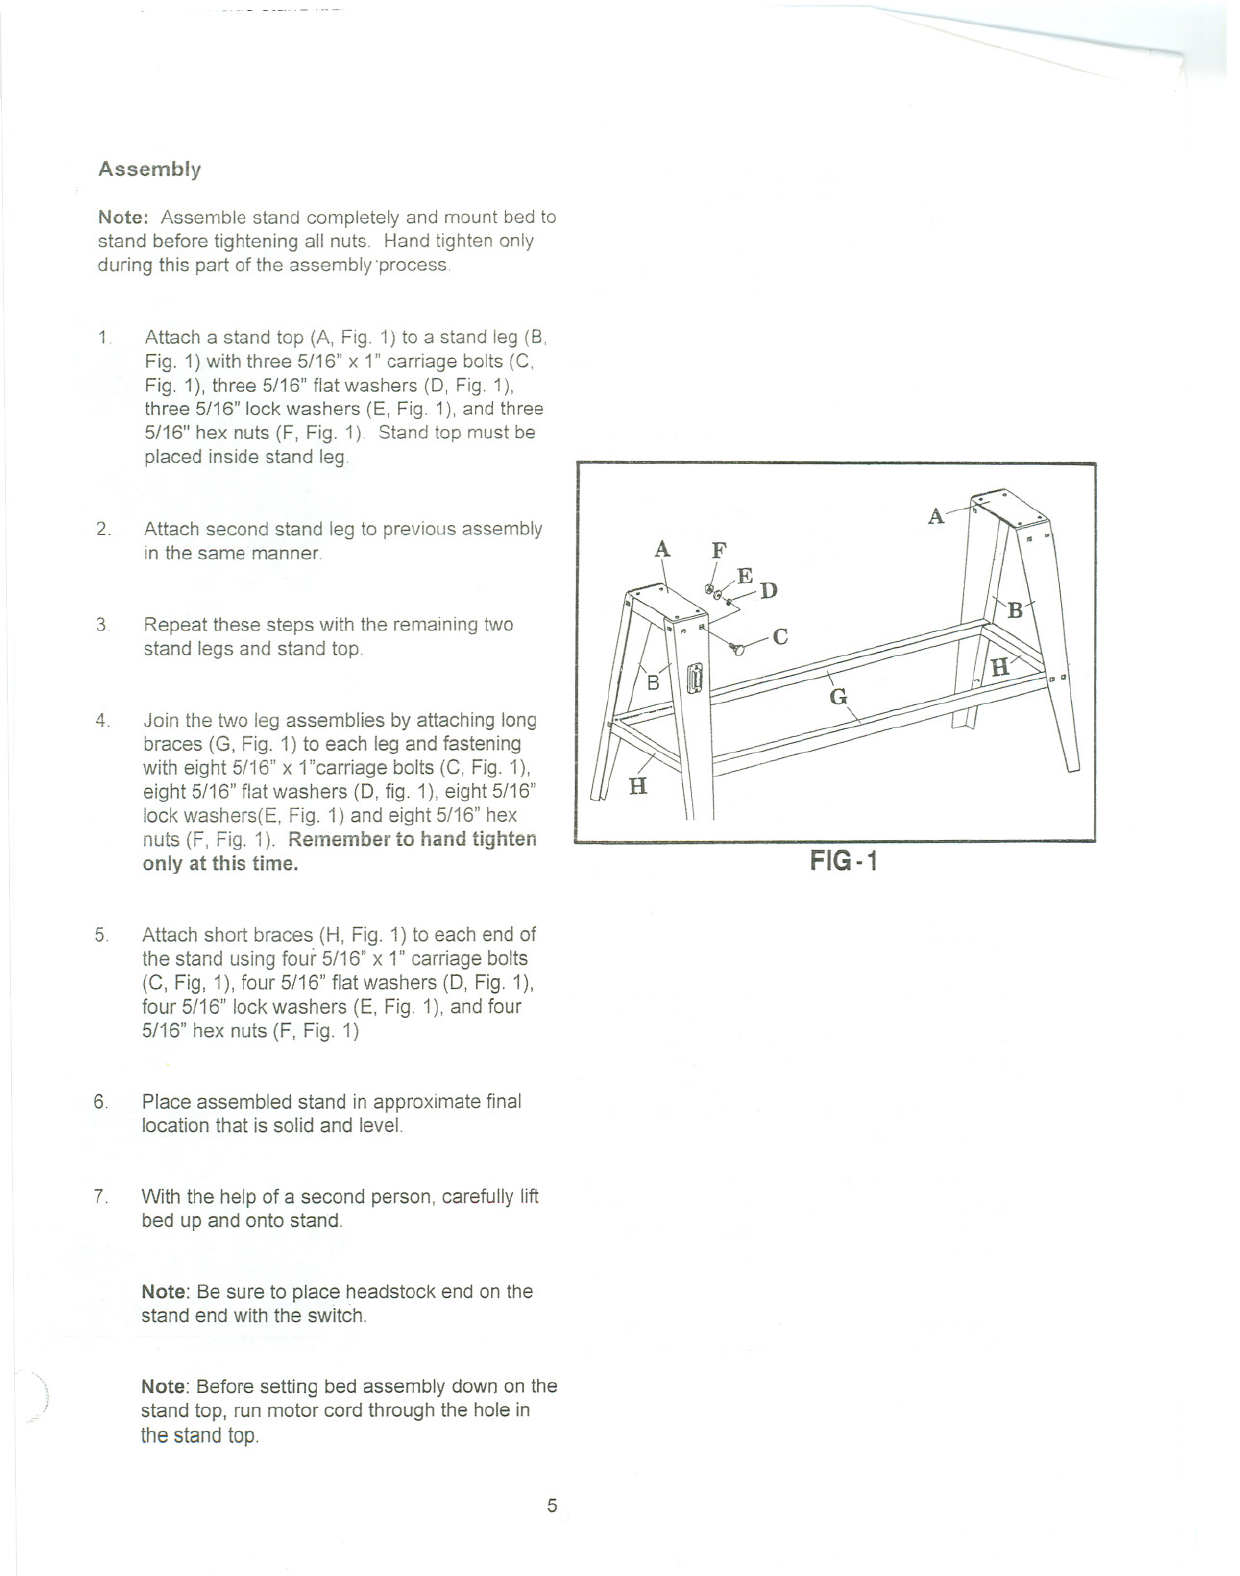
Attach a stand top (A, Fig. 1) to a stand leg (8,
Fig. 1) with three 5/16" x 1" carriage bolts (C,
Fig. 1), three 5/16" flat washers (D, Fig. 1),
three 5/16" lock washers (E, Fig. 1), and three
5/16" hex nuts (F, Fig. 1) Stand top must be
placed inside stand leg.
2.
Attach second stand leg to previous assembly
in the same manner.
3.
Repeat these steps with the remaining two
stand legs and stand top.
4.
Join the two leg assemblies by attaching long
braces (G, Fig. 1) to each leg and fastening
with eight 5/16" x 1"carriage bolts (C, Fig. 1),
eight 5/16" flat washers (D, fig. 1), eight 5/16"
lock washers(E, Fig. 1) and eight 5/16" hex
nuts (F, Fig. 1). Remember
to hand tighten
only at this time.
5.
Attach short braces (H, Fig. 1) to each end of
the stand using four 5/16" x 1"carriage bolts
(C, Fig, 1), four 5/16" flat washers (D, Fig. 1),
four 5/16" lockwashers (E, Fig. 1), and four
5/16" hex nuts (F, Fig. 1)
6.
Place assembled stand in approximate final
location that is solid and level.
7.
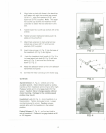
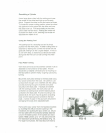
With the help of a second person, carefully lift
bed up and onto stand.
Note: Be sure to place headstock end on the
stand end with the switch.
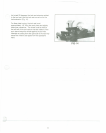
Note: Before setting bed assembly down on the
stand top, run motor cord through the hole in
the stand top.
A
FIG-1
5


