


15
Basic Operations
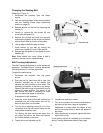
Removing the belt guard
exposes more of the sanding belt! Replace the
belt guards immediately after completing any
sanding that requires its removal! Failure to
comply may cause serious injury!
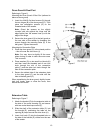
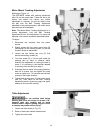
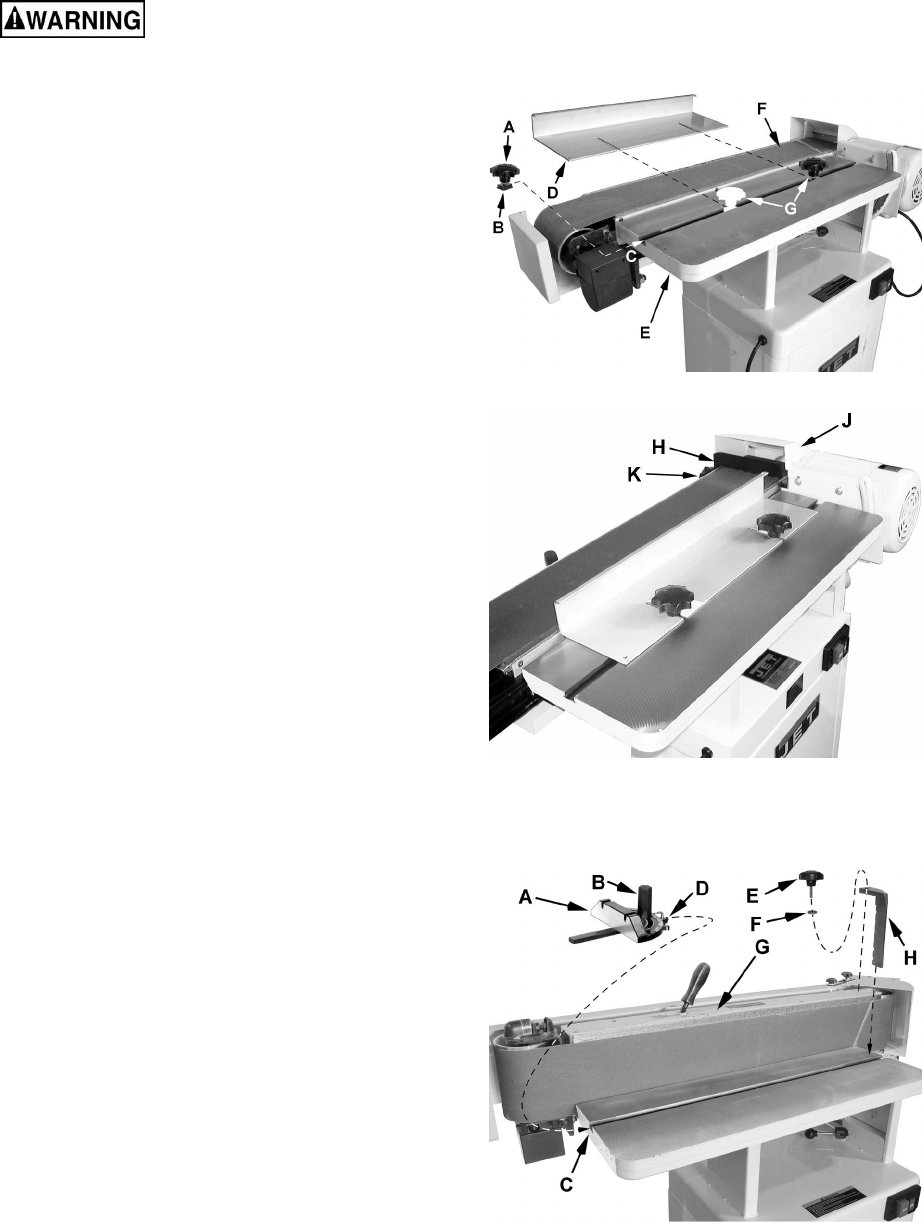
Horizontal Sanding
For horizontal sanding, the platen is locked in the
horizontal position as shown (F) and the removable
fence (D) is secured to the table (E) as follows.
Referring to Figure 16:
1. Place 5/16 flat washers (not shown) and guide
blocks (B) on two 12mm lock knobs (A) – Note:
the 12mm refers to the threaded shaft length.
2. Insert the guide blocks (B) into the miter slot
(C) and position the lock knobs (G) on the
table (E) as shown.
3. Place the removable fence (D) on the table
and secure by tightening the lock knobs
(G, Fig. 16 and Figure 17).
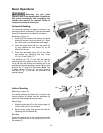
The backstop (H, Fig. 17) can also be used by
swiveling the drum guard & dust port (J, Fig. 17)
out of the way and placing the backstop pin in the
positioning hole and securing in place with the lock
knob (K, Fig. 17) and 5/16" flat washer. Note: This
is better shown in Figure 18. The drum guard &
dust port (J, Fig. 17) can then be returned to the
position shown.
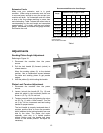
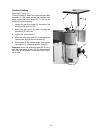
Vertical Sanding
Referring to Figure 18:
For vertical sanding, the platen (G) is locked in the
vertical position as shown and the backstop (H)
and/or the miter gauge (B) may be used.
Miter Gauge
1. Slide the guide bar (D) of the miter gauge (A)
into the miter slot (C) on the table.
2. Set the miter angle; then secure the miter by
tightening the lock handle (B).
Backstop
Place the backstop pin in the positioning hole and
secure in place with the lock knob (E) and 5/16"
flat washer (F).
Figure 16
Figure 17
Figure 18