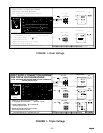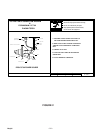
SYMPTOM CHECK
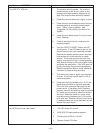
The “SAFETY” LED is lit. 1. The machine will not operate. The machine
senses that the nozzle is not in place, or the
operator could be exposed to dangerous volt
ages if the machine were allowed to operate.
2. Check the nozzle to be sure it is tightly in place.
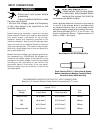
3. Check the torch consumables to see if they are
melted together or are simply touching each
other. Tighten, clean or replace. See
“Suggestion for Extra Utility from the Pro-Cut
System”.
4. Check the torch cable to see if it is cut or punc-
tured. Replace.
5. Check to see that the torch is hooked to the
machine properly.
6. Push the "SAFETY RESET" button, the LED
should go out. If the LED does not go out, the
thermal sensor in the torch head has actuated.
Note that the thermal sensor exists in the hand
held torches but not the machine or robotic
torches. This sensor prevents the torch from
melting, and should not trip in normal operation.
Wait several minutes until the torch head is cool,
and press the reset button. If the LED does not
go out, check step 2 again before proceeding.
Read the procedures section of this manual for
instruction in proper cutting technique.
7. This circuit rarely trips on power up or because
of noise. If the circuit can be reset, it is Ok to
continue operation.
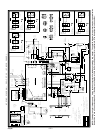
8. Check the continuity between pins 1 & 3 in the
plastic amp connector on the torch assembly.
This is the 4-pin connector that plugs into the
power source. If the safety circuit is working
properly, there will be continuity when the nozzle
is in place and no continuity when the nozzle is
removed. When the nozzle is in place, there
must be continuity between pins 1 & 3 and the
torch pilot lead. Replace the torch if the continu
ity measurements are not as described, or else
replace the control board.
No OCV when 2 and 4 are closed. 1. 190 VAC across H1 and H2.
2. 250V SCR PC board positive/negative
3. Check across 31/32 for 110 VAC.
4. Replace Control PC board.
– 18 –


