


OM-221 694 Page 22
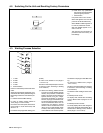
4-13. Manual MIG Welding Advanced Settings
To change all values list, unit must be
MENU FULL. To set unit to MENU FULL,
proceed as follows:
Press P2 to enter SET UP menu.
Select MENU FULL on D1 and D2 (see
Section 4-10).
Wire Feed Speed Unit (only in MENU
FULL)
Use E1 to change D1 to UNIT.
D2 value is default setting of mpm (meter
per minute).
Use E2 to change D2 to desired setting, ei-
ther IPM (inches per minute) or CUR (weld-
ing current in amperes).
Setting Pre−Gas (only in MENU FULL)
Use E1 to change D1 to PREG.
D2 value is default setting of 0.0 s (range is
0.0 s to 10.0 s).
Use E2 to change D2 value.
Setting Post−Gas (only in MENU FULL)
Use E1 to change D1 to POSG.
D2 value is default setting of 0.1 s (range is
0.0 s to 10.0 s).
Use E2 to change D2 value.
Setting BurnBack
Use E1 to change D1 to BURN.
D2 value is default setting of Auto (range is
1% to 200%).
. Auto is a setting below 1% that pro-
vides an automatic backback time.
Use E2 to change D2 value.
Setting Cooler Status
. Be sure that cooler is turned on for wa-
ter-cooled torch to prevent damage to
torch components.
Use E1 to change D1 to W−UN.
D2 value is default setting of ON.
Use E2 to change D2 value to OFF, if appli-
cable.
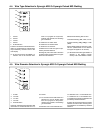
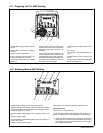
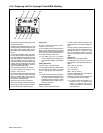
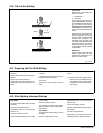
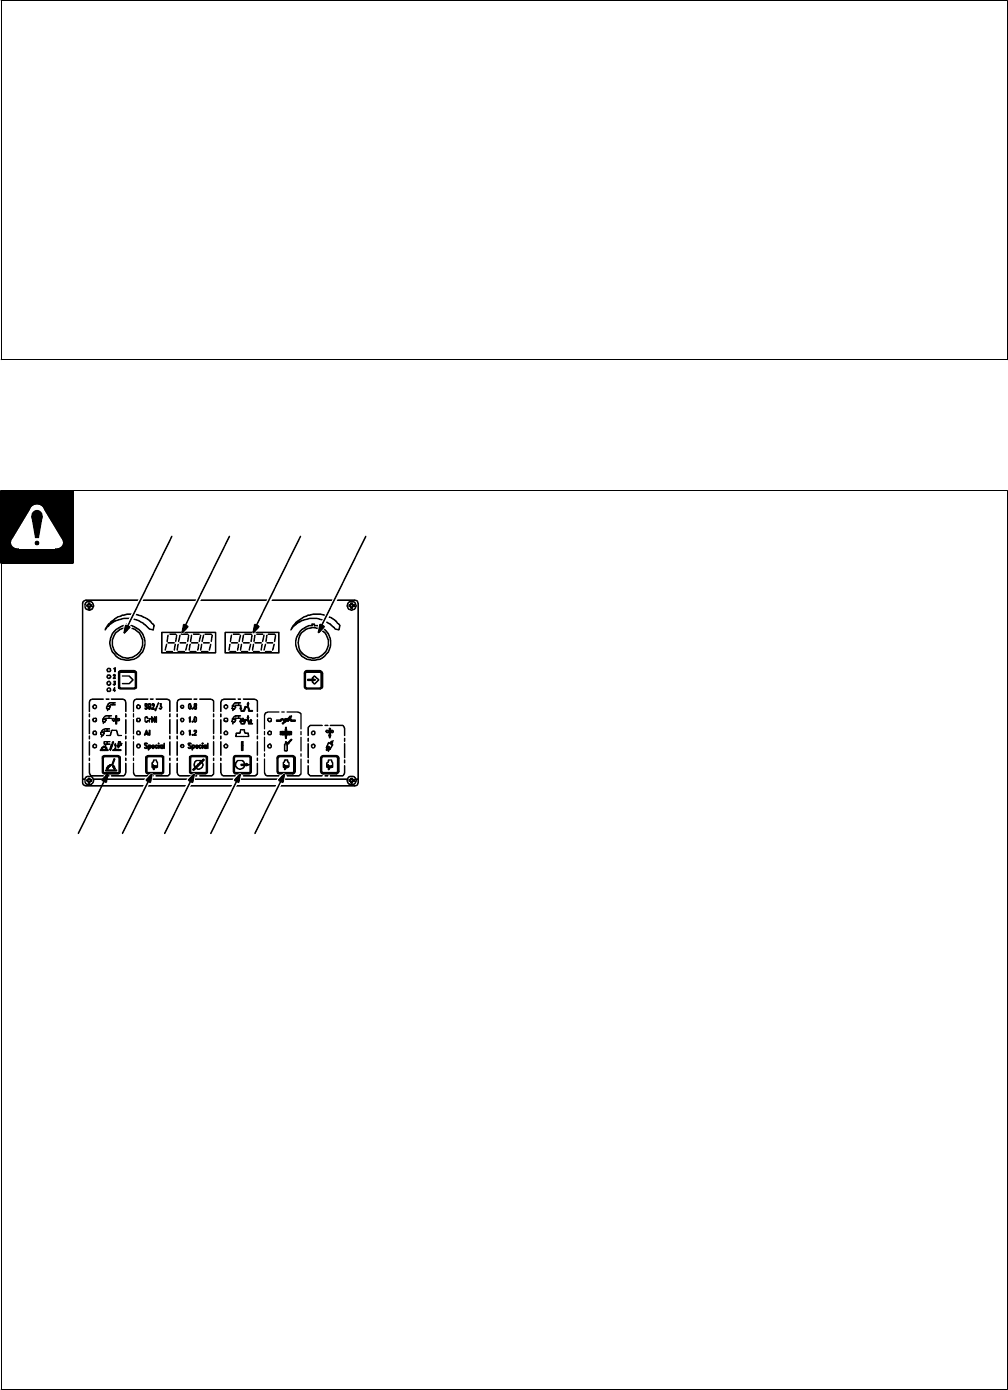
4-14. Preparing Unit For Synergic MIG Welding
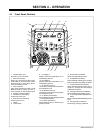
P3 P6 P7
E1 D1 D2 E2
P4 P5
Set Synergic MIG welding process using
P3 push button.
In Synergic MIG mode, the operator may
need to adjust welding data (wire type, wire
diameter, and gas type) and only one weld
parameter. Generally, wire feed speed is
adjusted and the synergic process auto-
matically sets appropriate weld voltage.
Synergic welding also sets many secon-
dary welding parameters automatically for
improved weld quality.
Trim parameter appears on D1 and D2:
D1 value is default trim setting of 0.0 T
(range is −5.0 T to 5.0 T).
D2 value is default wire feed speed setting
of 5.0 m/min (minimum (MIN), maximum
(MAX), or default (DEF) values are arbi-
trary based on set welding data). Set wire
feed speed in meters/min (M).
Select wire type using P4 push button.
Select wire diameter using P5 push button.
Select trigger mode using P6 push button.
Set desired wire feed speed using E2.
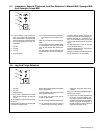
Setting Trim
D1 value is default trim setting of 0.0 T
(range is −5.0 T to 5.0 T).
Trim is an arbitrary value related to MIG arc
length. Higher values produce a longer and
hotter arc. Lower values produce a shorter
and cooler arc. Recommended value for
trim is default setting or near 0.0T.
. Trim setting may vary by a greater
amount depending on welding posi-
tion, parameter settings, and quality of
wire.
Setting Inductance
Press P7 until L17 LED illuminates.
L17 ON selects Inductance. Default setting
is 100% (range is 1% to 200%). D1 and D2
return to main display after several sec-
onds.
. Higher inductance setting produces a
softer weld puddle and less spatter, but
arc starts may be more difficult. Lower
inductance setting produces a stiffer
weld puddle and more spatter, but arc
starts may be easier.
Setting Thickness
Press P7 until L18 LED illuminates.
L18 ON selects material thickness. D2
shows thickness in mm for the welding pro-
cess.
Use E2 to change material thickness val-
ue. This value is stored in process memory.
Material thickness is a reference value
only, not a mandatory setting. D1 and D2
return to main display when P7 is pressed
again.
Setting Gas
Press P7 until L19 LED illuminates.
L19 ON selects type of gas. D1 will show
GAS and D2 shows gas abbreviation as
follows:
8218 = 82% Ar, 18% CO
2
Ar = 100% Argon
CO
2
= 100% CO
2
9802 = 98% Ar, 2%CO
2
Use E2 to change gas type. This setting is
stored in process memory.
LED will turn off after several seconds and
D1 and D2 will return to main display.
. D1 and D2 will show NO PROG or a
selection will not be allowed when
there is no program for the process,
material, wire diameter, and shielding
gas combination.