


7
Recalibration
Rotary Level can be recalibrated by you, in the field. If Rotary Level is dropped,
you should recalibrate.
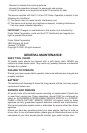
1. Choose your recalibration site. To get the most accurate calibration possible,
it is best to use two vertical (plumb) surfaces directly opposite each other,
100' apart (50' minimum).
The recalibration process
should be done on a level
surface so that the Base Unit
does not have to be re-
adjusted on its base
during calibration.
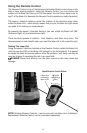
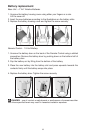
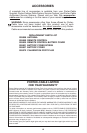
2. Make sure the laser is off (Remote Control
switch is in the off position - no laser icon
showing).
3. Slide the Base Unit On/Off switch to the "on"
position. Slide the line generation switch "Off".
Remove the Recalibration Plug, located at the
bottom of the laser opening. Take care not to
lose the recalibration plug as you pop it out.
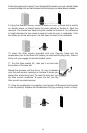
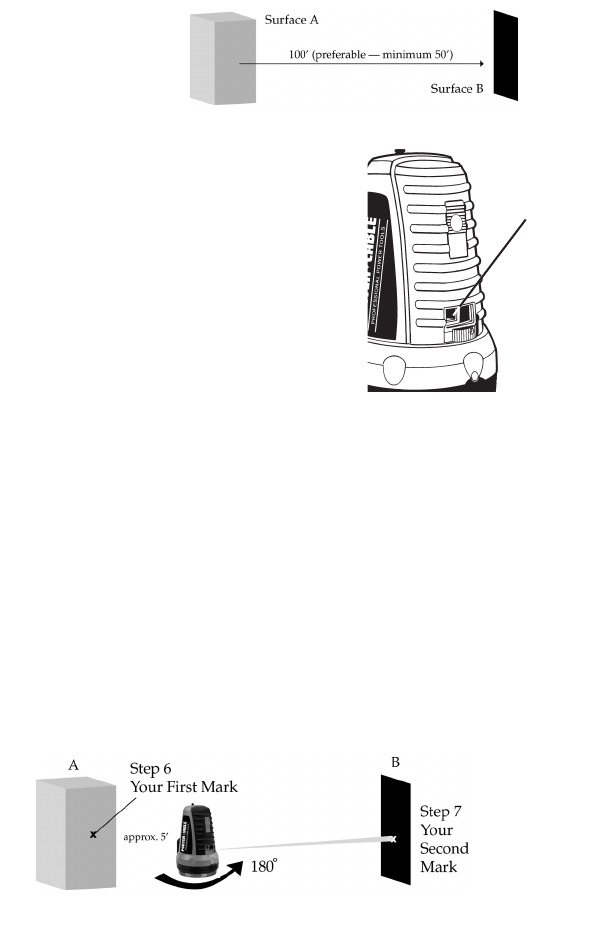
4. Place the Base Unit about 5' from one of your two vertical surfaces. This will
be Surface A. Turn the Base Unit and Remote Control on.
5. Rotate the Base Unit 360°, making sure the laser and LED don't blink at any
time during the rotation. If they blink at any point, simply adjust the Base Unit on
the Adjusting Base and continue.
6. Using the Remote Control, position the laser dot on Surface A and mark the
dot location.
7. Using the Remote Control, rotate the Base Unit 180° so that the laser dot is
now visible on your opposing surface, Surface B. Mark the laser dot position on
Surface B.
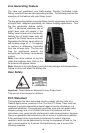
Recalibration
Plug