


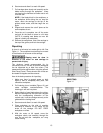


13
6. Start motor and allow it to reach full speed.
7. Pull carriage down slowly and smoothly as the
blade moves through the workpiece. Keep
one hand on the handle at all times and do not
force the saw.
NOTE: If the blade binds in the workpiece, or
the workpiece shifts during the cut, stop the
motor, return the carriage to the top of the
guides, restart motor, and then begin the cut
again.
8. Support and remove the cut-off piece as the
saw completes its cut.
9. Once the cut is complete, turn off the motor
and wait for the blade to come to a full stop
(NOTE: A coasting saw blade can mar the
edge of a freshly cut workpiece).
10. Remove the workpieces, return the carriage to
the top of the guides, and lock the carriage.
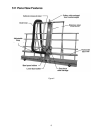
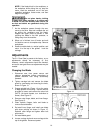
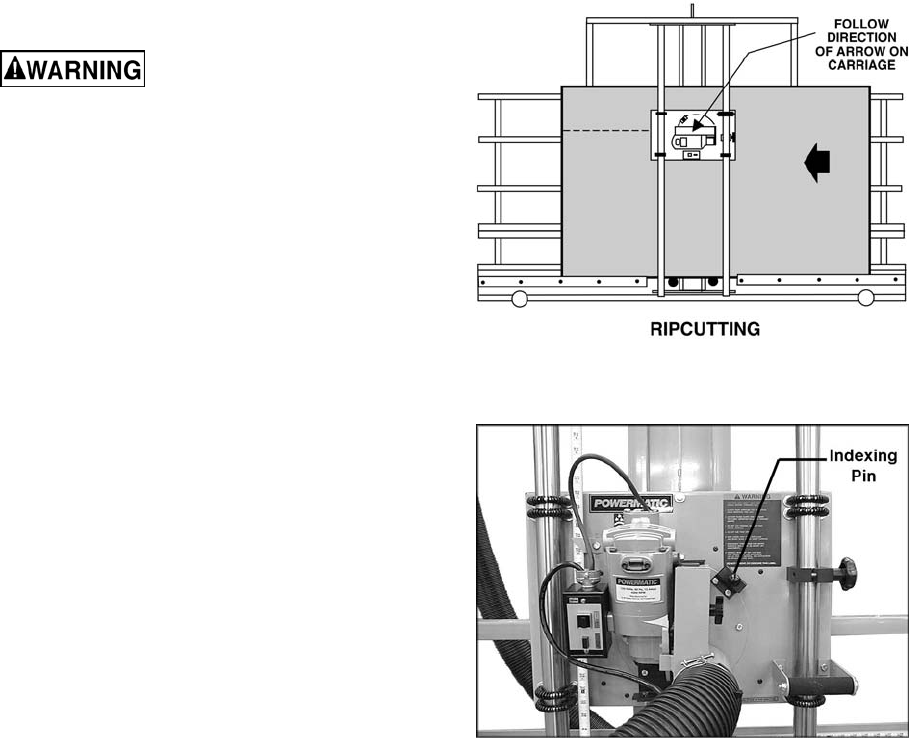
Ripcutting
A ripcut is a horizontal cut made right to left. See
Figure 11. The workpiece must always be moved
in the direction of the arrow on the carriage.
Ripping must be done in
direction of the arrow on saw carriage to
prevent risk of injury.
The minimum length recommended for rip
(horizontal) cuts is 2-1/2 feet, so that the workpiece
can be supported by at least four rollers. (This
measurement also applies when using the optional
Short Panel Fence). Pieces shorter than 4 feet can
be rotated 90 degrees and be crosscut.
Here is the basic procedure for ripcutting:
1. Make sure there is enough space on both
sides of saw to completely load, pass, and
offload the workpiece.
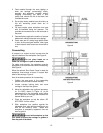
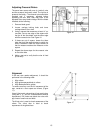
2. Pull indexing pin on turntable (Figure 12), and
rotate turntable counterclockwise. The
indexing pin will lock into place.
3. Select height of saw blade above the rollers.
Move the carriage until the index tab is aligned
with the corresponding dimension on the
vertical ruler. Lock the carriage securely to the
guides with the locking knob.
4. Start motor and allow it to reach full speed.
5. Place workpiece on the side of machine
according to direction of cut shown by the
arrow on the carriage. DO NOT DROP
workpiece on rollers.
6. With the motor at full speed, move the
workpiece slowly and smoothly through the
saw. Do not force the workpiece, as it may
cause binding.
Figure 11
Figure 12