16
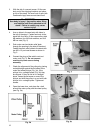
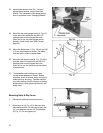
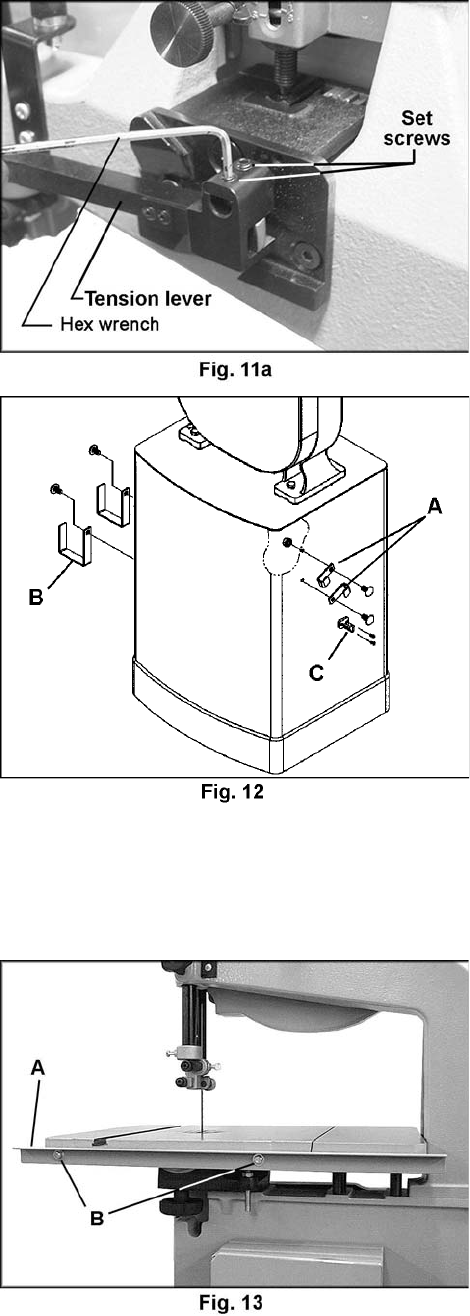
23. Install blade tension lever (Fig. 11a) and
tighten the set screws, using a 3mm hex
wrench. The movement of the blade tension
lever is explained under “Changing Blades”.
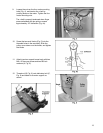
24. Mount the two miter gauge hooks (A, Fig. 12)
to the side of the stand with two M8 x 16
carriage bolts and two flanged hex nuts.
When not in use, the miter gauge can be
placed in these hooks (see “Miter Gauge”,
page 23).
25. Mount the blade hook (C, Fig. 12) with two M4
x 10 pan head screws as shown. The blade
hook will hold a rolled-up spare blade.
26. Mount the two fence hooks (B, Fig. 12) to the
opposite side of the stand with two M8 x 16
carriage bolts and two flanged hex nuts.
When not in use, the rip fence can be placed
in these hooks.
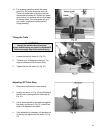
27. Transportation and handling may have
caused some fasteners to loosen. Before
operating, check all screws, bolts, and nuts to
make sure they are snug. Operate machine
only after reading the entire manual including
blade tracking, blade guide adjustments, and
safety rules.
Mounting Rails & Rip Fence
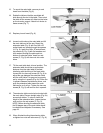
1. Disconnect machine from power source.
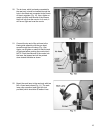
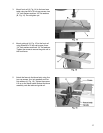
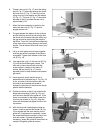
2. Mount rear rail (A, Fig. 13) to the band saw
table using two M6 x 20 hex cap screws, two
1/4" lock washers and two 1/4" flat washers
(B, Fig. 13). Do not tighten yet.


