20
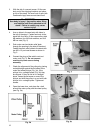
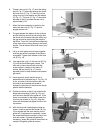
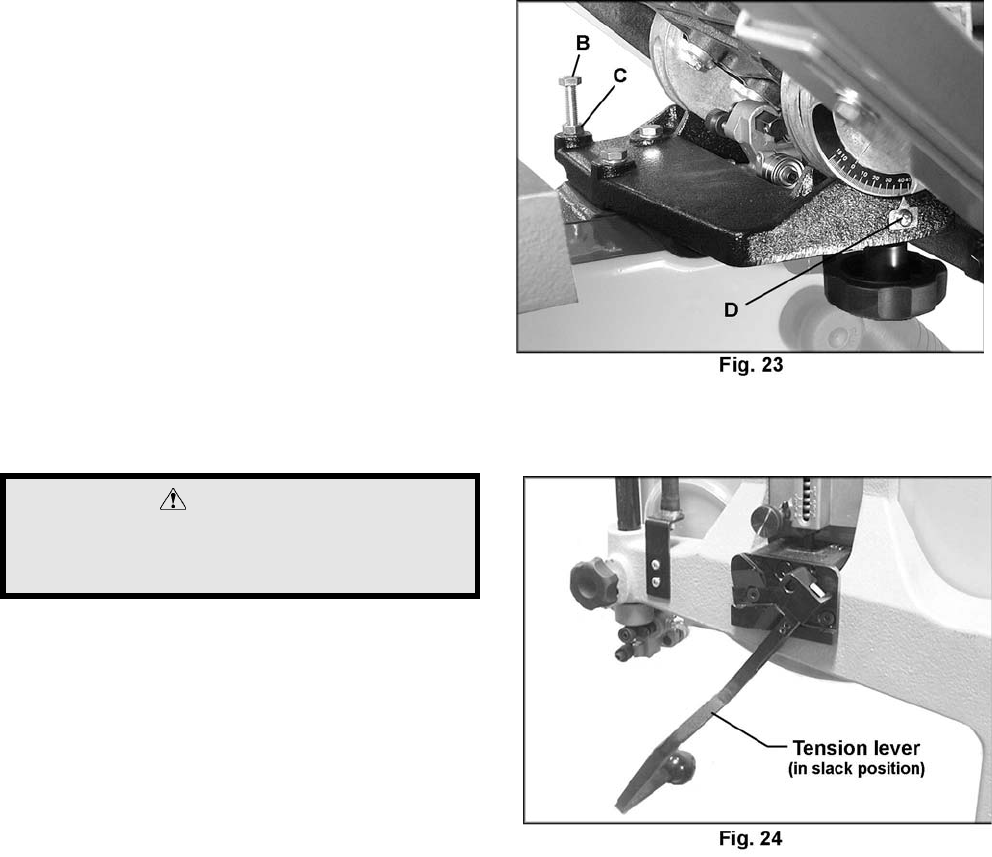
5. Loosen jam nut (C, Fig. 23) and turn table
stop (B, Fig. 23) left or right to raise or lower
the stop. Tighten jam nut to hold table stop in
place.
6. Unlock the table and tilt it back on to the table
stop to confirm table is 90 degrees to the
blade. Repeat this process as necessary until
table is 90 degrees to the blade.
7. If necessary, adjust pointer (D, Fig. 23) to
zero.
NOTE: After adjusting the 90-degree stop, it may
be necessary to re-set the extension table so it is
level with the main table.
Changing Blades
WARNING
Blade teeth are sharp! Use care when handling
the saw blade.
Failure to comply may cause serious injury!
1. Disconnect machine from power source.
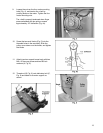
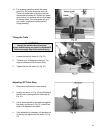
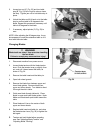
2. Loosen blade tension with the blade tension
lever. Push the tension lever up slightly, then
out, and pull it down toward the table, as
shown in Fig. 24.
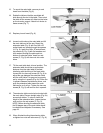
3. Remove the table insert and the table pin.
4. Open both wheel guards.
5. Remove the blade from between upper and
lower blade guides. Remove blade from
upper and lower wheels. Turn blade to direct
it through the slot in table.
6. Guide new blade through table slot. Place
blade in upper and lower blade guides. Note:
Make sure blade teeth point down toward the
table.
7. Place blade so it lies on the center of both
upper and lower wheels.
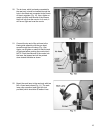
8. Replace table insert and table pin, and raise
the blade tension lever (Fig. 24) to tighten the
belt again.
9. Tension and track blade before operating
saw. See "Adjusting Blade Tension" and
"Adjusting Blade Tracking".


