7
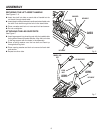
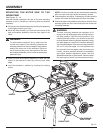
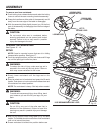
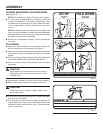
Pull up on lock mechanism release lever and carefully
raise wheel legs.
Continue to raise wheel leg set until locked into
position.
UNPACKING
This product requires assembly.
Carefully remove the product and any accessories from
the box. Make sure that all items listed in the packing list
are included.
Inspect the product carefully to make sure no breakage
or damage occurred during shipping.
Do not discard the packing material until you have carefully
inspected and satisfactorily operated the product.
If any parts are damaged or missing, please call
1-866-539-1710 for assistance.
WARNING:
If any parts are damaged or missing do not operate
this product until the parts are replaced. Failure to
heed this warning could result in serious personal
injury.
WARNING:
Do not attempt to modify this product or create
accessories not recommended for use with this
product. Any such alteration or modification is
misuse and could result in a hazardous condition
leading to possible serious personal injury.
WARNING:
Do not connect to power supply until assembly
is complete. Failure to comply could result in
accidental starting and possible serious personal
injury.
P R E PAR I N G T H E W O R K S TA N D F O R
ASSEMBLY
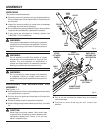
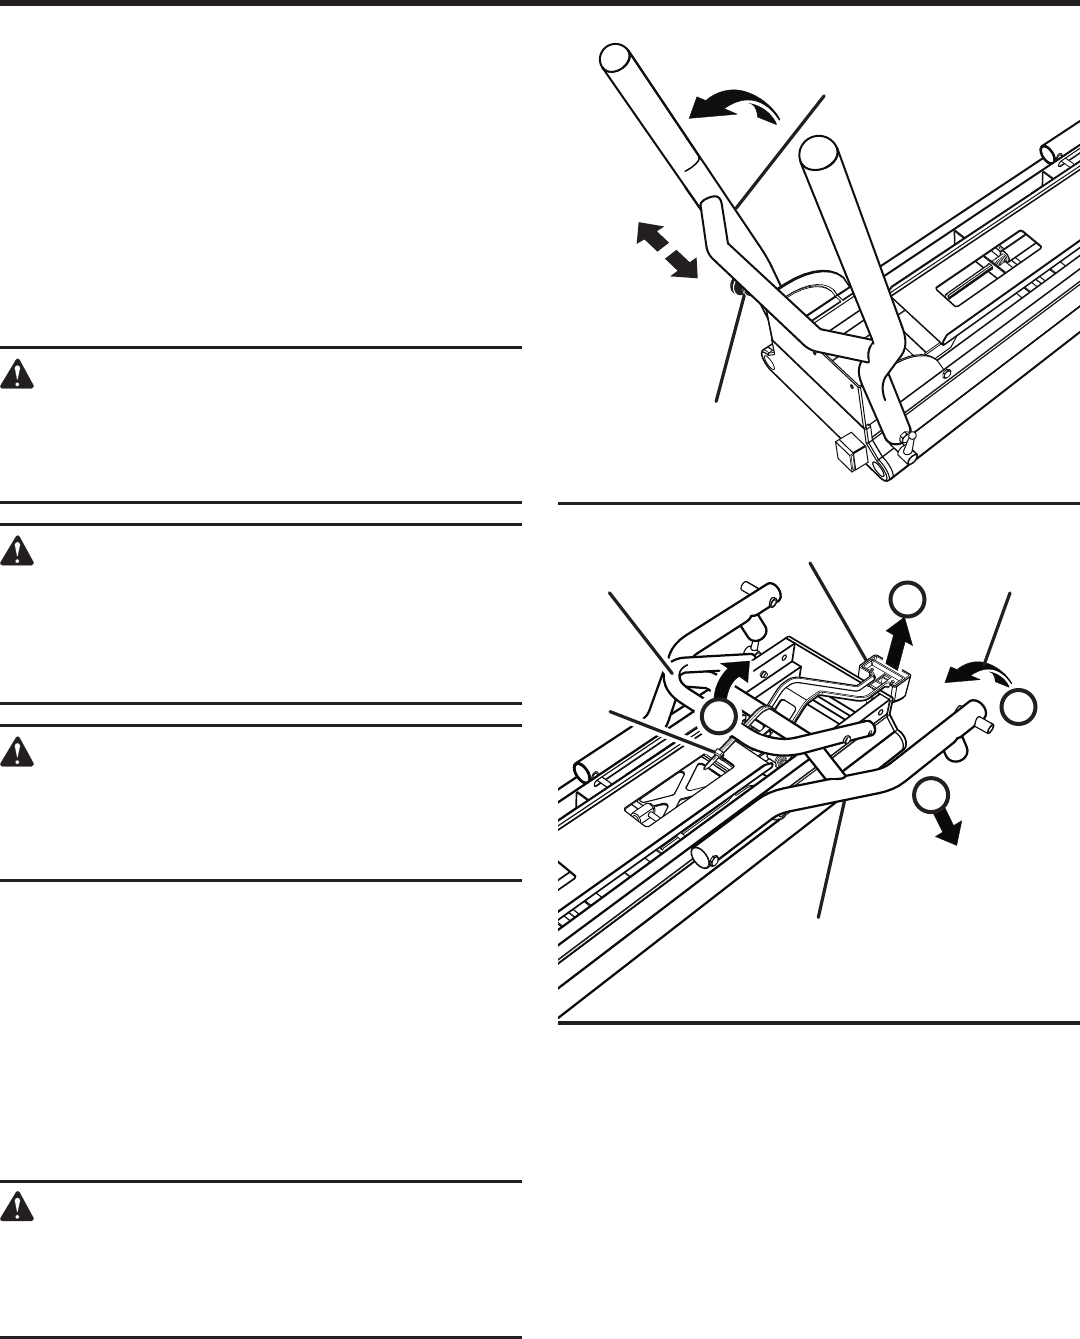
See Figures 4 - 5.
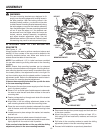
With workstand out of box and packaging removed, place
unit upside down on ground.
Pull lock knob on leg set and raise legs until locked into
open position.
Rotate lift assist handle to operational position.
While holding spring loaded wheel leg set firmly, cut cable
tie.
CAUTION:
Wheel legs are spring loaded. Hold wheel legs
to prevent from snapping up when releasing lock
mechanism release lever. Failure to do so may
result in possible injury.
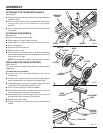
Fig. 4
ASSEMBLY
Fig. 5
2
3
4
SPRING LOADED
WHEEL LEG SET
LOCK
KNOB
LOCK
LEGS
RELEASE
LEGS
RAISE
LEGS
LEG SET
WHEEL
RELEASE LEVER
RAISE WHEEL
LEGS AND LOCK
INTO POSITION
ROTATE
LIFT ASSIST
HANDLE
HOLD WHEEL LEG
SET FIRMLY
CABLE
TIE
1


