


14
Assembly (continued)
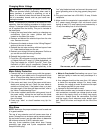
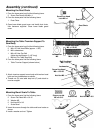
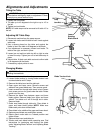
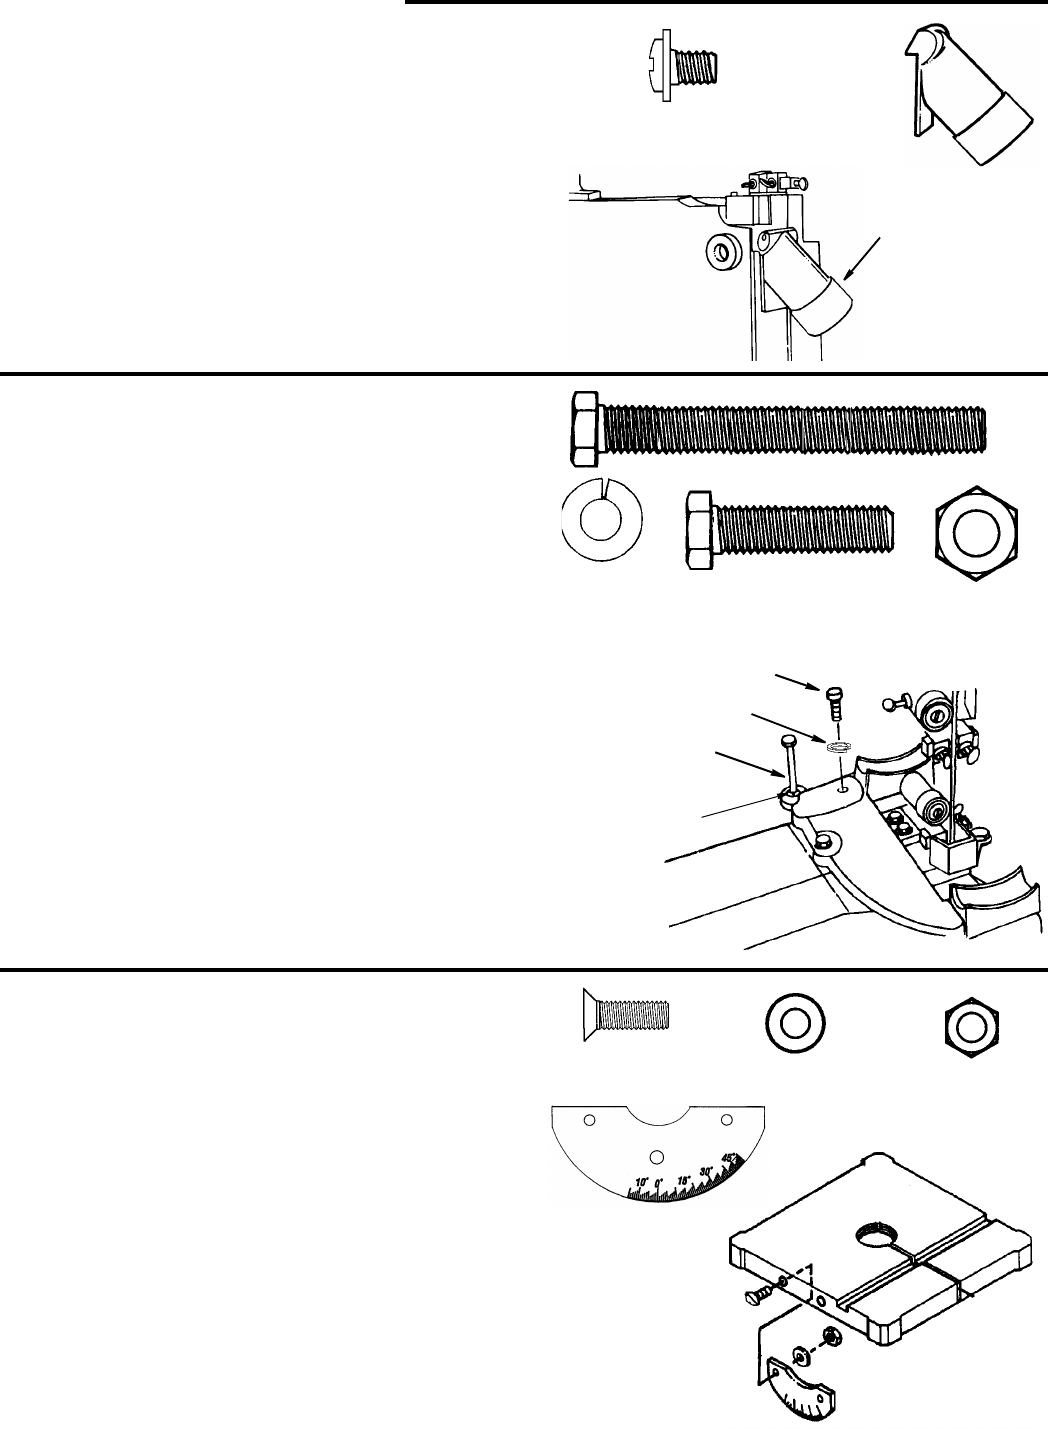
Mounting the Dust Chute
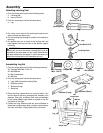
1. From the loose parts bag find the following items:
2 Screw Pan Head Lock M6 x 1
2. From the loose parts find the following items:
1 Dust Chute
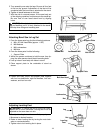
3. Open lower blade guard cover and install dust chute.
Use fasteners supplied. Close lower blade guard
cover.
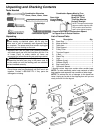
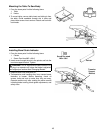
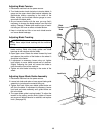
Mounting the Table Trunnion Support To
Saw Body
1. From the loose parts bag find the following items:
2 M8 x 35 Hex Head Bolts (approx. 1-3/8”)
2 M8 Lockwashers
1 M8 x 80 Hex Cap Bolt
(table stop bolt approx. 3-1/8” long)
1 M8 Nut (For Table Stop Bolt)
2. From the loose parts find the following items:
1 Table Trunnion Support (shown below)
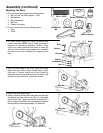
3. Attach trunnion support to saw body with two hex head
bolts and two lockwashers as shown.
4. Thread nut (D) onto table stop bolt (C) and attach to
trunnion support.
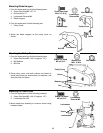
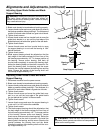
Mounting Bevel Scale To Table
1. From the loose parts find the following items:
2 Screw Flat Head M5 x 0.8-15
2 Washer M5
2Nut Hex M5 x 0.8
1 Scale Bevel
2. Insert the screws through the table and bevel scale as
shown.
3. Install a washer and nut. Tighten
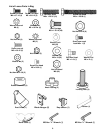
Dust Chute
Dust Chute
Screw Pan Head
Lock M6 x 1
Screw Hex Head
M8 x 1.25-80
Lockwasher
Nut Hex M8
Bolt Hex Head
M8 x 1.25-35
Lockwasher
M8
Nut Hex M8
Bolt Hex Head
M8 x 1.25-35
Screw Hex Head
M8 x 1.25-80
Screw Flat Hd.
M5 x 0.8-15
Washer M5
Nut Hex M5 x 0
.8
Bevel Scale