


12
ASSEMBLY
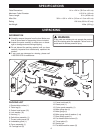
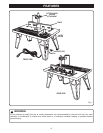
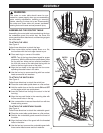
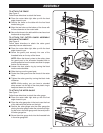
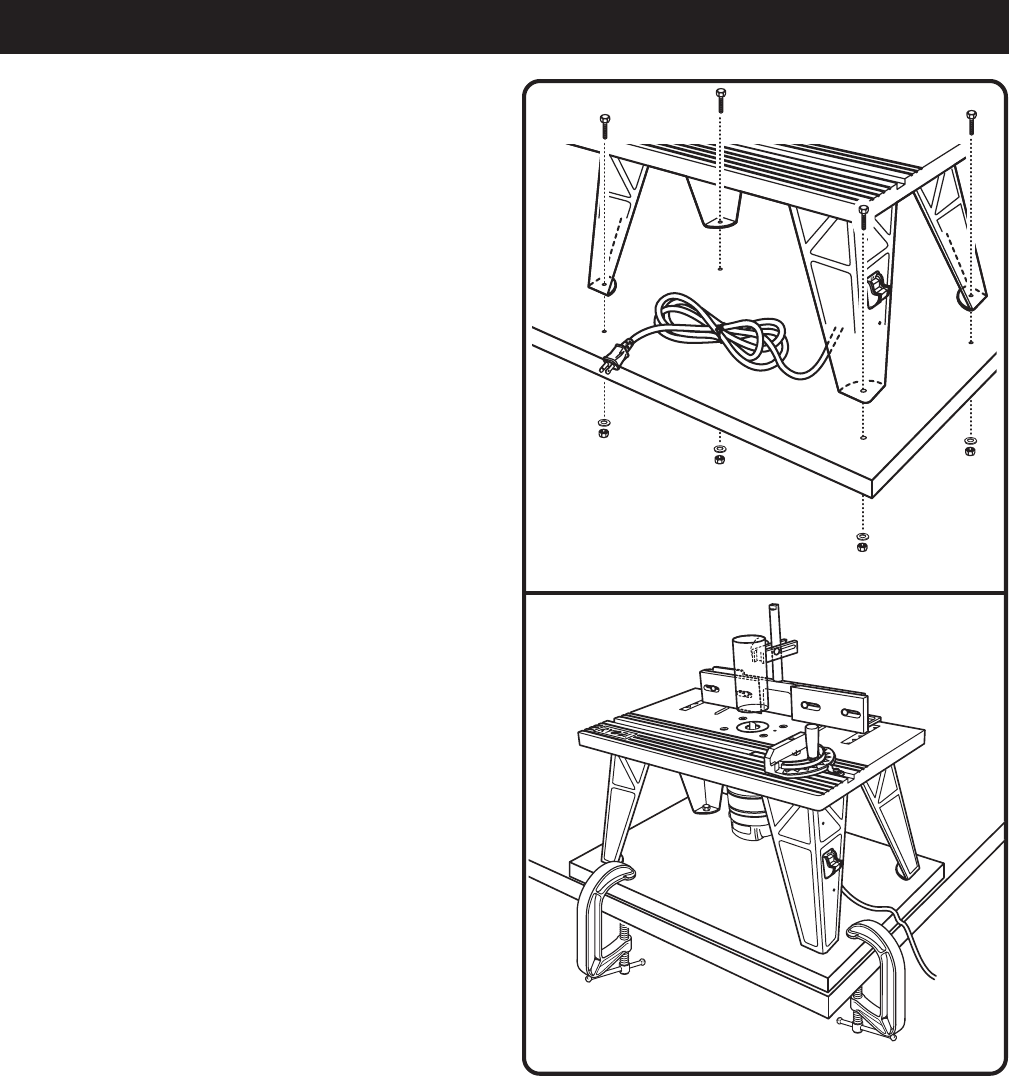
MOUNTING THE TABLE TO A WORK
SURFACE
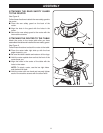
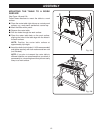
See Figure 10a and 10b.
Follow these directions to mount the table to a work
surface.
Q Place the router table right side up on a sturdy work
surface, e.g., work stand, workbench, counter top.
Q Mark the holes with a pencil.
Q Remove the router table.
Q Drill four holes through the work surface.
Q Place the router table back on the work surface,
aligning the holes in the table legs with the holes in
the work surface.
NOTE: Position the router table surface at
approximately hip height.
Q Insert four bolts (not included, 1/4-20 recommended)
and tighten securely with lock washers and hex nuts
(not included).
NOTE: If you plan to transport the router table to
different locations, we recommend that you attach it
permanently to a mounting board that you can easily
clamp to a work surface.
Fig. 10a
Fig. 10b