


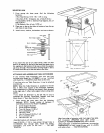


ADDITIONAL SAFETY INSTRUCTIONS FOR TABLE SAWS
WARNING: FOR YOUR OWN SAFETY, DO NOT
OPERATE YOUR SAW UNTIL IT IS COMPLETELY
ASSEMBLED AND INSTALLED ACCORDING TO THE
INSTRUCTIONS ... AND UNTIL YOU HAVE READ
AND UNDERSTOOD THE FOLLOWING.
1. GENERAL SAFETY INSTRUCTIONS FOR POWER
TOOLS... SEE PAGE 2
2. GETTING TO KNOW YOUR SAW ... SEE PAGE 20
3. BASIC SAW OPERATION... SEE PAGE 23
4. ADJUSTMENTS... SEE PAGE 29
5. MAINTENANCE... SEE PAGE 32
6. STABILITY OF SAW
If there is any tendency for the saw to tip over or move
durmg certain cutting ooerations such as cutting
extremely large heavy panels or long heavy boards, the
saw should be bolted down.
If you attach any kind of table extensions over 24"
wide to either end of the saw, make sure you either bolt
the saw to the bench or floor as aI_propriate, or support
the outer end of the extension from the bench or floor,
as appropriate.
7. LOCATION
The saw should be positioned so neither the operator
nor a casual observer s forced to stand in line with the
saw blade.
8. KICKBACKS
Kickbacks can cause serious injury: A "Kickback'"
occurs when a 0art of the workpiece binds between the
sawblade and the rid fence or other fixed object, rises
from the table, and is thrown toward the operator.
Keep your face and body to one side of the sawblade,
out of line with a possible "Kickback.'"
Kickbacks - and possible injury from them -- can
usually be avoided oV:
A. Maintaining the rip fence parallel to the sawblade.
B. Keeping the sawblade sharp, Replace or sharpen
antikickback pawls when points become dull.
C. Keeping sawblade guard, spreader, and antikickback
pawls in place and operating properly. The spreader
must be in alignment with the sawblade and the
pawls musl stop a kickback once it has started.
Check their action before ripping,
D. NOT ripping work that is twisted or warpea or does
not have a straight edge to guide along the rip fence.
E. NOT releasing work until you have pushed it al! the
way past the sawblade.
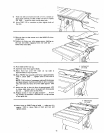
F. Using a push stick for ripping widths of 2 to 6 in.,
ana an auxiliary fence ana push block for ripping
widths narrower than 2 q. (See "Basic Saw
Operation Using The Rip Fence" section._
G. NOT confining the cut-off oiece when ripping or
cross-cutting.
H. When ripping apply the feed force to the section of
the workpiece between the saw blade and the rip
fence.
9. PROTECTION: EYES, HANDS, FACE, EARS, BODY
P_ If any oar[ of your saw is malfunctioning, has been
damaged or broken. . SUCh as the motor switch, or
other operating control, a safety device or the
power cord .. cease opera[rag immediately until
the particular part s properlv repaired or rep aced.
B. Wear safety goggles that comply with ANSI Z87.1,
and a face shield if operation is dusty, Wear ear
plugs or muffs during extended periods of
operation.
C. Small loose pieces of wood or other objects [hat
contact the rear of the revolving blade can be
thrown back at the operator at excessive soeed. This
can usualtv be avoided by keeping the guard and
spreader in place for all thru-sawing operations
(sawing entirelv thru the work) AND by removmg
a loose pieces from the table with a long stick of
wood IMMEDIATELY after they are cut off.
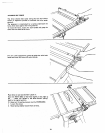
D. Use extra caution when the guaro assembly is
removea for resawing, dadoing, rabbeting, or
molding - replace the guard as soon as tna_
operation is completed.
E. For rip or rip-type cuts. the following end of a
workoiece to which a push stick or push board is
applied must be square (perpendicular to the fence)
in order that feed pressure applied to the workpiece
by the push stick or block does not cause the
workpiece to come away from the fence, and
possibly cause a kickback.
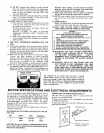
F. During rip and rip type cuts, the workpiece must be
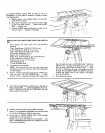
held down on the table and against the fence with a
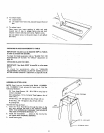
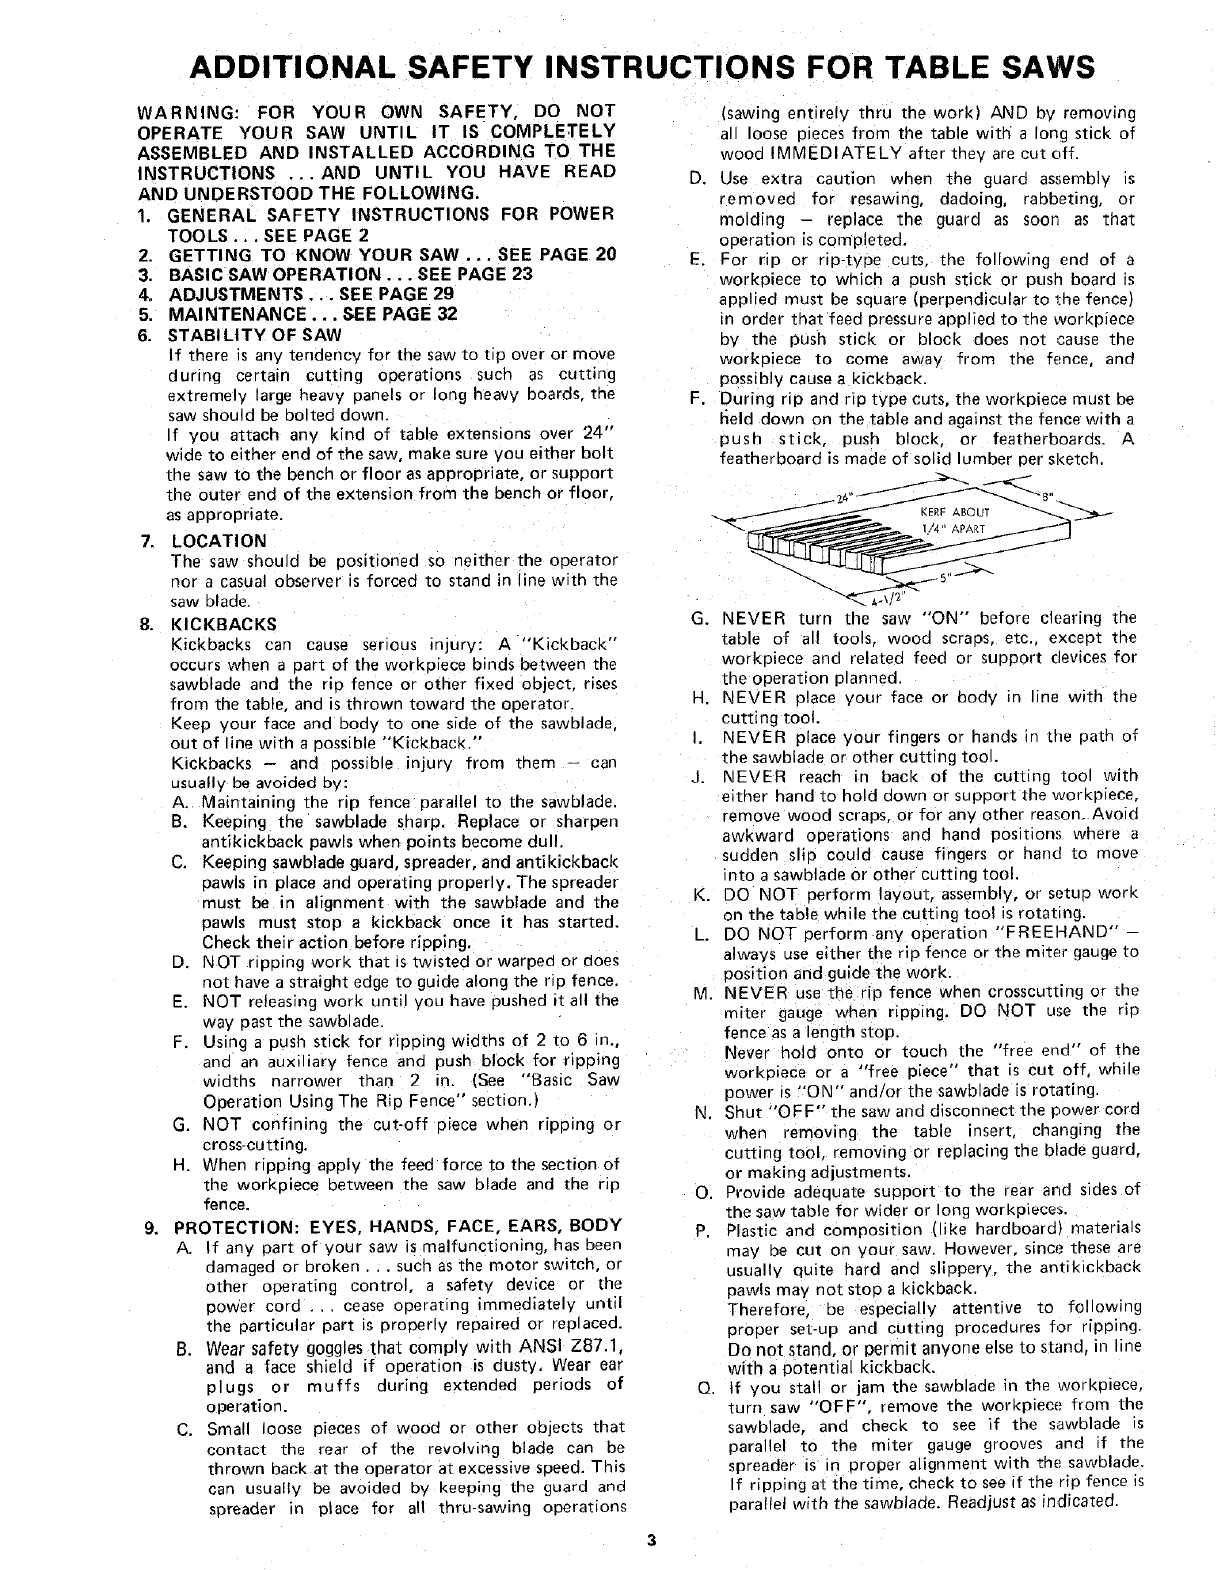
push stick, push block, or featherhoaros. A
feather board is made of solid lumber per sketch.
_S"
KERF ABOUT
G. NEVER turn the saw "ON" before clearing the
[able of all tools, wood scraps, etc., except the
workoiece and _elateo feed or suoport devices for
[he operation planned.
H. NEVER place your face or body n line with the
cutting toot.
I NEVER place your fingers or hands ir the path of
the sawblade or other cutting tool.
J. NEVER reach in back of the cutting tool with
either hand to hold down or support the workmece,
remove wood scraps, or for any other reason. Avoid
awkward operations and hand positions where a
sudden slib could cause fingers or hand to move
into a sawblade or other cutting tool.
K. DO NOT perform layout, assembly, or setup work
on the table while the cutting tool is rotating.
L. DO NOT perform any operation "FREEHAND" -
always use either the rip fence or the miter gauge to
position and guide the work.
M. NEVER use the rip fence when crosscutting or the
mtter gauge when ripping, DO NOT use the rid
fence as a length stop.
Never hold onto or touch the "free end" of the
workpiece or a "free piece" that is cut off, while
power _s"ON" and/or the sawblade is rotating.
N. Shut "OFF" the saw and disconnect the power core
whet removing the table insert, changing the
cutting tool, remowng or replacing the blade guard.
or making adjustments.
O. Provide adectuate support to the rear and s_des of
the saw table for wider or long worKpiece's.
P. Plastic and composition (like hardboard) materials
may oe cut on your saw. However, since these are
usually quite hard and slippery, the antikickback
pawls may not stop a kickback.
Therefore, be especially attentive to following
proper set-up and cutting procedures for ripping.
Do not stand, or permit anyone else to stand, in line
with a potential kickback.
Q. If you stall or jam the sawblade in the workolece,
turn saw "OFF", remove the worKpiece from the
sawblade, and check to see f the sawblade s
parallel to the miter gauge grooves and i_ the
spreader is in proper alignment with the sawblade.
If ripping at the time, check to see if the rip fence is
parallel with the sawblade. Readjust as indicated.