


-16-
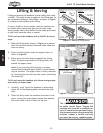
M1113 18" Wood/Metal Bandsaw
SETUP
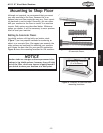
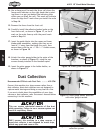
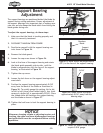
Figure 17. Scale installed on front fence
rail.
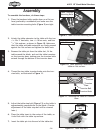
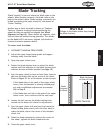
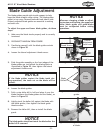
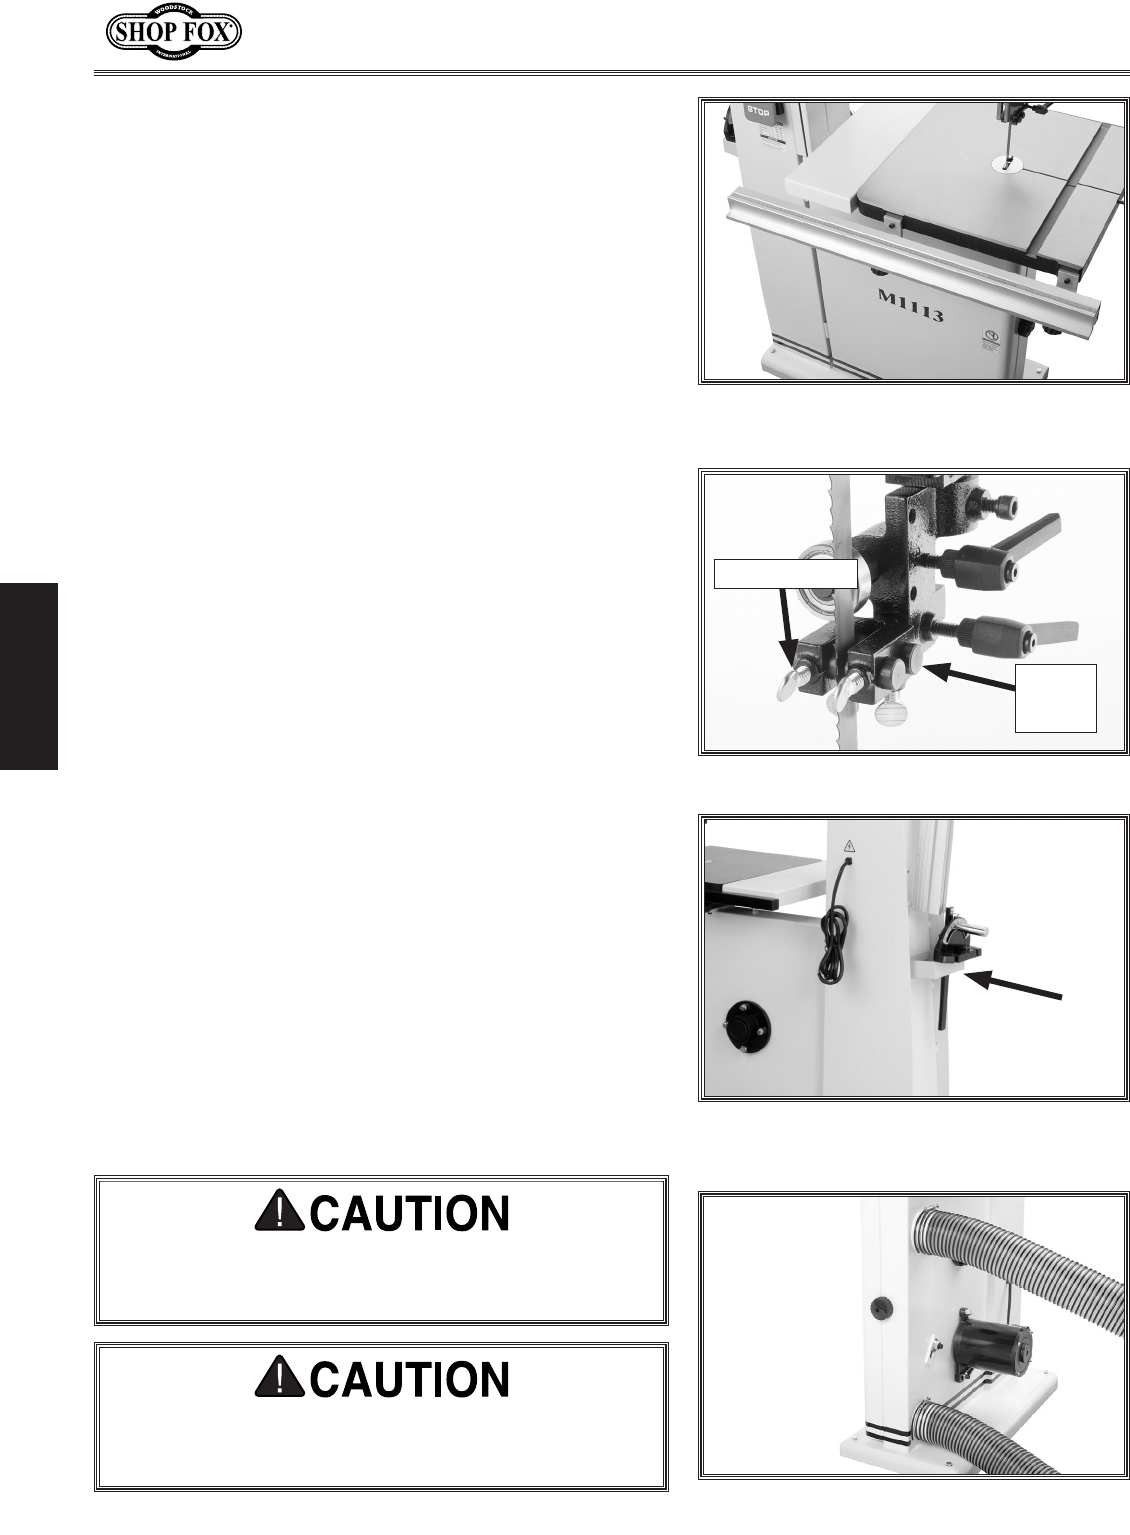
Figure 18. Blade guide installation.
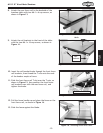
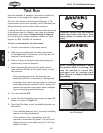
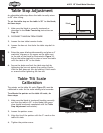
Figure 19. Miter gauge holder attached
with miter gauge inserted.
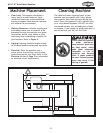
14. Use a sharp pencil to mark the fence rail where the
fence scale indicator on the right-hand side is point
-
ing (there is a gap just behind the indicator plate
where you can mark the rail). This mark will indicate
where to align the 0" mark when you install the scale
in Step 16.
15. Remove the fence from the front rail.
16. Carefully install the adhesive-backed scale on the
front fence rail, as shown in
Figure 17, so the 0"
mark on the scale lines up with the pencil mark
made in
Step 14.
17. Insert the guide blocks into the upper and lower
blade guide assemblies, making sure they are at
least a
1
⁄8" away from the blade (for now), then
secure them with the six
1
⁄4"-20 x
1
⁄2" thumb screws,
as shown in
Figure 18.
Guide
Block
Thumb Screw
18. Attach the miter gauge holder to the spine of the
bandsaw, as shown in
Figure 19, using the cap
screws already installed in the bandsaw spine.
19. Insert the miter gauge in the holder holder, as
shown in
Figure 19.
This saw creates substantial amounts of fine dust
while operating. Failure to use a vacuum system can
result in respiratory illness.
Recommended CFM at each Dust Port
: ......... 400 CFM
Connect this machine to a shop vacuum rather than a
dust collector. Most dust collectors are not designed to
capture metal shavings and doing so may lead to a fire.
If you are in doubt about the capabilities of your shop
vacuum or dust collector, refer the owner's manual before
connecting it to this machine.
Dust Collection
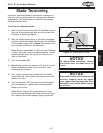
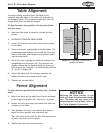
Figure 20. Dust port connected to dust
collection system.
ONLY connect this machine to a shop vacuum. A
wood dust collector is not designed for metal chips,
which may spark and cause a fire.