MACHINE DESCRIPTION
The PG-239 model is an automatic electronic machine designed to set grommets with washers,
grommets without washers or to make holes in the material.
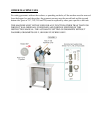
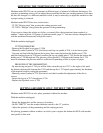
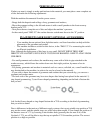
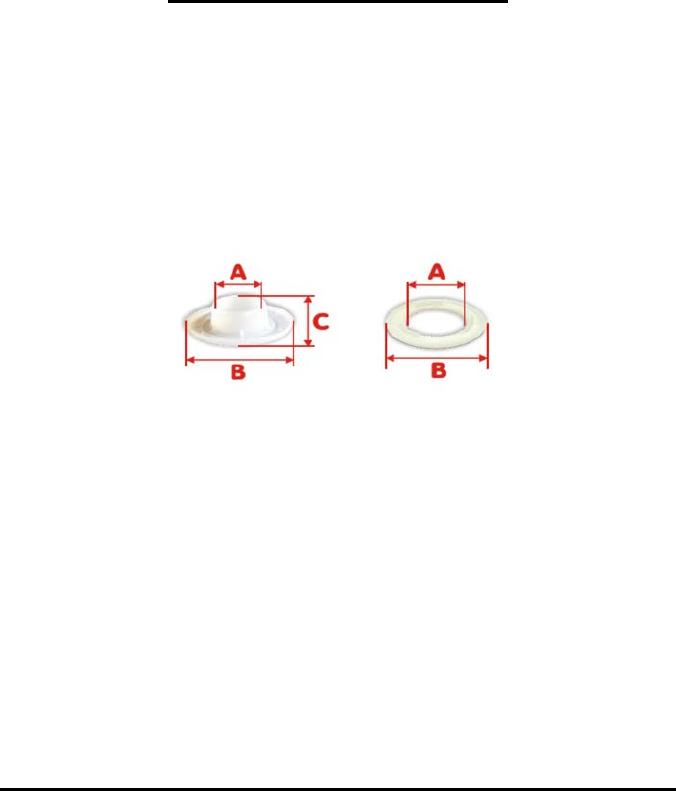
Each machine is manufactured for a specific size of grommet and washer. Grommet models may
differ in: the head size “B”, the length “C”, the interior diameter of tube “A”, the thickness, etc; and
the washer models may differ in: the exterior diameter “B”, & the interior diameter of washer hole
“A”, the washer shape, etc.
SINCLAIR EQUIPMENT RECOMMENDS YOU TO USE ALWAYS THE SAME TYPE OF
GROMMET AND WASHER FOR WHICH THE MACHINE WAS DESIGNED. In order for the
machine to set different grommet and washer models, certain parts need to be changed (the raceway
and the top and bottom sets); but you always have to use the same washer the machine was
manufactured for.
In order for the machine to set different grommet models, certain parts need to be changed.
(SEE THE ADJUSTMENTS SECTION OF MANUAL.)
SINCLAIR EQUIPMENT will accept no responsibility arising from the use of this machine in any
way different from that which is described in this instruction manual.
SETTING UP THE MACHINE FOR ITS OPERATION
PLEASE VERIFY THESE ADJUSTMENTS BEFORE CONNECTING THE MACHINE.
Before starting the machine for the first time, and each time the location of the machine is changed,
or any changes are made in parts or any adjustments are done to it, we recommend the following
steps:
After placing and making the machine level in its permanent location “STILL WITHOUT
PLUGGING IT IN”, lubricate it with SAE 40 type oil in the grease cups and red marks. Let the oil
have enough time to cover the parts and then clean the excess oil that might remain or drip.
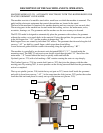
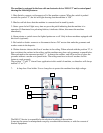
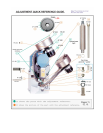
1- Remove the cap nº 158 “pulley cover” that covers the flywheel by loosening the 4 allen screws
that tighten it.
2- Rotate the flywheel nº 274 manually one cicle of 360º in the direction that the red arrow points
(clockwise).
3- Verify that the machine is moving freely.
4- Put the cap on again (nº 158) and tighten it with the 4 allen screws.


