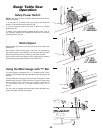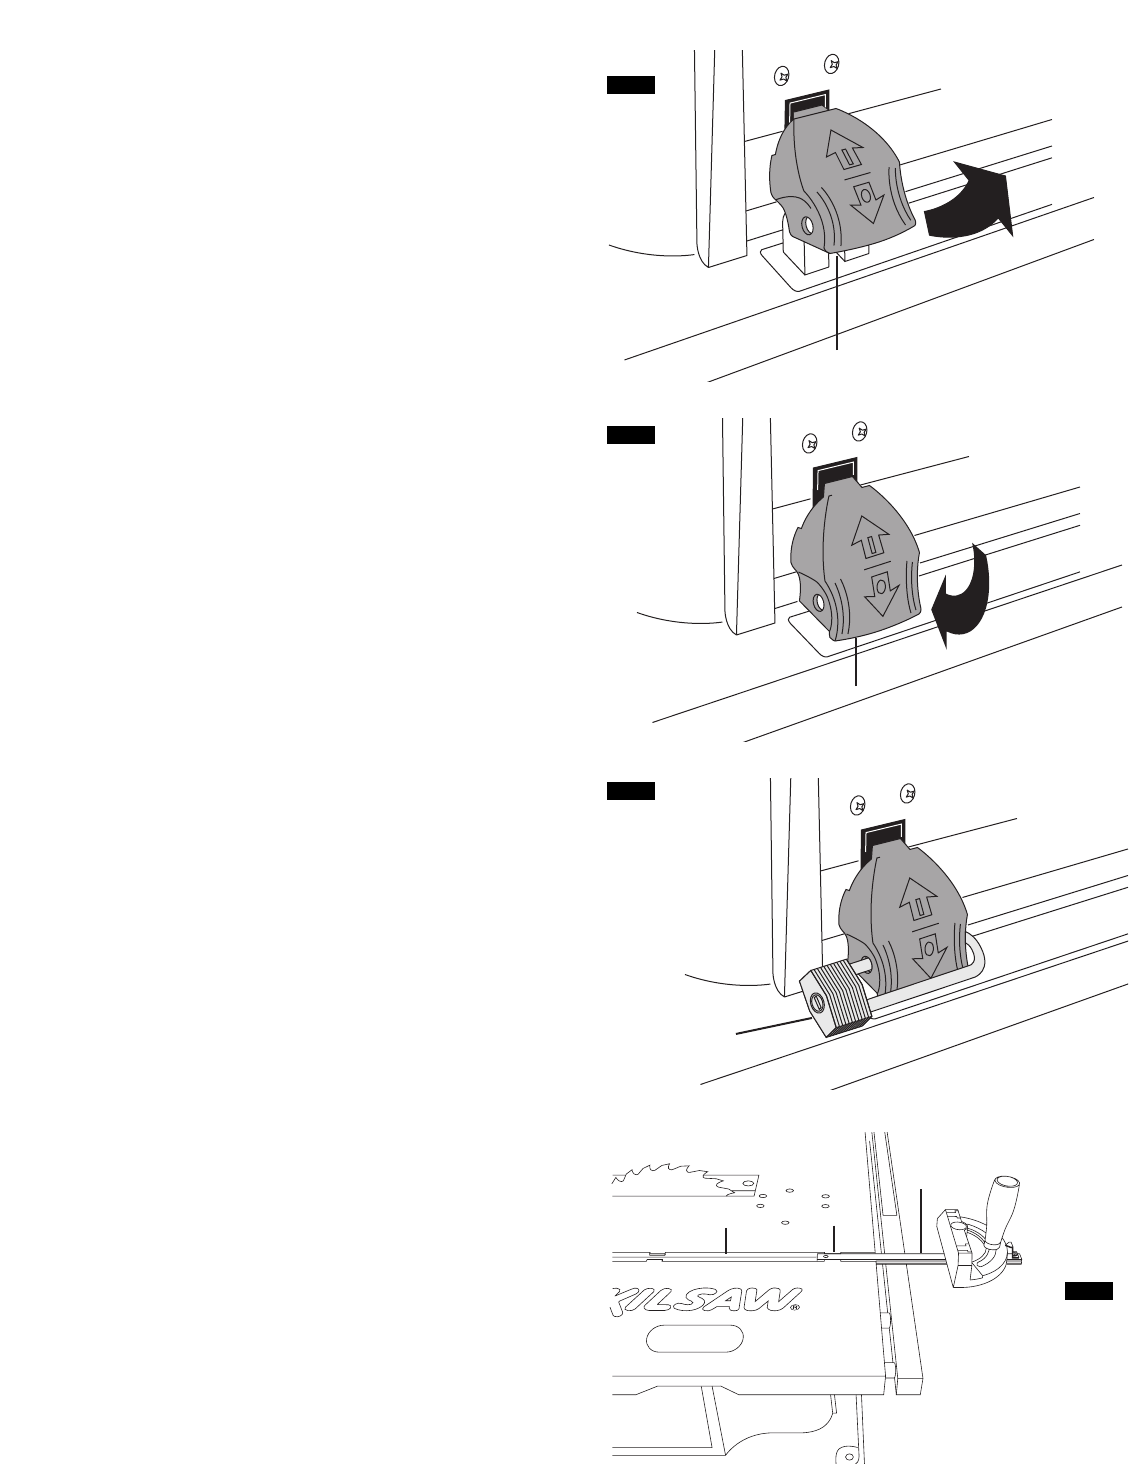
Safety Power Switch
NOTE: This table saw has a lockable feature that helps prevent
accidental starting.
1. To turn saw on, lift switch lever 1 by pinching side walls and
pulling up. This action starts the saw (Fig. 28)
2. To turn off power, push switch lever 1 down to it’s original
position (Fig. 29).
3. Switch 1 can accommodate a padlock 2 with a long, 3/16" or
1/4" diameter shackle (not provided with table saw), to prevent
unauthorized use (Fig. 30).
Work Helpers
Before cutting any wood on your saw, study all of the “Basic Saw
Operations”.
Notice that in order to make some of the cuts, it is necessary to
use certain devices, “Work Helpers”, like the Push Stick, the Push
Block and the Auxiliary Fence, which you can make yourself.
After you have made a few practice cuts, make up these “helpers”
before starting any projects. Make the “Push Stick” first.
Using the Miter Gauge with “T” Bar
The miter gauge is equipped with a “T” shaped bar 12 which
engages under retaining tabs 13 in the table’s miter gauge slots 14
(Fig. 31).
The tabs keep the miter gauge in the slot and will support it when
pulled beyond the front of table as shown in figure 31. When using
the miter gauge for 90° cross-cuts, the maximum cut capacity is
11-1/2 inches for up to 2 x 12 lumber (actual width= 11-1/4
inches).
The bar must be engaged under slot tabs before attempting any
cutting operation using the miter gauge.
38.
Basic Table Saw
Operation
FIG. 28
FIG. 29
FIG. 30
1
1
2
(“I”) ON
(“I”) MARCHE
(“I”) ENCENDIDO
(“O”) OFF
(“O”) ARRÊT
(“O”) APAGADO
FIG. 31
12
13
14


