


-30-
For Machines Mfg. Since 8/09
Model SB1018
OPERATION
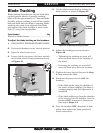
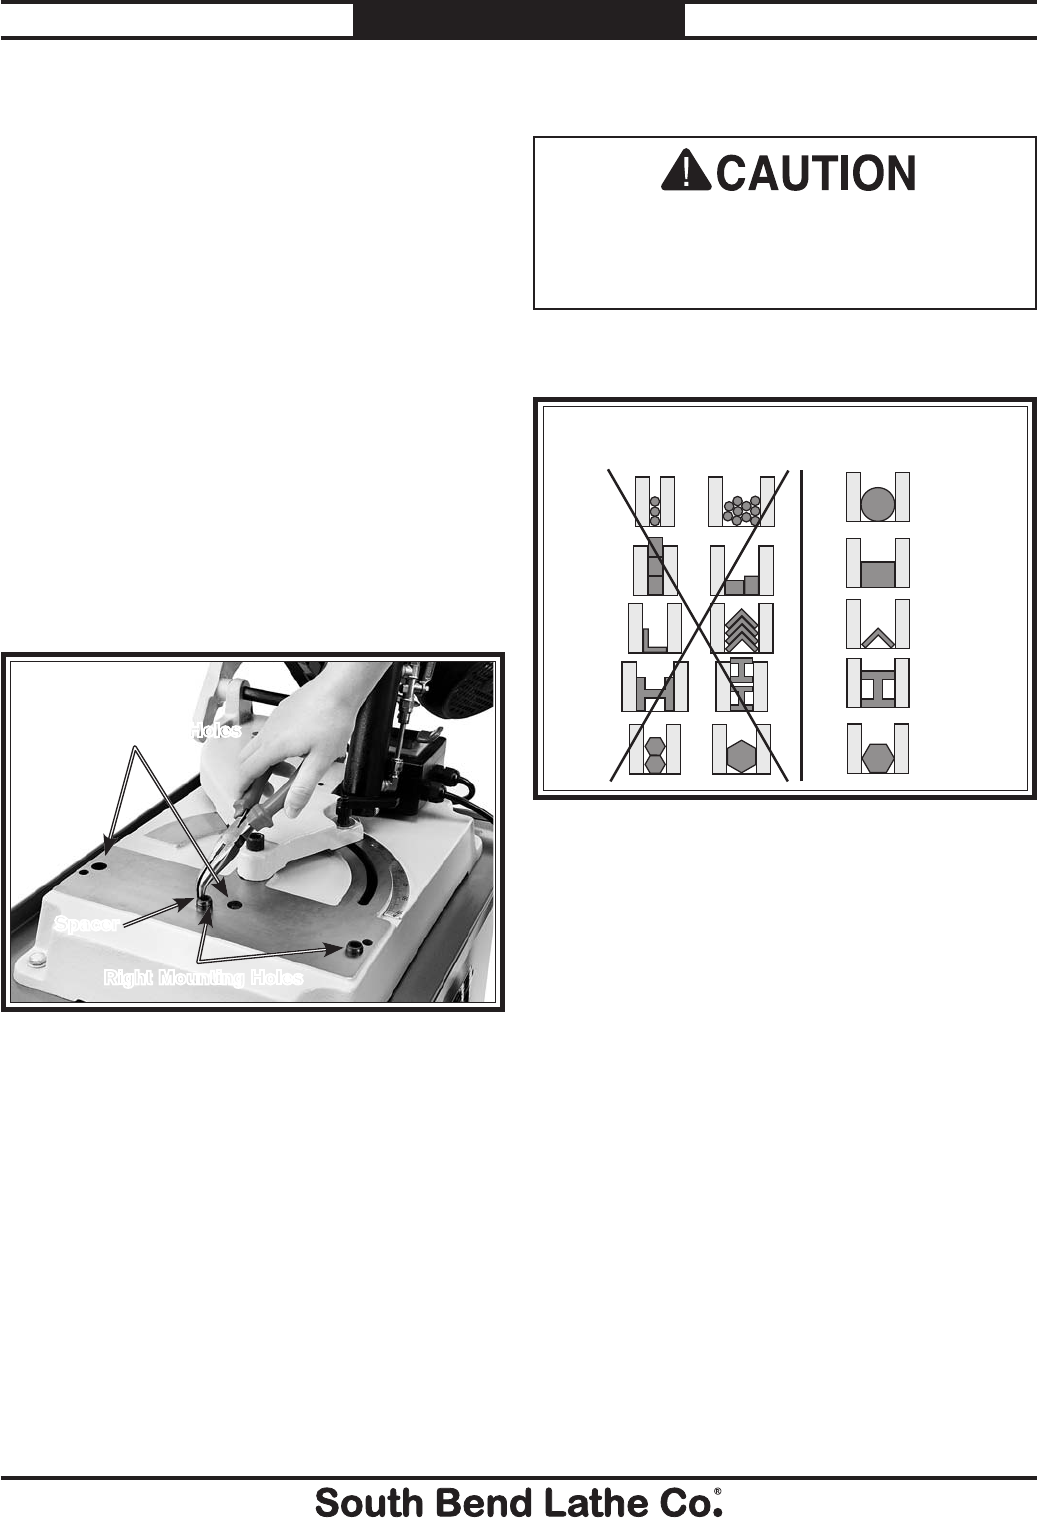
4. Remove the two spacers from the holes
on the left side of the machine base, then
reposition them into the two holes in the
right side of the machine base, as shown in
Figure 39.
5.
Place the vise over the spacers, aligning it
so it sits flush on the machine base, then
use the two cap screws removed in Step 2 to
secure the vise to the base.
6. Loosen the lock handle shown in Figure
38, then swivel the headstock to the desired
angle, using the angle scale as a guide.
7. Move the saw through its full range of
motion to make sure the blade will not
contact the vise during operation, then
tighten the swivel lock handle.
Figure 39. Moving vise spacers.
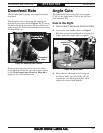
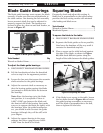
Figure 40. Workholding options by material shape.
NOT
RECOMMENDED
RECOMMENDED
Vise
Figure 40 shows the correct methods for holding
different workpiece shapes.
Left Mounting Holes
Right Mounting Holes
Spacer
Cuts to the Left
If you need to make a cut from 45° to 60°, you
will have to make the cut to the left, which will
require moving the vise to the right side of the
machine.
1. DISCONNECT BANDSAW FROM POWER!
2. Support the vise with one hand and remove
the two cap screws that secure the vise to the
machine base, then set the vise aside.
3. Lift the headstock to the upmost position,
then close the downfeed valve to prevent it
from lowering.
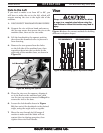
Always turn the saw OFF and allow the blade
to come to a complete stop before using the
vise! Failure to follow this caution may lead to
injury.