-40-
For Machines Mfg. Since 8/09
Model SB1020
SERVICE
A blade that is perpendicular to the table surface
provides the best cutting results with minimal
side loading and blade wear. The blade is held
perpendicular to the table by the two blade
guides. Each guide is held in place by two cap
screws and aligned with the four set screws
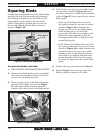
shown in Figure 49.
Squaring Blade
4. If the blade is not square to the table, loosen
the cap screws shown in Figure 49 one to
two turns. Remove the blade brush assembly
(refer to Page 37), then repeat for the second
blade guide.
— If the top of the blade tilts away from
the square, loosen the top two set screws
shown in Figure 49 and tighten the
bottom two set screws an equal amount
while keeping an eye on the blade
squareness (the amount you tighten and
loosen the screws depends on how far
from square the blade is). Repeat for the
second blade guide.
— If the bottom of the blade tilts away from
the square, tighten the top two set screws
shown in Figure 49 an equal amount and
loosen the bottom two set screws while
keeping an eye on the blade squareness
(the amount you tighten and loosen the
screws depends on how far from square
the blade is). Repeat for the second blade
guide.
5. Tighten the cap screws loosened in Step 4.
6. Repeat Steps 3–5 as necessary until the
blade is perfectly square to the table.
Figure 49. Blade guide adjustments.
Blade Guide
(1 of 2)
Set
Screws
Cap
Screws
To square the blade to the table:
1. DISCONNECT BANDSAW FROM POWER!
2. Separate the blade guides as far as possible,
then lower the bandsaw all the way until it
contacts the downfeed stop bolt.
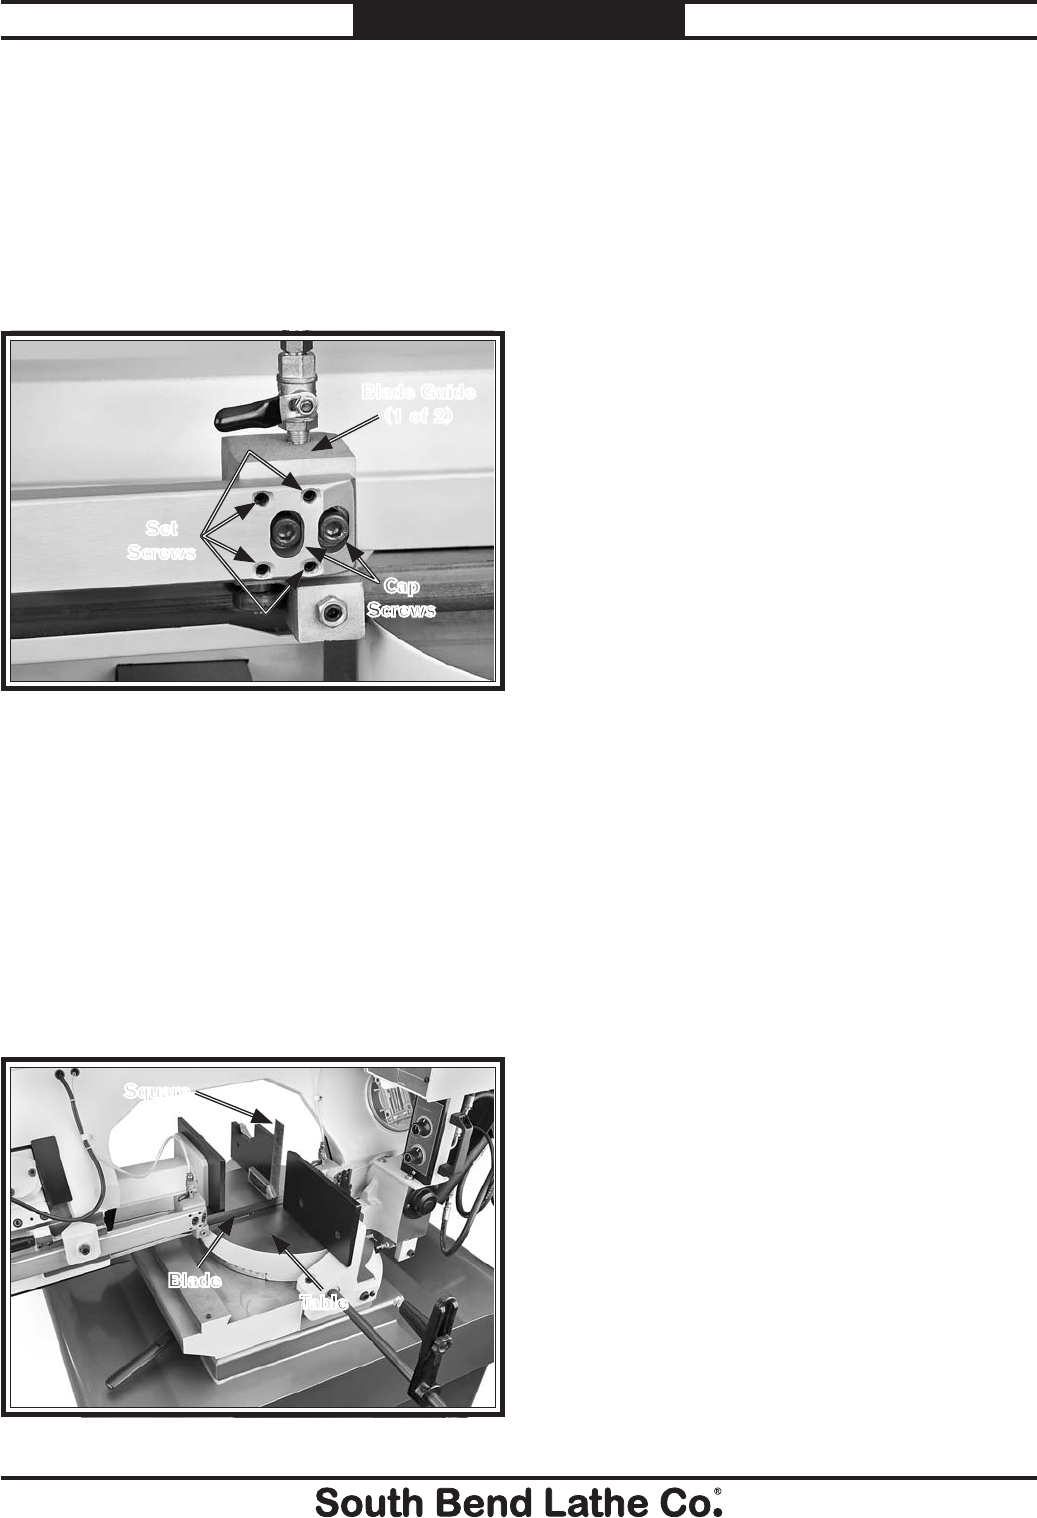
3. Place a square on the table bed and against
the edge of the blade, as shown in Figure
50, then check different points along the
length of the table between the blade guides.
Figure 50. Squaring the blade.
Blade
Square
Table


