


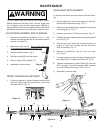

1
TIP CHANGE
CHANGING THE ROUND SPRAY TIP
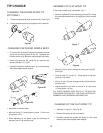
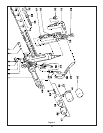
1. Screw out spray tip (B) with tip wrench (A). (See Fig.5)
2. Attach desired spray tip and tighten with tip wrench.
CLEANING OF THE FLAT SPRAY TIP
• Remove air cap (H). (See Fig. 8)
• Remove flat spray tip (G) and clean it.
• Carefully handle the carbide flat spray tip (G); avoid
cleaning with sharp-edged metal objects.
Figure 7
Figure 8
.
• Assemble in reverse order.
• Mount tip body ( D ) and tighten by hand. ( Do not use
tip removal tool ).
• When adjusting tip nut leave a gap for atomizing air
between the air cap and tip body.
12
(OPTIONAL):
ALL PARTS NEEDED FOR THE FLAT TIP MUST BE
PURCHASED SEPARATELY. SEE PAGE 18 FOR PART
NUMBERS AND ORDERING INFORMATION.
• Mount tip (G) on paint channel of spray gun body (F).
See Fig.8.
• Place air cap ( H ) on tip ( G ) fitting lugs of air cap into
grooves of tip insert.
• Mount air cap ( H) onto spray gun body until past the tip
security lever.
• Adjust desired air jet level by means of air cap horns
( J) and tighten air cap.
ASSEMBLY OF FLAT SPRAY TIP
If the round nozzle body is attached: Fig. 7.
• Remove tip body (D) from the spray gun body (F). Using
the procedure described in changing the round nozzle
body.
A
B
Figure 5
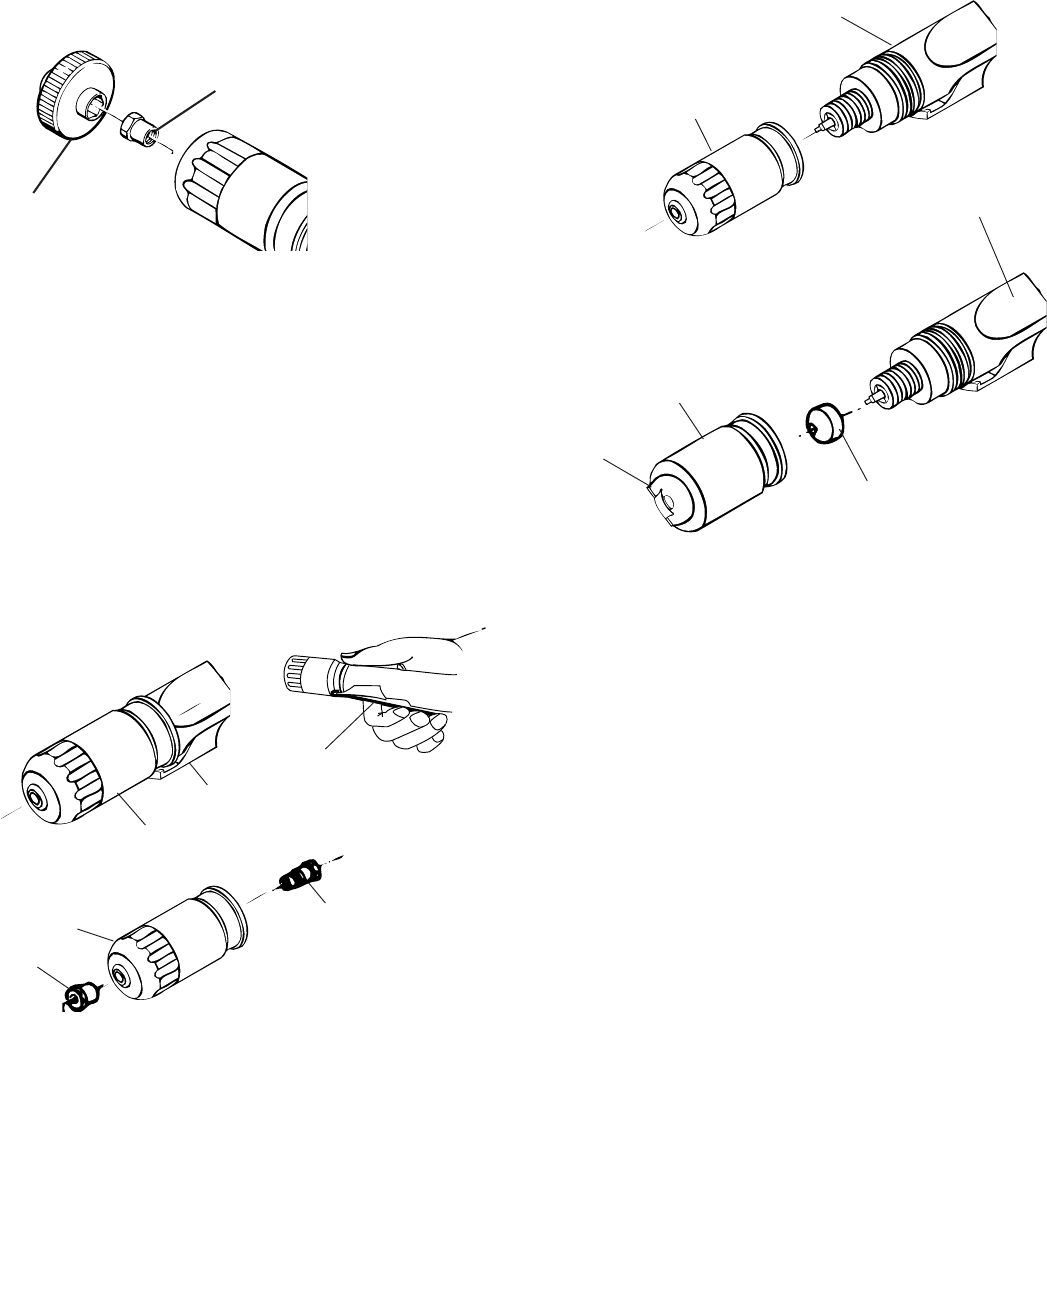
CHANGING THE ROUND NOZZLE BODY
• To remove the tip body (D) place the tip body removal
tool on the tip security lever (E) fig. 6A. Squeeze and
hold as shown in fig. 6B while unscrewing the tip body.
• Screw out spray tip (B) using the tip spanner and
remove diffuser ( C ) fig 6C.
• Carefully handle the carbide spray tip; avoid cleaning
with sharp-edged metal objects.
Figure 6A
Figure 6C
E
D
C
G
F
H
J
B
Tip nut
Figure 6B
Tip removal tool
D
F