


18
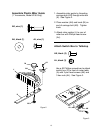
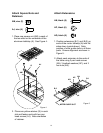
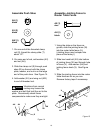
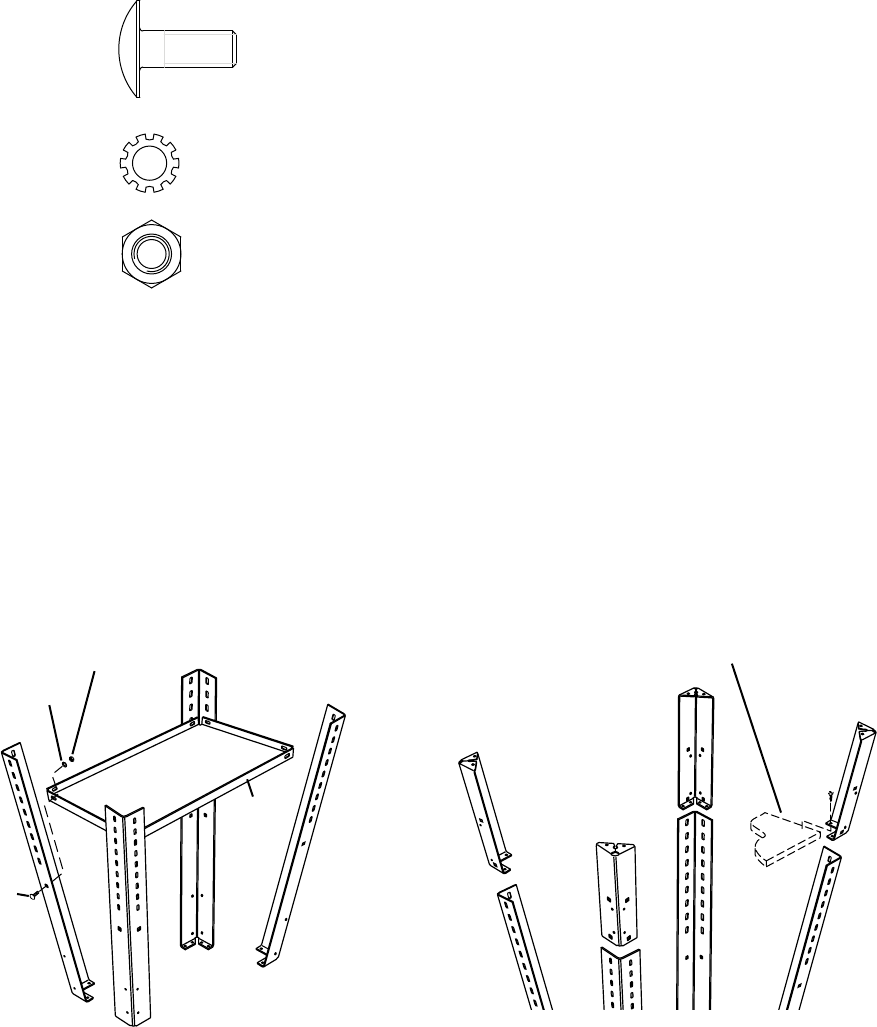
Attach Tool Tray
(Router Table Model 6155 Only)
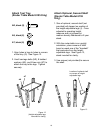
AR, black (8)
AS, black (8)
AT, black (8)
1. Align holes in legs to holes in corners
of tool tray (G). See Figure 12.
2. Use 8 carriage bolts (AR), 8 toothed
washers (AS), and 8 hex nuts (AT) to
attach the tray to the legs. Tighten
securely.
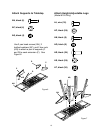
AS
G
AR
AT
Figure 12
(Height-adjustable legs
removed for clarity)
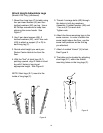
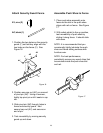
Figure 13
Location of optional shelf
on corners of height-
adjustable legs
Attach Optional, Second Shelf
(Router Table Model 6155
Only)
1. Size of optional, second shelf (not
provided) will depend on position of
the height-adjustable legs (J). Once
adjusted to operating height,
measure and cut plywood or
medium density fiberboard to fit your
stand.
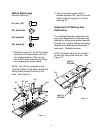
2. With the router table in an upright
orientation, place corners of shelf
board on each one of the "brackets"
that protrudes from the height-
adjustable legs. See Figure 13,
stand inverted for clarity.
3. Use screws (not provided) to secure
the shelf.