


10
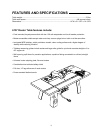
7. Insert safety shield assembly through
2 washers (U) and holes in table top.
8. Before securing safety shield
assembly in place, pivot the safety
shield and make sure the safety shield
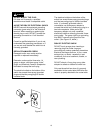
rear does not come in contact with
table top. Use previously installed
nuts to raise/lower safety shield
assembly as necessary.
9. Secure safety shield assembly in
place with 2 washers (U) and 2 hex
nuts (T). See Figure 3.
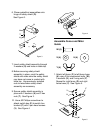
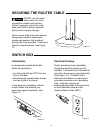
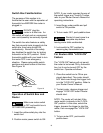
10. Use a #2 Phillips screwdriver to
attach switch box (E) to switch box
bracket (C) with 3 pan head screws
(V). See Figure 4.
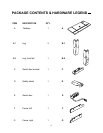
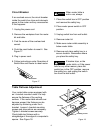
1. Attach left fence (F) to left fence base
(H) using 2 flat countersink bolts, (W),
2 washers (X), and 2 wing nuts (Y).
Repeat for right fence (G) and right
fence base (J). See Figure 5.
Assemble Fence and Miter
Guide
W (4)
X (4) U (4)
Y (4)
W
H
Y
X
F
Figure 5
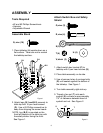
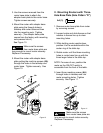
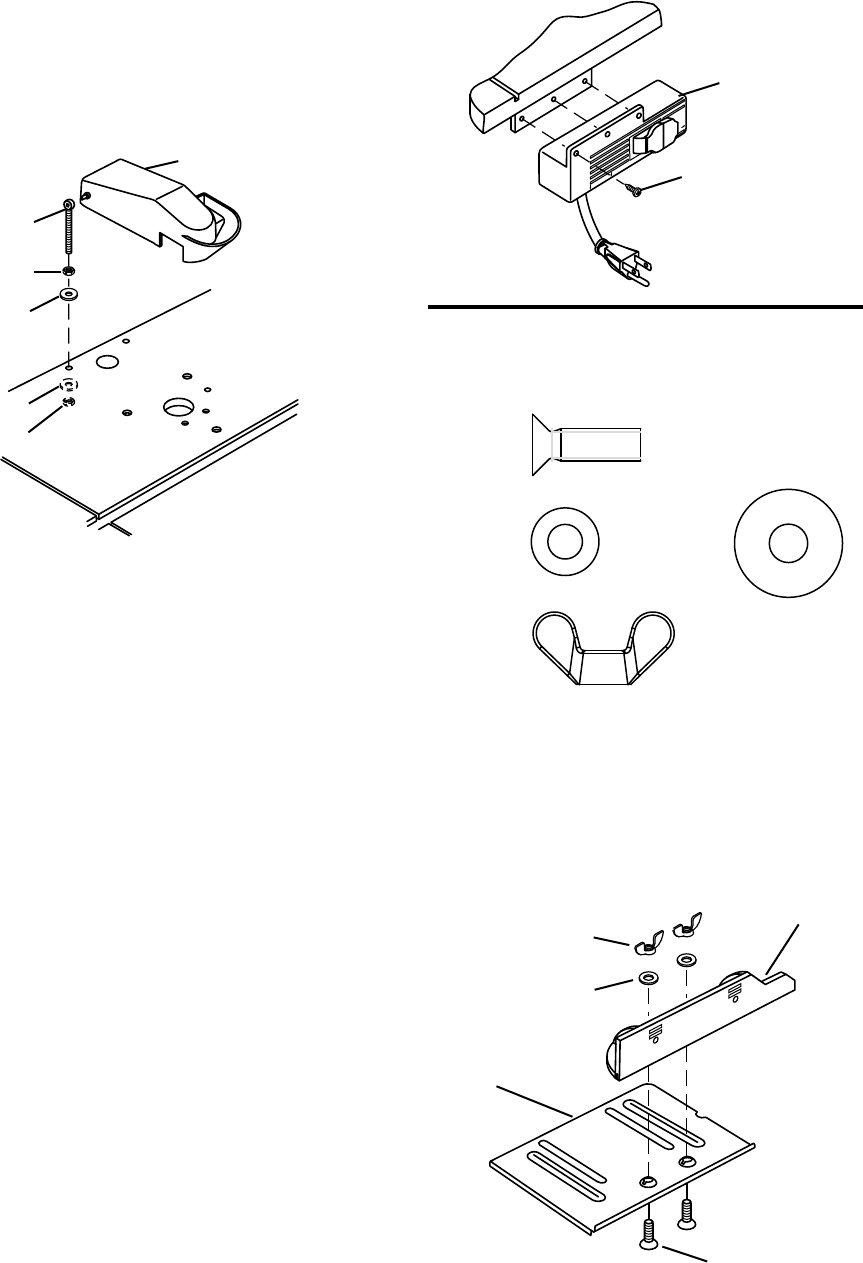
6. Place eyebolt/nut assemblies onto
hinge of safety shield (D).
See Figure 3.
H
N
T
U
U
T
Figure 3
PU
L
L
O
N
P
U
SH
O
F
F
R
E
SE
T
O
UT
L
E
T
S
V
E
Figure 4