21
OPTIONS / ACCESSORIES
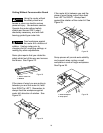
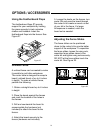
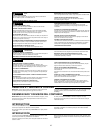
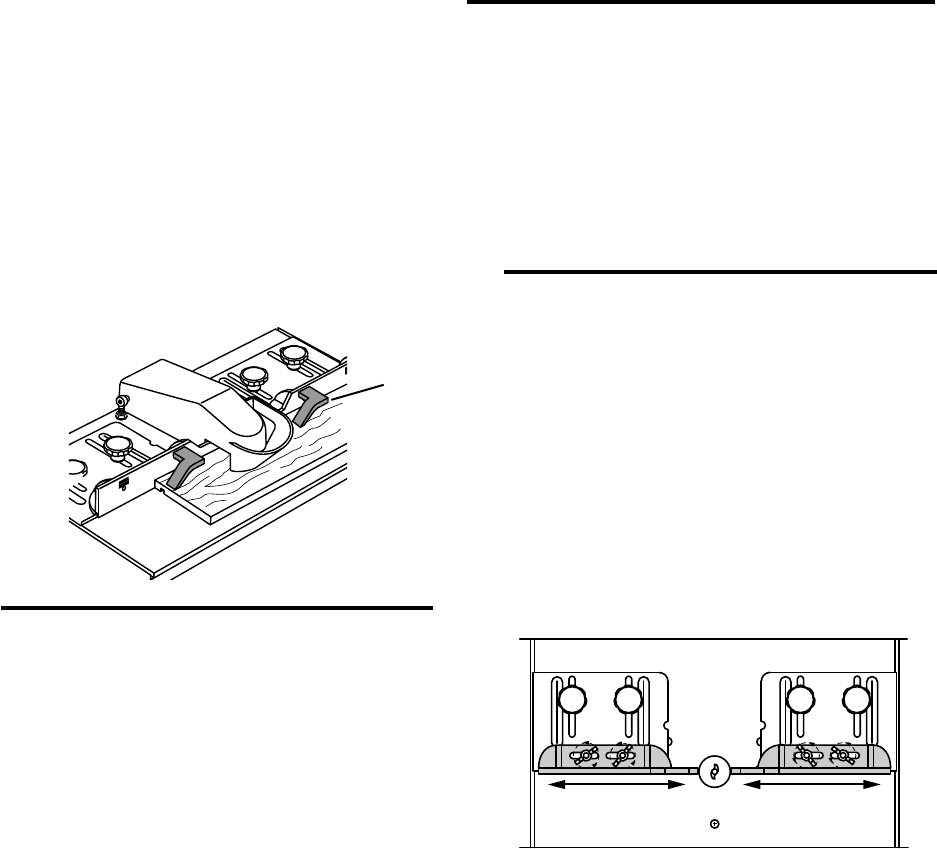
Using the Featherboard Flaps
The featherboard flaps (P) provide
support for your workpiece by holding
the piece securely to help minimize
chatter and kickback. Insert the
featherboard flaps into the fences. See
Figure 27.
Unitized Fence
A unitized fence can be created to make
it possible to rout taller workpieces.
The router table is designed to accept a
board (unitized fence) of up to 4 inches
in height. To make a unitized fence,
perform the following:
1. Obtain a straight board up to 4 inches
in height.
2. Place the board against the fences
and mark the location of the holes in
the fences.
3. Drill and countersink the board to
accommodate the hardware (not
included) to attach the board to the
fences.
4. Attach the board securely to the
fences (hardware not included).
5. Loosen the knobs on the fences, turn
router ON and pass the board through
the router bit to create an exact cut-out
of your bit in the fence. If a larger
bit exposure is needed, notch the
board out as needed.
Adjusting the Fence Slides
The fence slides can be positioned
closer to the router bit to provide better
support of the workpiece. To reposition
the fence slides, loosen the wing nuts,
reposition fence slides closer to the
router bit and tighten wing nuts securely.
DO NOT let the fence slides touch the
router bit. See Figure 28.
Figure 28
Figure 27
P


