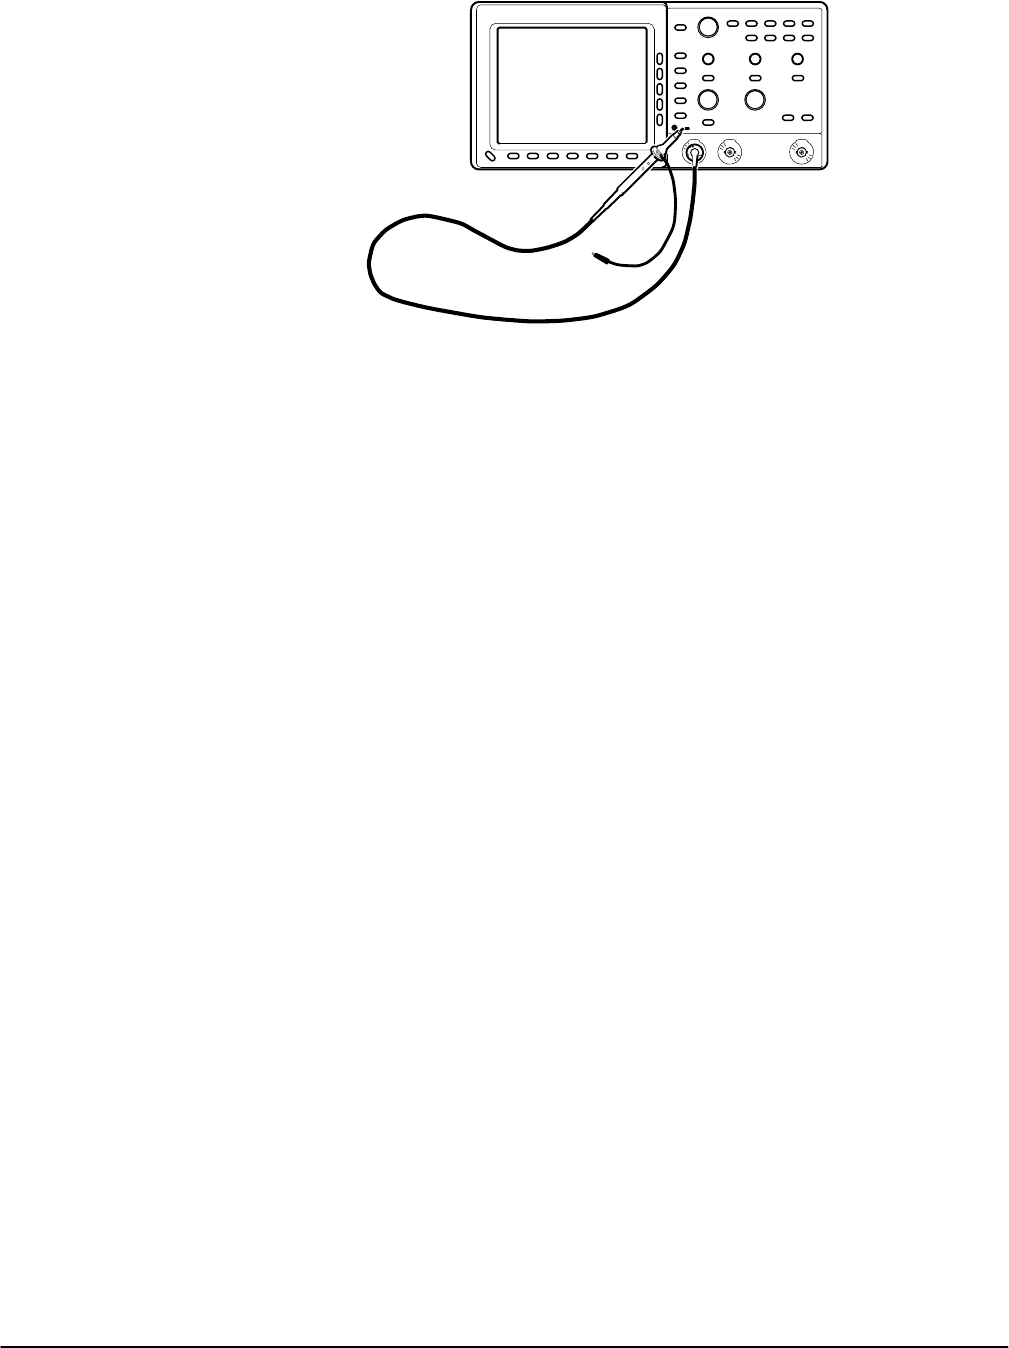
Functional Test
Performance Verification
4Ć8
Figure 4Ć3:ăHookup for Functional Test
2. Press SAVE/RECALL SETUP ! Recall Factory Setup ! OK Confirm
Factory Init.
3. Press AUTOSET.
4. Set the VOLTS/DIV to 1 V. Use the vertical POSITION knob to center the
waveform vertically on screen.
5. Set the SEC/DIV to 250 ms.
6. Check that a squareĆwave probeĆcompensation signal of about five
divisions in amplitude is on screen. (See Figure 4Ć1 on page 4Ć2 to
locate the readout.)
7. Check that one period of the square wave probeĆcompensation signal is
about four horizontal divisions on screen.
8. Check that the horizontal POSITION knob positions the signal left and
right on screen when rotated.
9. Press TRIGGER MENU ! Mode ! Normal.
10. Check that the trigger level readout for the main trigger system changes
with the trigger LEVEL knob.
11. Check that the triggerĆlevel knob can trigger and untrigger the squareĆ
wave signal as you rotate it. (Leave the signal untriggered.)
12. Check that pressing SET LEVEL TO 50% triggers the signal that you
just left untriggered.
13. Press ACQUIRE ! Mode ! Sample.
14. Check that the instrument displays an actively acquiring waveform
onĆscreen. (Note that there is noise present on the peaks of the square
wave.)
15. Press the side menu button Peak Detect. Check that the instrument
displays an actively acquiring waveform on screen with the noise peak
detected."
