Operation Verification 108
Current Programming and Readback Accuracy
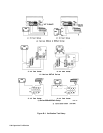
This test verifies that the current programming and readback are within specification. Connect the appropriate current
monitoring resistor (see Table B-1) as shown in Figure B-1(2). The accuracy of the resistor must be as specified in the table.
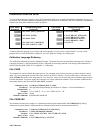
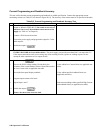
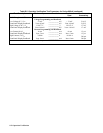
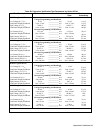
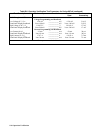
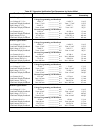
Table B-3. Current Programming and Readback Accuracy Test
Action Normal Result
1 Turn off the power supply and connect the current monitoring
resistor as shown in Figure B-1(2).
Be certain to use wire of
sufficient size to carry the maximum rated current of the
supply
(see Table 4-1 in Chapter 4).
2 Connect a DVM across the resistor.
3 Turn on the power supply and program the output for 5 volts
and 0 amperes.
4
Disable the output ( )
WARNING
ENERGY HAZARD for Series 668xA/669xA
. The power supply can provide more than 240 VA at more than 2 V.
If the output connections touch, severe arcing may occur resulting in burns, ignition or welding of parts. Do not
attempt to make connections to live output circuits.
5
Enable the output or OUTP ON).
6 Observe the DVM voltage reading. Divide this by the
resistance of the current monitor resistor. Record the result as
the Low Current value in applicable test table.
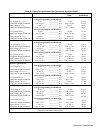
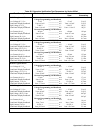
Value within Low Current limits (see applicable test
table).
7 Record the front panel display readback Value within specified readback limits (see
applicable test table).
8 Program output current to full scale.
9 Repeat Steps 6 and 7. Both current readings within specified High Current
and readback limits (see applicable test table).
10
Disable the output (
).
11
Remove the short from across the load.


