


Airless Paint Systems
5
Operating Instructions and Parts Manual
Pre-Operation (Cont.)
is no pressure in the unit, and close
the prime/pressure relief valve for
storage.
Never leave pump
unattended while it
is under pressure!
6. START UP AFTER STORAGE:
Before
using water-base paint, flush with
soapy water and then a clean water
flush. Before using oil-base paint,
flush out the mineral spirits with
the material to be sprayed.
HOW TO FLUSH
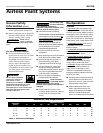
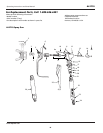
IMPORTANT COMPONENTS
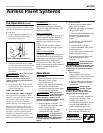
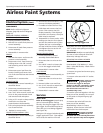
● Prime/Pressure
Relief Valve
(Prime/PR
Valve, Figure
2). Used to
relieve
pressure from
gun, hose and
tip and to
prime the unit
when in OPEN
position. (It is in open position
when there is a wider gap between
valve handle and cam body.) When
in CLOSED position, there is only a
very slight gap between handle and
body. When closed, the system is
pressurized.
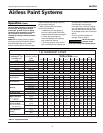
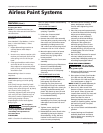
● Pressure
Control Knob
(Figure 3).
Used to adjust
pressure. Turn
clockwise to
increase pressure and
counterclockwise to decrease it.
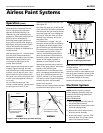
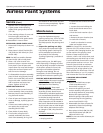
● Toggle Switch (Figure 4).
!
WARNING
www.chpower.com
PROCEDURE
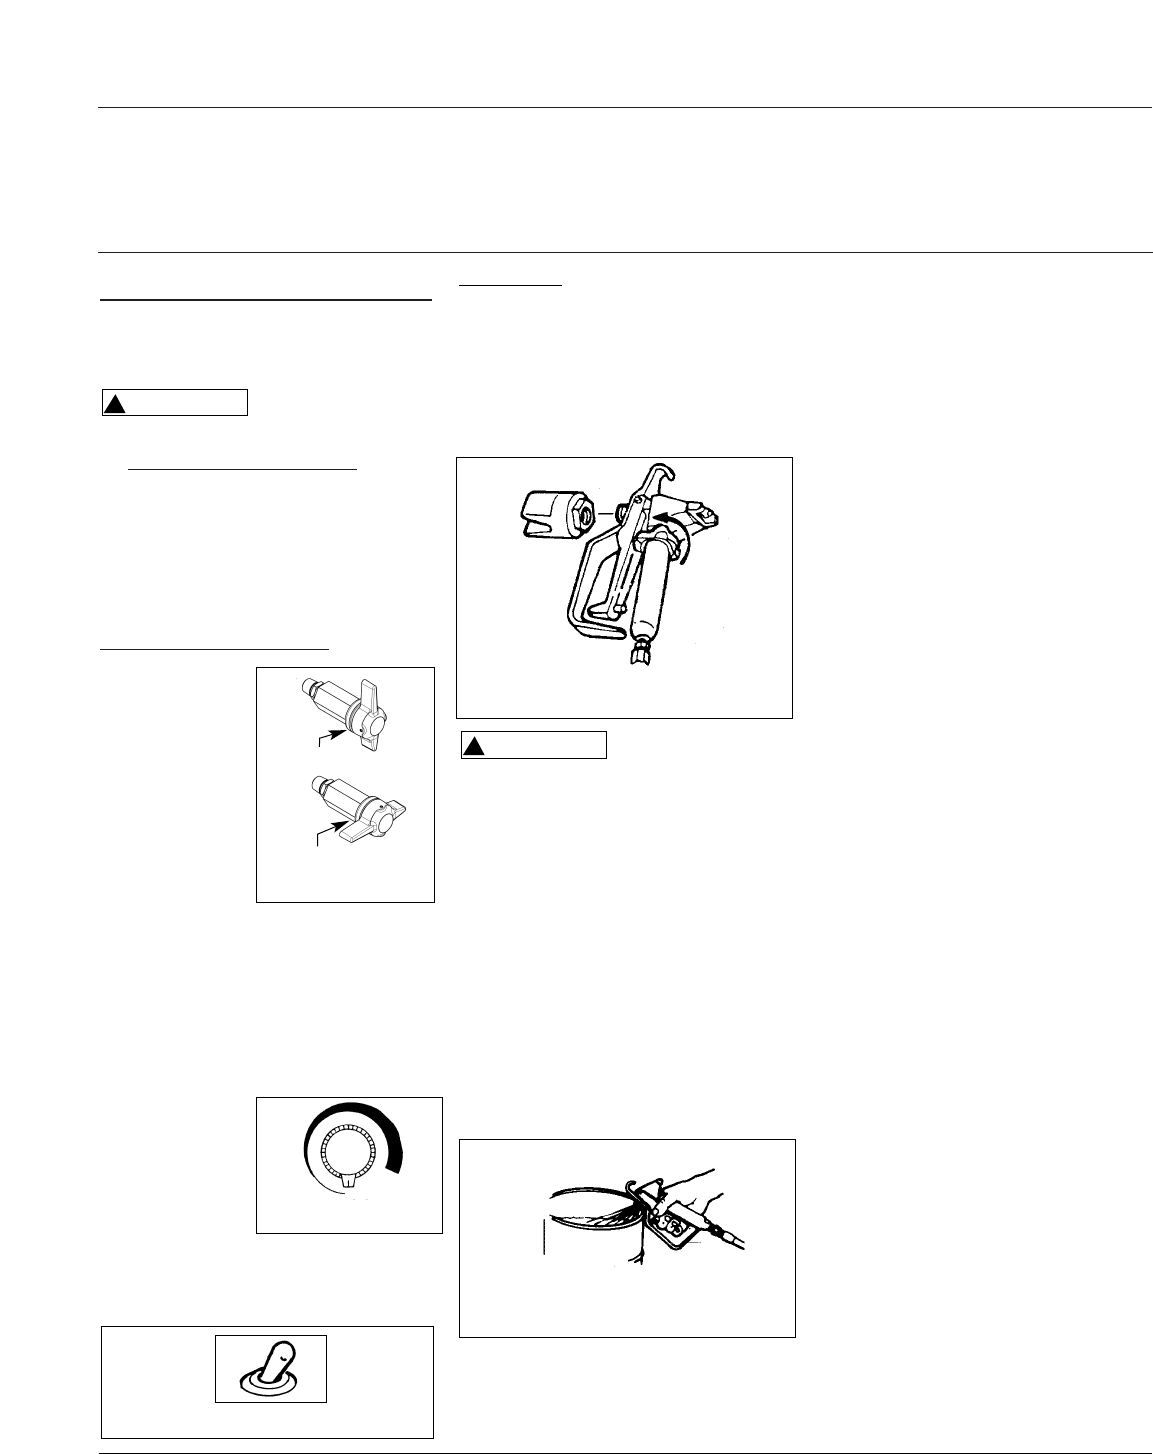
1. Make sure the gun trigger lock is
engaged and there is no spray tip in
the gun. Refer to Figure 5. (Refer to
Figure 10 for information on how
to lock the trigger lock and the
gun's safety features.)
To reduce the risk
of static sparking,
which can cause fire or explosion,
always hold a metal part of the gun
firmly against the grounded pail when
flushing. (This also reduces splashing.)
2. Pour enough clean, compatible
solvent into a large, empty pail to
fill the pump and hoses.
3. Place the suction tube into the pail.
4. Turn the Prime/Pressure Relief (PR)
Valve to the "OPEN" , priming
position. Refer to Figure 3.
5. Point the gun into the pail and hold
a metal part of the gun firmly
against the pail. Refer to Figure 6.
6. Disengage the gun safety latch and
squeeze the gun trigger. Turn the
!
WARNING
ON-OFF Toggle Switch to the "ON"
position (Figure 4) and turn
Pressure Control Knob (Figure 3)
clockwise to increase pressure just
enough to start the pump.
7. Turn the Prime/PR Valve to the
"CLOSED" position. This will allow
solvent to be flushed through the
pump, hoses and gun. Allow the
unit to operate until clean solvent
comes from the gun.
8. Release the trigger and engage the
gun trigger lock.
9. If you are going to start spraying,
place the suction tube into the
supply container. Release the gun
safety latch and trigger the gun
into another empty, metal
container, holding a metal part of
the gun firmly against the pail and
force the solvent from the pump
and hose. Engage the gun safety
latch until you are ready to spray.
10. If you are going to store the sprayer,
remove the suction tube from the
solvent pail, holding a metal part of
the gun firmly against the pail and
force the solvent from the pump and
hose. Engage the gun safety latch.
Refer to "Storage" Procedure on
page 4.
11.Whenever you shut off the sprayer,
follow the "PRESSURE RELIEF
PROCEDURE" on page 3.
SETTING UP
1. Connect the hose and gun.
a. Remove the plastic cap plug
from the outlet tee and screw a
conductive or grounded 3000 psi
airless spray hose onto fluid outlet.
b. Connect an airless spray gun to
the other end of the hose.
Wide Gap
Slight Gap
Figure 2 - PR Valve
Figure 3 - Pressure
Control
Figure 4 - Toggle Switch
ON
OFF
Figure 6 - Holding gun against pail
Figure 5 - Engaging trigger lock
AL2710