10
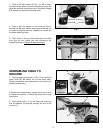
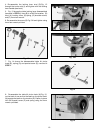
Fig.14
Fig.15
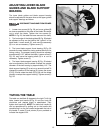
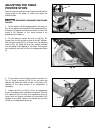
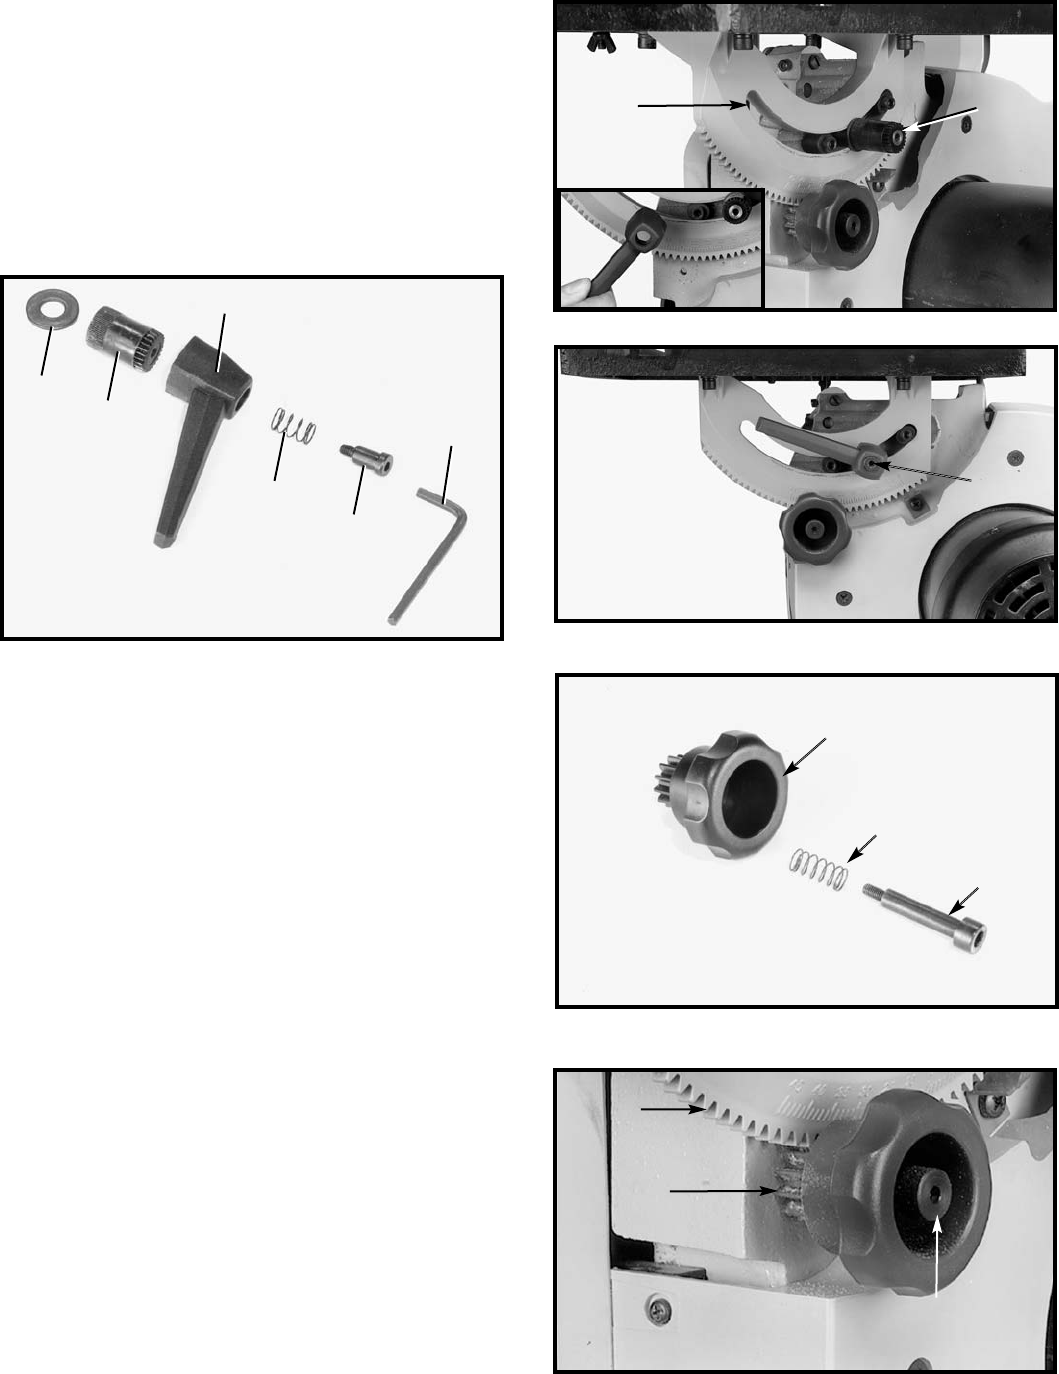
7. Fig. 14 shows the disassembled table tilt pinion
knob (N) , spring (O), and special screw (P), removed in
STEP 1.
8. Re-assemble the table tilt pinion knob (N) Fig. 15,
on the back of saw so that the teeth on the pinion knob
(N) engage the teeth on the trunnion (R). Fasten in place
with the special screw (P) and spring using the 4mm
wrench provided.
N
O
P
R
N
P
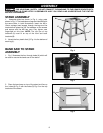
Fig. 13
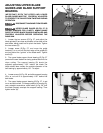
4. Re-assemble the locking lever stud (G) Fig. 12
through the trunion slot (L) and tighten with the locking
lever handle (see inset).
5. Fig. 13 shows the table locking lever disassembled
(removed in STEP 1). Item (B) is a M10 flat washer, (G)
stud, (A) Locking Lever, (E) spring, (D) shoulder screw,
and (C) 4mm hex wrench.
6. Re-assemble the screw (D) Fig.13A and tighten using
4mm hex wrench privided.
Fig. 13A
Fig. 12
B
G
E
D
C
A
L
G
D


