


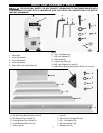
11
Fig.16
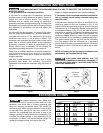
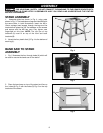
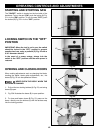
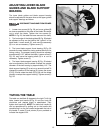
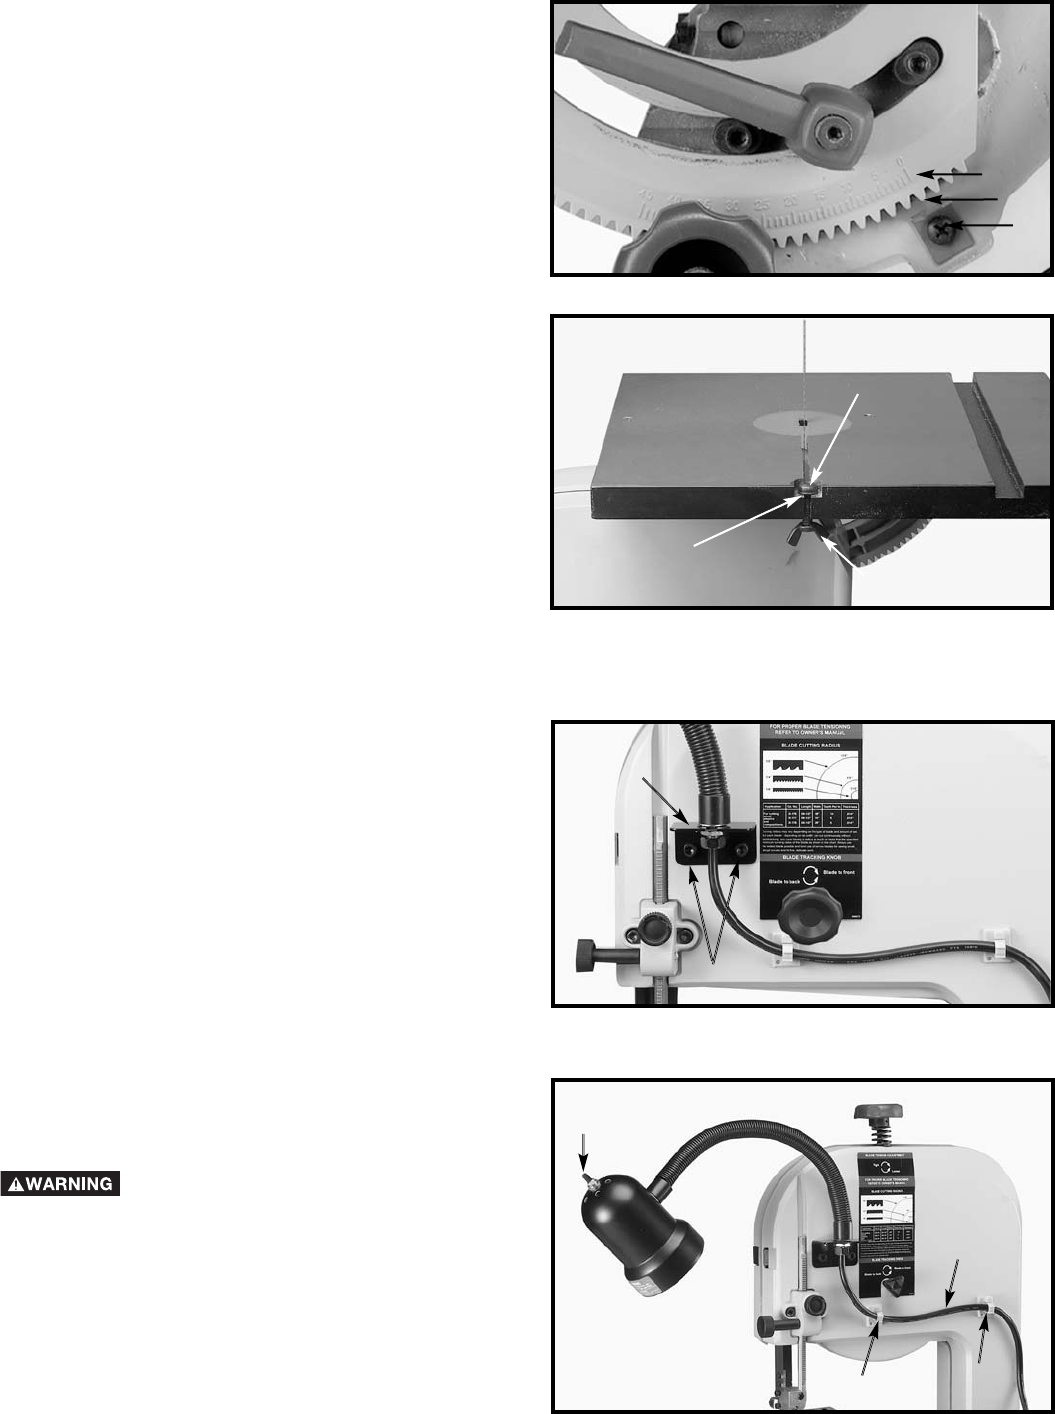
9. Loosen the screw (T) Fig. 16 and align pointer (S)
with "0" mark on the trunnion scale (M). Tighten
securely.
NOTE: Make sure table is set at 90 degrees to the blade
or check the pointer alignment after adjusting the table
stops (see section"ADJUSTING THE TABLE POSITIVE
STOPS").
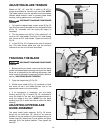
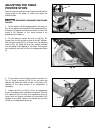
10. Re-assemble the screw (W) Fig. 17 that was
removed in STEP 2, down through hole in table. Place
the M6 flat washer (Z) on the M6 x 30mm screw, then
thread the M6 wing nut (X) on the screw (W) and tighten
securely.
S
T
Fig. 17
W
Z
X
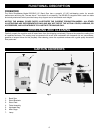
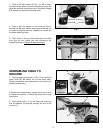
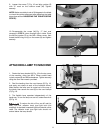
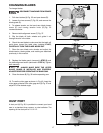
1. Fasten the lamp bracket (A) Fig. 18 to the top cover
of the machine, using two M6 x 20mm socket head
nylock screws (B) and M6 lockwashers. Tighten securely
using the 5mm hex wrench provided.
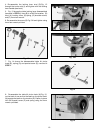
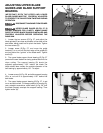
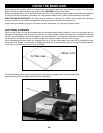
2. Peel the backing from the cord clamps (C) Fig. 19,
and apply one clamp at each of the locations shown.
Make certain the lamp cord is routed out of the way of
the blade, then secure the cord (D) to the cord clamps
(C) Fig. 19.
3. The flexible lamp operates independently of the
band saw. To turn the lamp on and off, rotate the switch
(E) Fig. 19.
To reduce the risk of fire, use 40 watt (or
less), 120 volt, reflector track type light bulb (not
supplied). A standard household light bulb should not be
used. The reflector track type light bulb should not
extend below the lamp shade.
ATTACHING LAMP TO MACHINE
Fig. 19
E
C
C
D
Fig. 18
A
B
M