


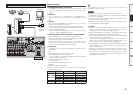
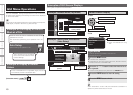
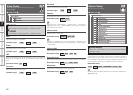
Error Messages
If the auto setup procedure could not be completed due to speaker installation, the measuring environment, etc., an error
message is displayed. If this happens, check the relevant items, be sure to take the necessary measures, then perform
the auto setup procedure over again.
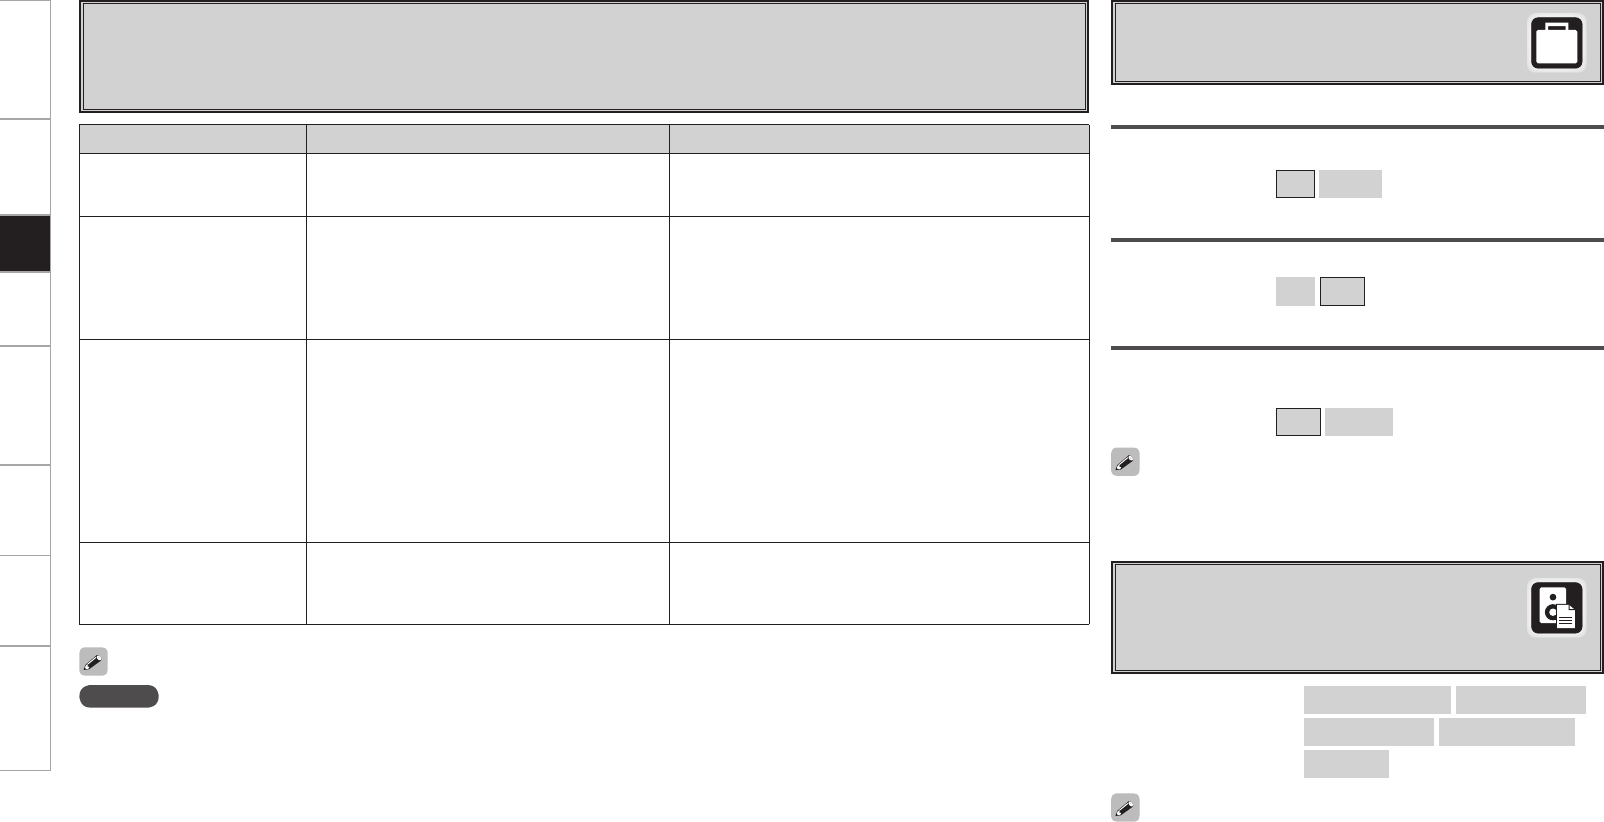
Error messages (examples) Cause Measures
No microphone or speaker • Included setup microphone is not connected.
• Not all speakers could be detected.
• Connect the included setup microphone to the SETUP MIC
jack on the main unit.
• Check the speaker connections.
Ambient noise is too high
or Level is too low
• Too much noise in the room for accurate
measurements to be made.
• Speaker or subwoofer sound is too low for
accurate measurements to be made.
• Either turn off any device generating noise or move it
away.
• Try again when the surroundings are quieter.
• Check the speaker installation and the direction in which
the speakers are facing.
• Adjust the subwoofer’s volume.
None • Displayed speaker could not be detected.
· The front L and front R speakers were not
properly detected.
· Only one channel of the surround (A) and
surround (B) speakers was detected.
· Sound was output from the R channel when only
one surround back speaker was connected.
· The surround back or the surround (B) speaker
was detected, but the surround (A) speaker
was not detected.
• Check the connections of the displayed speaker.
Phase • Displayed speaker connected with the polarities
reversed.
• Check the polarities of the displayed speaker.
• For some speakers, this error message may be displayed
even if the speaker is properly connected. If you are sure
that the wiring is correct, select “Skip”.
NOTE
Be sure to turn the power off before checking the speaker connections.
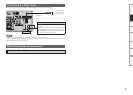
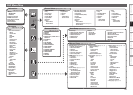
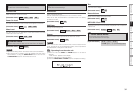
Room EQ
Select room EQ setting method.
s
Option
Select settings for room EQ, mic, etc.
[Selectable items] All
Assign
Direct Mode
Select room EQ use for DIRECT or PURE DIRECT mode.
[Selectable items] ON
OFF
Mic Select
Select the microphone type if not using supplied mic.
The microphone connected to V.AUX Lch is used.
[Selectable items] Mic
V.AUX L
d
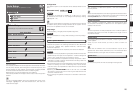
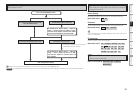
Parameter Check
Check auto setup measurement results.
This is displayed after the auto setup procedure
is completed.
Spkr Confi g Check
Distance Check
Ch. Level Check
Crossover Check
EQ Check
[Items to be checked]
Select “Retry” to make the measurements again.
Getting Started Connections Setup Playback Remote Control Multi-Zone Information Troubleshooting
The auto setup results can be reset to what was originally calculated
by MultEQ XT when “Restore” is selected.
Only a professionally certifi ed installer should ever connect a
professionally-calibrated microphone to the V.AUX L input on the front
panel.