


19
SETTING THE DISC TABLE MITER GAUGE SLOT PARALLEL TO THE SANDING DISC
Maintain a maximum distance of 1/16" between the sanding disc and the table.
Disconnect the machine from the power source!
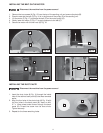
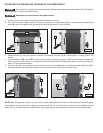
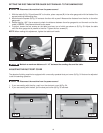
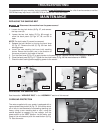
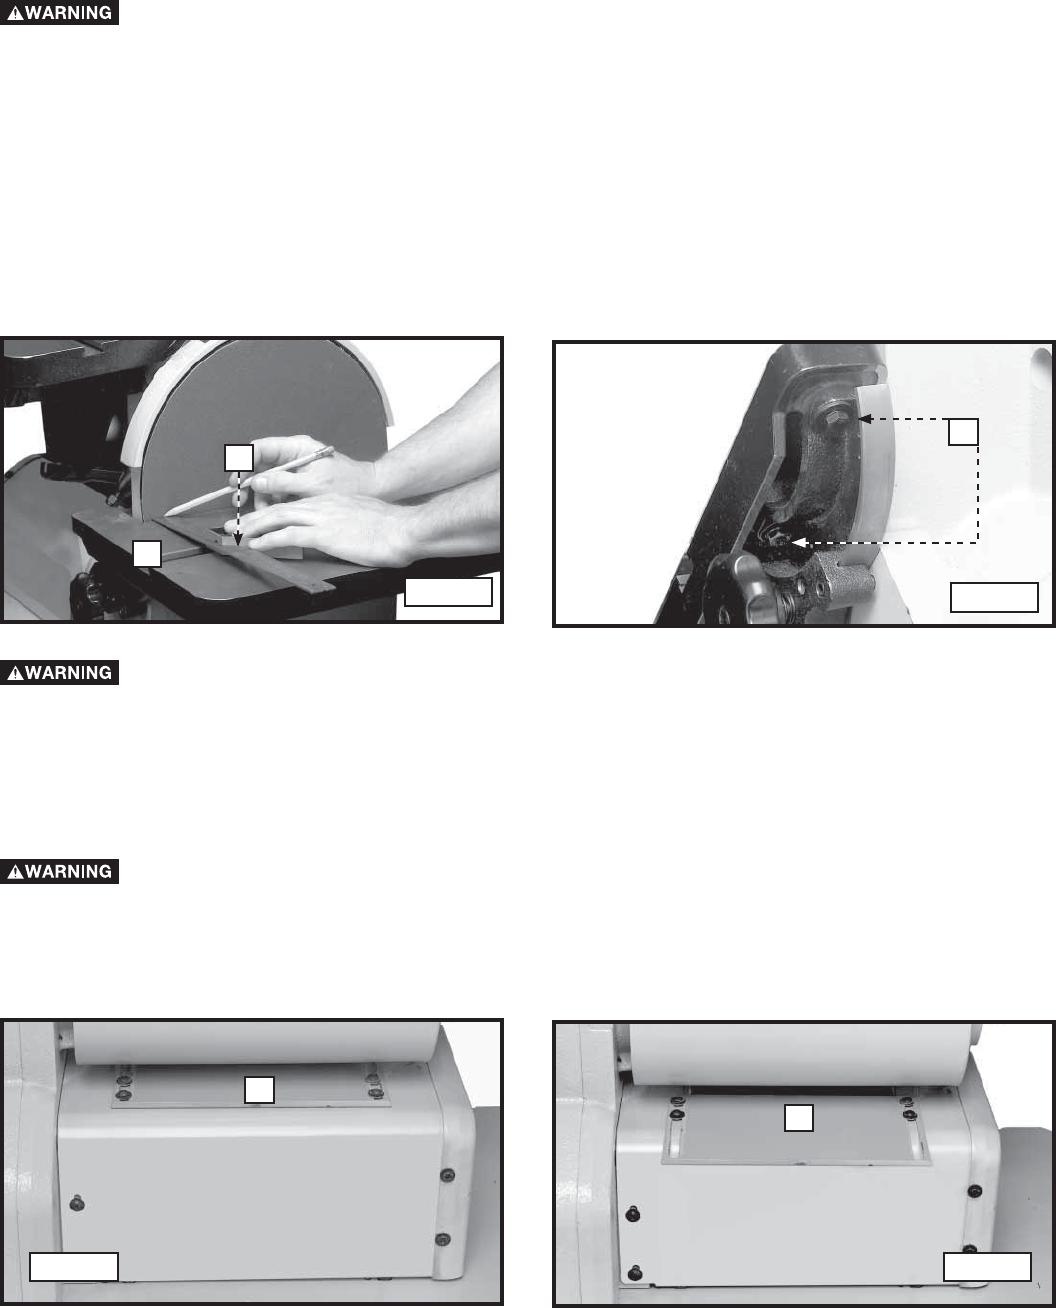
1. With the table (A) Fig. 52 positioned 90
° to the disc, place a square (B) in the miter gauge slot with the blade of the
square touching the sanding disc.
2. Mark where the square (B) Fig. 52 contacts the disc with a pencil. Measure the distance from the disc to the miter
gauge slot.
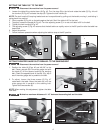
3. Rotate the disc 180°. Use a square to check the dis tance between the miter gauge slot and the mark on the disc
made in STEP 3. The distance should be the same.
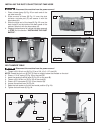
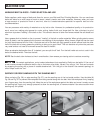
4. To adjust, loosen the four screws on the table trunnions, two of which are shown at (D) Fig. 53. Adjust the table
until the miter gauge slot is parallel to the disc. Tighten the four screws (D)
NOTE: When making this adjustment, tighten the table lock handle.
Fig. 52
Fig. 53
A
B
D
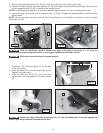
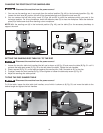
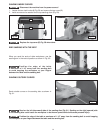
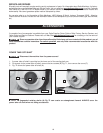
ADJUSTING THE DUST PORT COVER
The abrasive finishing machine is equipped with a manually-operated dust port cover (A) Fig. 54 that can be adjusted
to suit the sanding operation.
1. If you are sanding with the disc, push in on the dust port cover (A) Fig. 54.
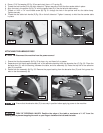
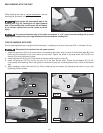
2 If you are sanding with the belt, pull the dust port cover (A) Fig. 55 outward.
Disconnect the machine from the power source!
Fig. 54 Fig. 55
A
A