8
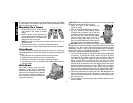
4. Turn the laser on if not on already; adjust rotation speed and con-
trols as needed. Remember: When working with the D
EWALT
Digital Laser Detector set the variable control speed to the highest
setting (600 RPM).
5. Use the D
EWALT Digital Laser Detector to locate the rotating laser
beam and to set your marks on the posts.
6. You can now begin to lay out and level the deck.
Maintenance
• To maintain the accuracy of your work, have the laser checked
often to make sure it is properly calibrated. See “Field Calibration”
section of this manual.
• Calibration checks and other maintenance repairs can be per-
formed by D
EWALT service centers. Two free calibration checks
are included under the D
EWALT One Year Free Service Contract.
• When not in use, store the laser in the kit box provided.
• Do not store your laser in the kit box if the laser is wet. Allow laser
to air dry and dry exterior parts with a soft dry cloth.
• Do not store your laser at temperatures below 0˚ F or above 105˚F.
CLEANING: Exterior plastic parts may be cleaned with a damp
cloth and mild detergent. Although these parts are highly solvent resis-
tant, NEVER use solvents. Use a soft dry cloth to remove moisture
from tool and accessories before storage. NEVER USE COM-
PRESSED AIR TO CLEAN THE LASER.
Field Calibration Check
This section provides instructions by which you can perform simple
field calibration checks of your D
EWALT Rotary Laser. These checks
cannot take the place of professional calibration done by a D
EWALT
service center.
These instructions will help you check for the three types of out-of-
level errors.
• Tilt Error - checks that rotation of the head in your Rotary Laser is
perfectly level.
• Cone Error - checks that the laser beams are not at an angle
relative to the level head.
• Plumb Error - checks the calibration of the plumb leveling vial.
TILT ERROR CHECKS
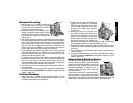
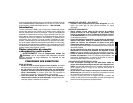
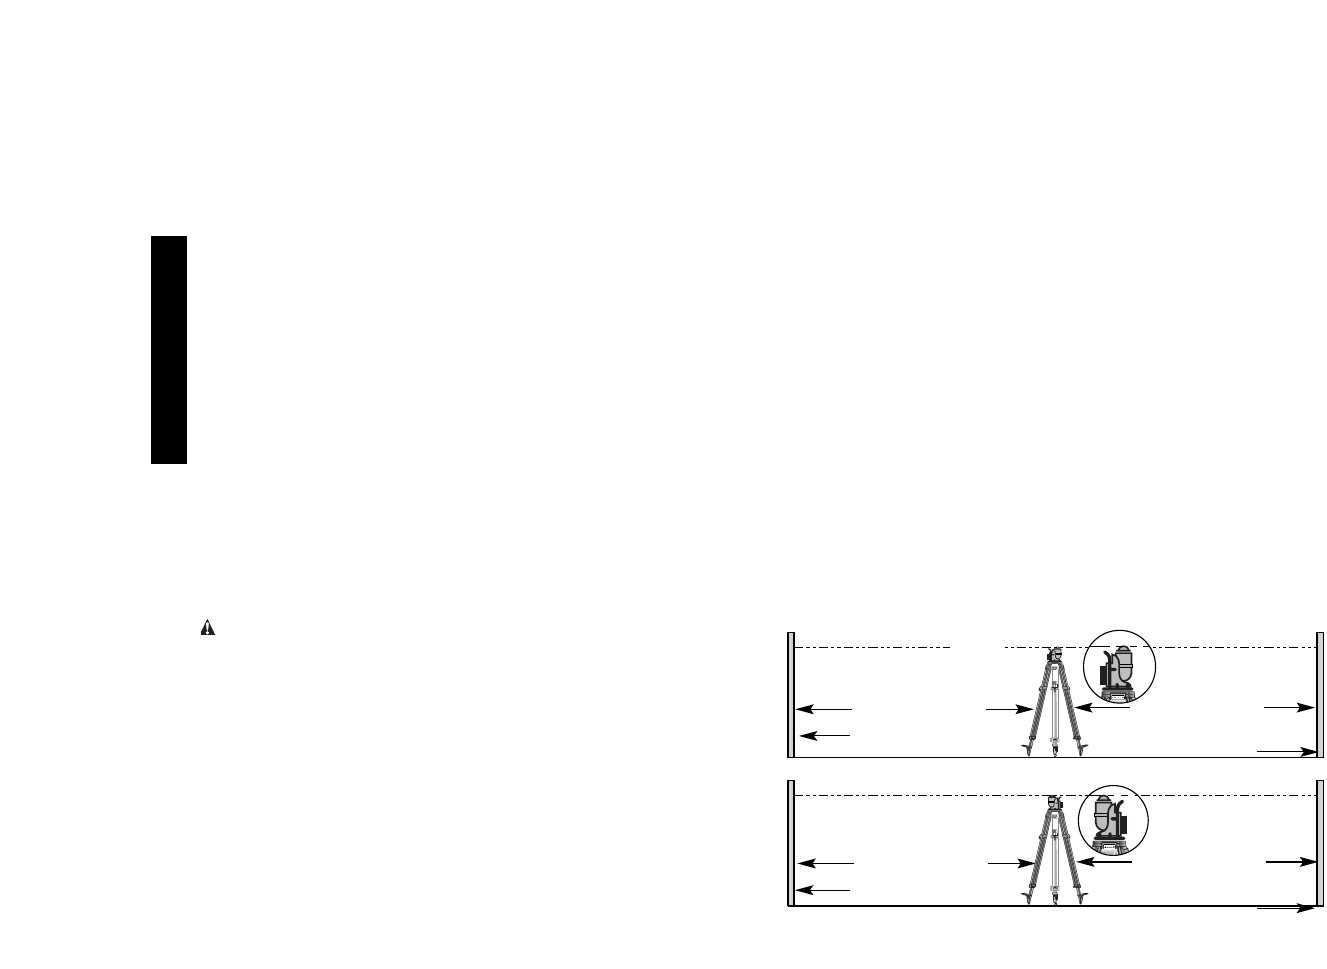
Horizontal Checking for Front to Back Tilt Error
• Set up a tripod midway between 2 vertical surfaces about 100'
apart.
• Mount your Rotary Laser on a tripod so it is aimed front-to-back
toward the vertical surfaces (next page).
• Level the Laser, following the procedure in the “Horizontal
Leveling” section of this manual.
• Quick Check:
1. Compare the position of the bubbles in the front and rear vials
(Fig. AA).
2. If the two bubbles are not in about the same position in their
vials, (both about centered) have your Rotary Laser calibrated at
a D
EWALT service center.
• Turn the unit on so that the lasers are on and rotating.
English
APPROX. 50 FT.APPROX. 50 FT.
APPROX. 50 FT.APPROX. 50 FT.
BEAM
BEAM
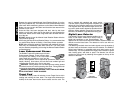
FIG. AA - UNIT FACING RIGHT
FIG. BB - UNIT FACING LEFT
SURFACE 1 SURFACE 2
SURFACE 1 SURFACE 2


