


5
English
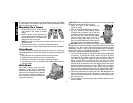
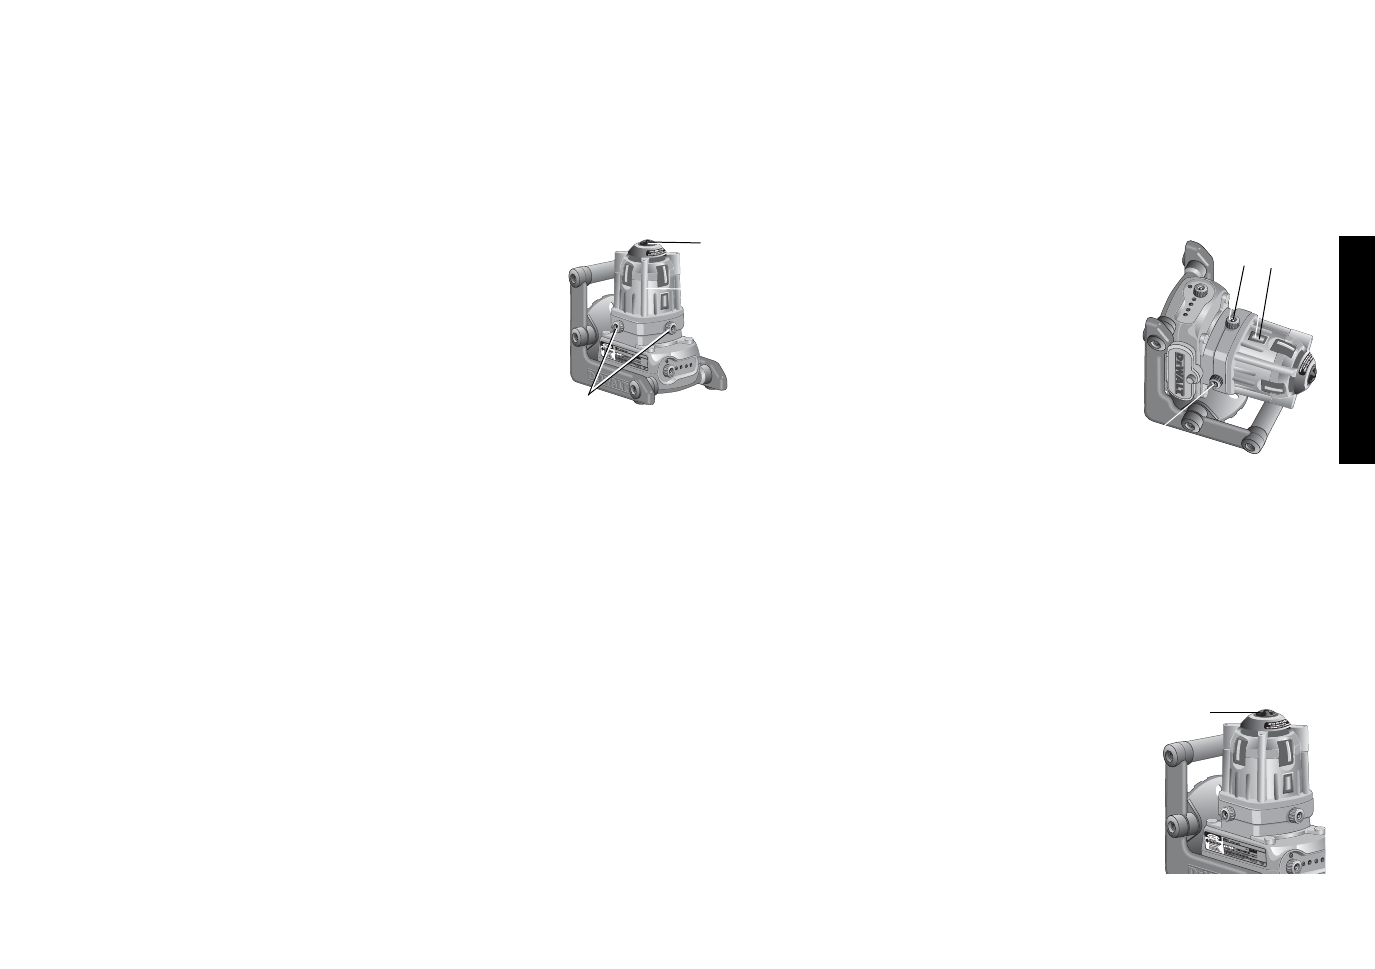
Horizontal Leveling
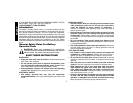
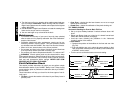
1. Set the laser on a relatively smooth and
level surface such as a Tripod or prepare
the laser level to be attached to wall track
using the accessory wall mount.
2. Position the laser to a level setting for pro-
jecting a horizontal reference beam. In this
position the Manual Head Rotation Button
(A) should be pointing up towards the
ceiling or sky.
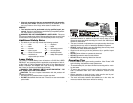
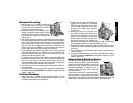
3. The leveling knobs (B) control the orientation of the laser head on
the metal leveling plates and effect the movement of the bubbles
in the vials. When the laser level is placed in a level position the
front leveling knob controls the movement of the bubble in the
front vial. The side leveling knob controls the movement of the
bubble in the side vial. NOTE: The same leveling rules apply to
the tool when being used with the optional wall mount.
4. To level the laser, the bubbles in both the front and side vials need
to be centered within the vials.
TIP:
The more accurately you can
center the bubbles within the vials the more accurate your hori-
zontal laser reference beam will be.
5. To level the laser, turn the leveling knob towards the bubble until
the bubble is centered in the vial.
TIP:
To move the bubble in the
front vial to the right, turn the front leveling knob to the left. To
move the bubble in the front vial to the left, turn the leveling knob
to the right. Repeat the procedure for the side vial.
6. Turn the laser on if not on already; adjust rotation speed and con-
trols as needed.
7. To project a level laser reference plane, adjust the rotation speed
for preferred visibility. Remember: Slow Speed = Bright Line; Fast
Speed = Solid Line.
Vertical Plumbing
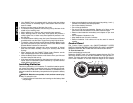
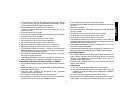
1. Set the laser on a relatively smooth and level surface. The tool
should be positioned on the roll cage handle as shown. The con-
trol panel should facing up to the ceiling.
A
B
2. To plumb the laser, only the bubble in the
Plumb Vial (D) needs to be centered.
TIP:
The more accurately you can posi-
tion the bubble within the vial the more
accurate your vertical laser reference
beam will be.
3. Looking over the top of the laser, turn
the Plumb Leveling Knob (B) (which is
located on the side of the pivoting laser
head in this orientation) to move the
bubble within the Plumb Vial (D). Turn
the plumb leveling knob towards the
bubble until the bubble is centered in the vial.
TIP:
Turn the knob
in the opposite direction you need the bubble to move.
4. Use the Plumb Beam Alignment Knob (C) (which is the knob next
to the Plumb Vial) to adjust the plumb laser reference plane over
your mark.
5. Turn the laser on if not on already; adjust rotation speed and con-
trols as needed.
6. To project a plumb laser reference plane, adjust the rotation speed
for preferred visibility. Remember: Slow Speed = Bright Line; Fast
Speed = Solid Line.
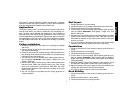
Manual Head Rotation Button
The laser has been designed with a protective
cap over the rotary head to prevent accidental
damage from work site activities. You can still
access the rotary head and manually direct
the beam to establish or transfer a mark. To
manually rotate the laser beam follow the
instructions below:
If the laser is turned OFF, rotate the ON/OFF
knob clockwise a 1/4 turn or less. Ensure that
the laser diodes are powered on and that the
rotary head is not spinning. If the laser is ON and spinning, rotate the
ON/OFF knob counterclockwise until rotation of the head stops.
A
D
B
C