


68
English
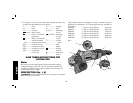
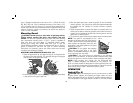
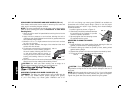
USING WIRE CUP BRUSHES AND WIRE WHEELS (FIG. 14)
Wire wheels and brushes can be used for removing rust, scale and
paint, and for smoothing irregular surfaces.
NOTE: The same precautions should be taken when wire brushing
paint as when sanding paint (refer to Precautions To Take When
Sanding Paint).
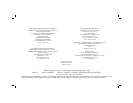
1. Allow the tool to reach full speed before touching the tool to the
work surface.
2. Apply minimum pressure to work surface, allowing the tool to
operate at high speed. Material removal rate is greatest when the
tool operates at high speed.
3. Maintain a 5° to 10° angle between the tool and work surface
for wire cup brushes.
4. Maintain contact between the edge of the wheel and the work
surface with wire wheels.
5. Continuously move the tool in a forward and
5˚–10˚
FIG. 14
back motion to avoid creating gouges in
the work surface. Allowing the tool to rest
on the work surface without moving, or
moving the tool in a circular motion causes
burning and swirling marks on the work
surface.
6. Remove the tool from the work surface before turning the tool off.
Allow the tool to stop rotating before setting it down.
CAUTION: Use extra care when working over an edge, as a
sudden sharp movement of grinder may be experienced.
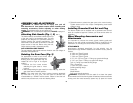
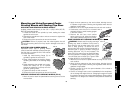
Mounting and Using Flaring Cup
(Type 11) Wheel
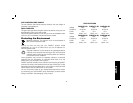
MOUNTING FLARING CUP WHEEL GUARD (FIG. 15)
WARNING: The flaring cup wheel guard is not included with this
tool. Flaring cup wheels require proper flanges and guards.
4" (101 mm) flaring cup wheel guard D284934 and 5"–6"
(127–152 mm) flaring cup wheel guard D284936 are available as
accessories and include proper flange. Failure to use the proper
flange and guard can result in injury resulting from wheel break age
and wheel contact.
1. Install the guard as shown in Figure 15.
2. Guard body should be positioned between
S
FIG. 15
the spindle and the operator to provide
maximum operator protection.
3. Securely tighten the two clamping screws
(S) supplied with the guard.
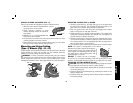
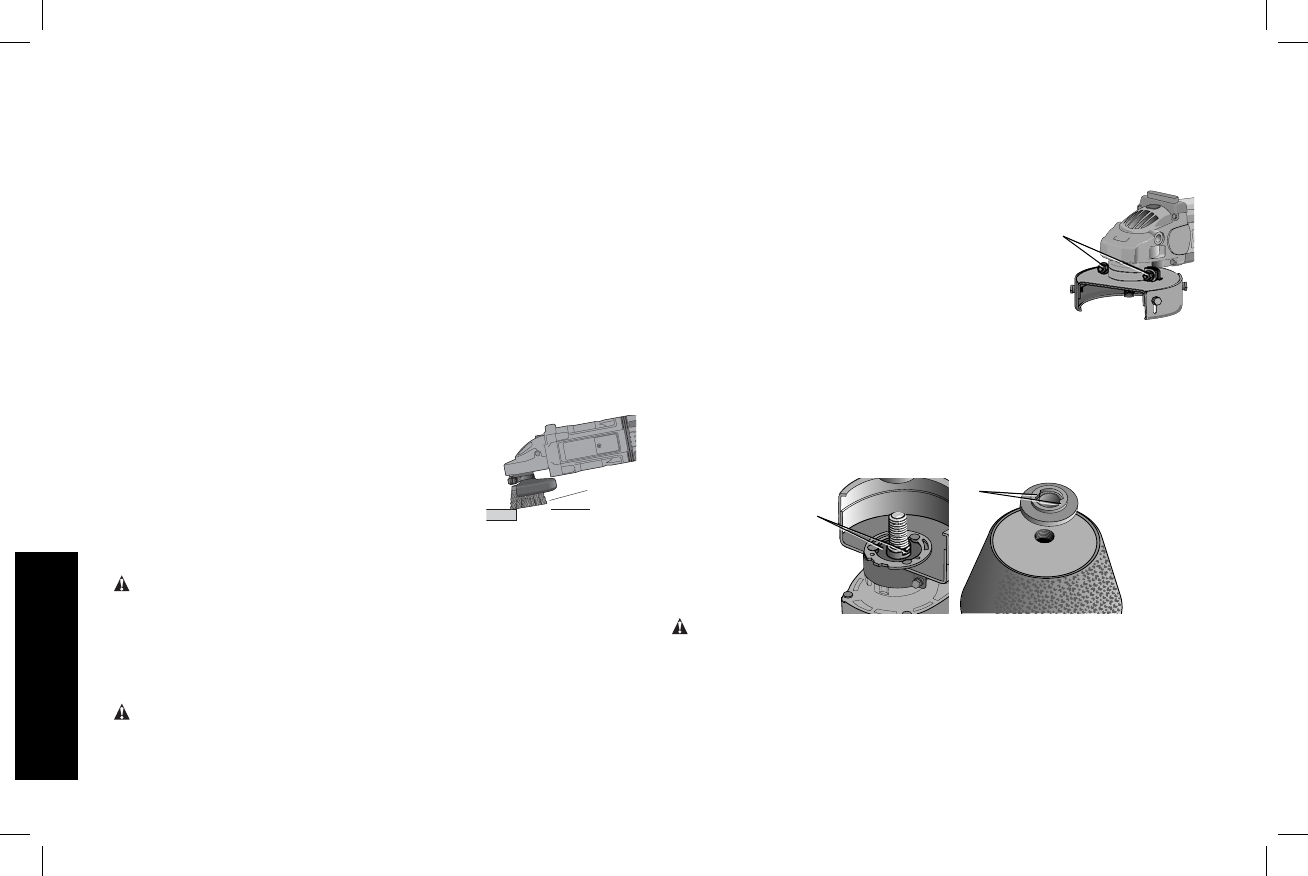
MOUNTING FLARING CUP WHEEL
(FIG. 16)
1. Install the flaring cup wheel backing flange, aligning the flats on
spindle (T) with the flats on backing flange (O).
2. Thread the flaring cup wheel on spindle by hand, seating wheel
against backing flange.
3. Depress the spindle lock button and tighten the wheel by hand.
4. To remove the wheel, reverse the above procedure.
T
O
FIG. 16
CAUTION: Failure to properly seat the wheel against backing
flange before turning the tool on may result in damage to the tool or
the wheel.
NOTE: Adjust the guard skirt so that only 1/8" (3.17 mm) of the wheel
is exposed by loosening the bolts, allowing the guard to lengthen.
Tighten the guard skirt bolts securely before using the grinder.