Operation
10 3A0732J
Operation
Pressure Relief Procedure
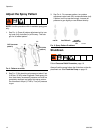
1. Lock the gun trigger.
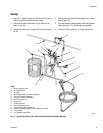
2. See F
IG
. 2. Turn off the bleed-type master air valve
(D).
3. Unlock the gun trigger.
4. Hold a metal part of the gun firmly to a grounded
metal waste container. Trigger the gun to relieve
fluid pressure.
5. Lock the gun trigger.
6. If you suspect that pressure has not been fully
relieved after following the steps above, check the
following:
a. The spray tip may be completely clogged. Very
slowly loosen the air cap retaining ring to relieve
pressure in the cavity between the ball/seat
shutoff and the plugged tip. Clear the tip orifice.
b. The gun fluid filter or the fluid hose may be com-
pletely clogged. Very slowly loosen the hose
end coupling at the gun and relieve pressure
gradually. Then loosen completely to clear the
obstruction.
c. After following the steps above, if the spray tip
or hose still seems completely clogged, very
slowly loosen the tip guard retaining nut or hose
end coupling and relieve pressure gradually,
then loosen completely. With tip removed, trig-
ger gun into waste container.
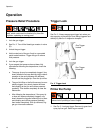
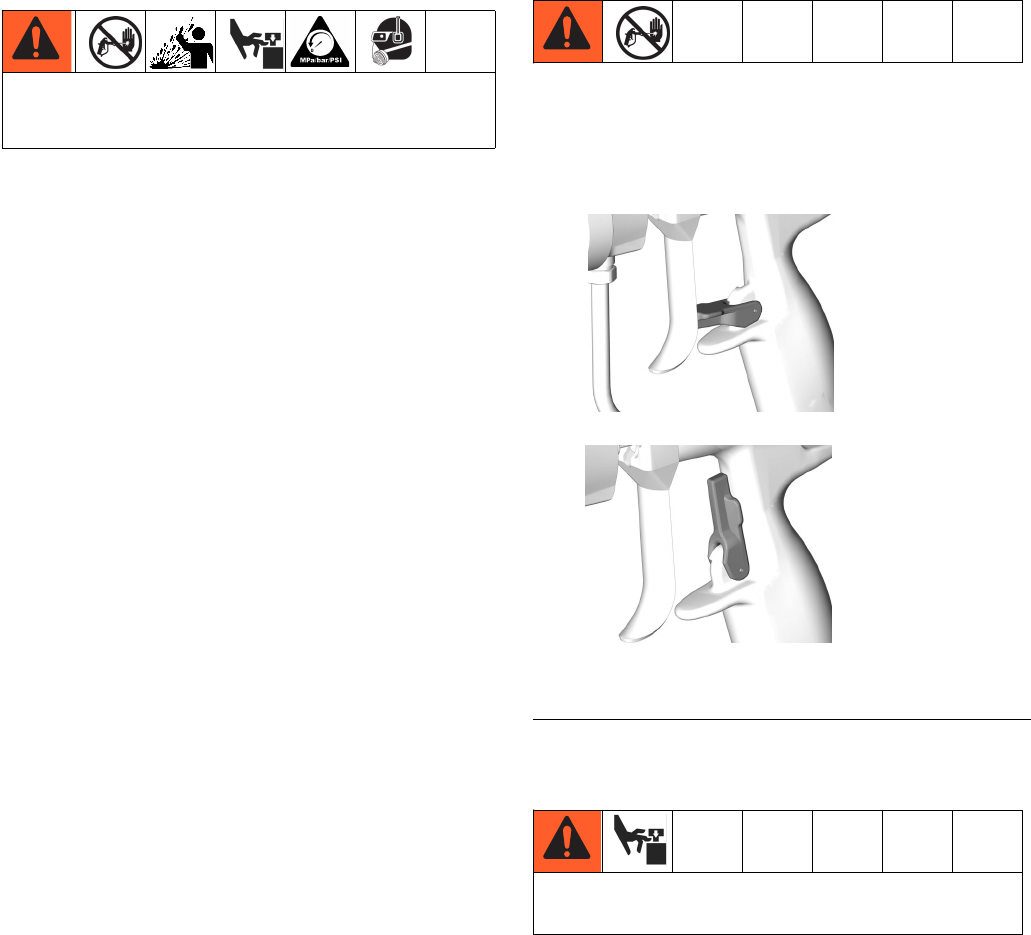
Trigger Lock
See F
IG
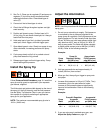
. 3. Always engage gun trigger lock when you
stop spraying to prevent gun from being triggered acci-
dentally by hand or if dropped or bumped.
Prime the Pump
1. See F
IG
. 3. Lock gun trigger. Remove tip guard and
spray tip from gun. Refer to gun manual.
Trapped air can cause the pump to cycle unexpect-
edly, which could result in serious injury from skin
injection, splashing or moving parts.
F
IG
. 3. Trigger Lock
Have safety spring (9) in place during operation to
reduce risk of pinching or loss of fingers.
tiI6581A
ti6582A
Gun Trigger
Locked
Gun Trigger
Unlocked


