307-724
10
OPERATION
1.
Prime the sprayer with paint.
a.
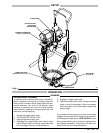
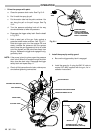
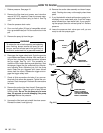
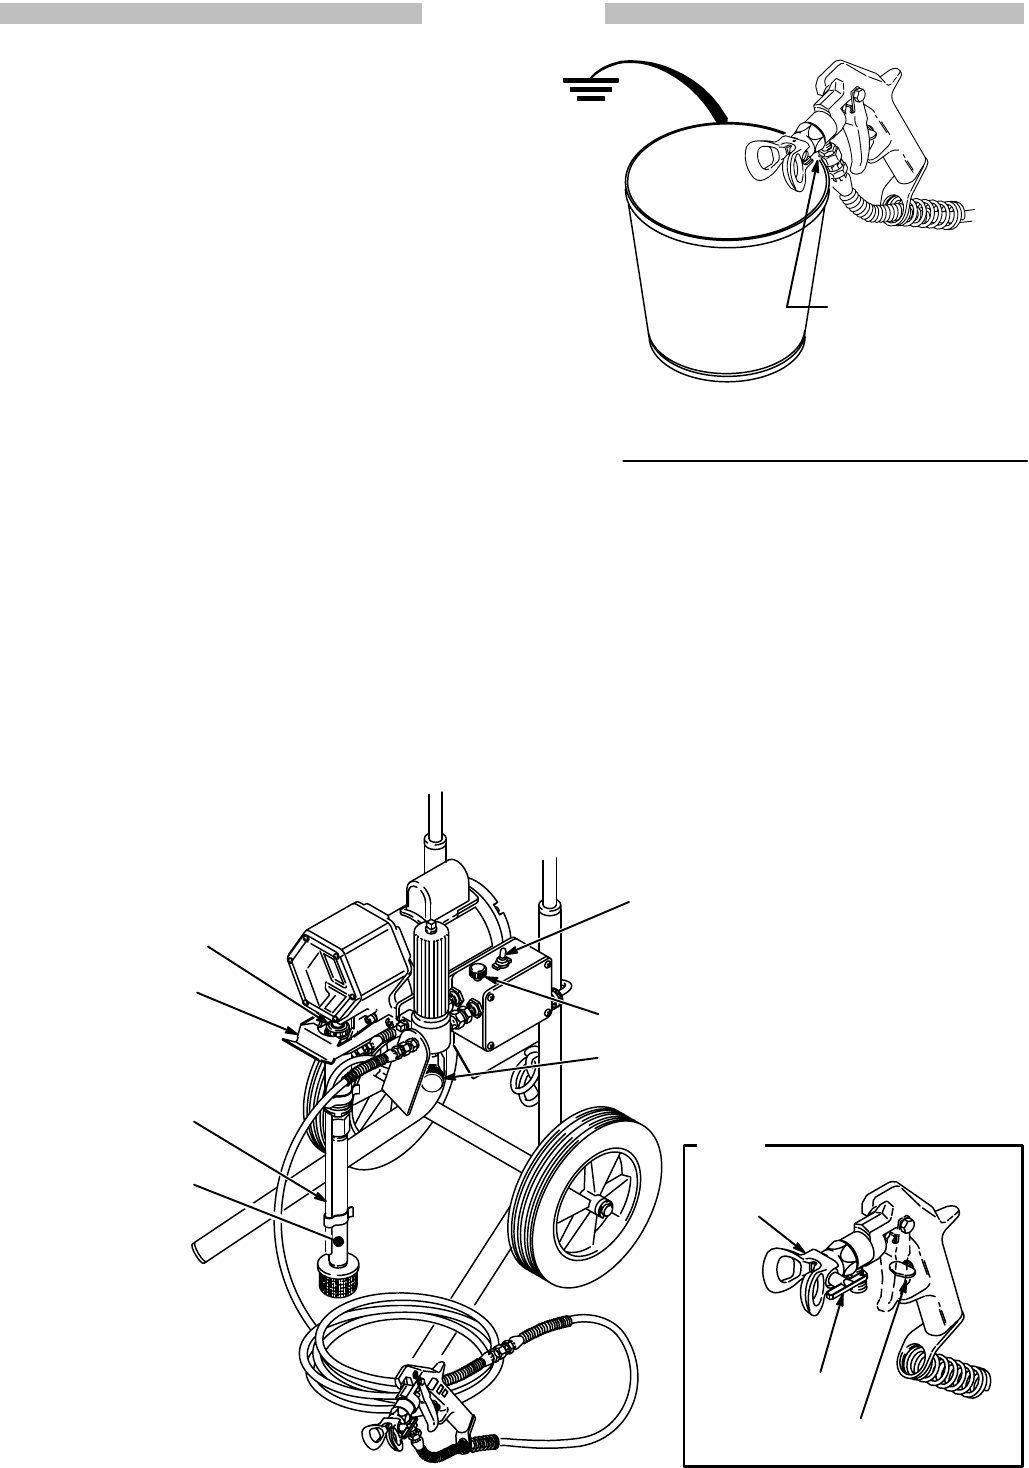
Close the pressure drain valve. See Fig 10–2.
b.
Don’t install the spray tip yet!
c. Put
the suction tube into the paint container
.
Y
ou
can hang the pail on the pail hanger. See Fig
10–2.
d. Turn the pressure adjusting knob all the way
counterclockwise
to lower the pressure.
e. Disengage
the trigger safety latch. See the detail
in
Fig 10–2.
f.
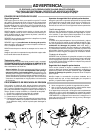
Hold a metal part of the gun firmly against a
grounded
metal waste container
. See
Fig 10–1.
Hold the trigger open, turn the sprayer ON, and
slowly increase the pressure until the sprayer
starts.
Keep the gun triggered until all
air is forced
out
of the system and the paint flows freely from
the
gun. Release the trigger and engage the trig
-
ger
safety latch.
NOTE: If the pump is hard to prime, open the pressure
drain
valve. When fluid comes through the drain
tube,
close the drain valve. Disengage the trigger
safety
latch and repeat Step 1.f.
g. Check
all fluid connections for
leaks; relieve pres
-
sure
before tightening connections.
Fig 10–1
MAINTAIN
FIRM
METAL-TO-METAL
CONT
ACT BETWEEN
GUN AND GROUNDED
MET
AL CONT
AINER
GROUND
WIRE
0664
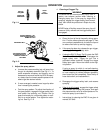
2. Install the spray tip and tip guard.
a.
Be sure the trigger safety latch is engaged.
b. Install the spray tip. If using the RAC IV, refer to
manual 307–848, supplied with the gun, for in-
stallation
instructions.
TRIGGER
SAFETY LA
TCH
SHOWN ENGAGED (ON SAFE)
SPRA
Y TIP
PACKING
NUT/WETCUP
SUCTION TUBE
PRESSURE ADJUSTING KNOB
PRESSURE DRAIN V
ALVE
DRAIN TUBE
PAIL HANGER
ON/OFF SWITCH
DETAIL
TIP GUARD


