307-724 9
SETUP
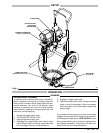
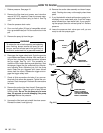
Fig 9–1
DO
NOT INST
ALL
A SHUT OFF
DEVICE HERE
MAIN FLUID HOSE
(minimum 50 ft./15.2 m)
WHIP HOSE
(3 ft./0.9 m)
P
ACKING NUT/WETCUP
Keep 1/3 full with TSL
FLUID FIL
TER
0663
HOSE GUARD
OPERATION
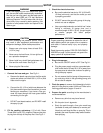
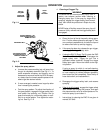
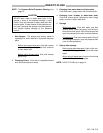
Pressure Relief Procedure
To
reduce the risk of serious bodily injury
, including
in
-
jection;
splashing in the
eyes or on the skin; injury from
moving
parts or electric shock, always
follow this pro
-
cedure whenever you shut off the sprayer, when
checking or servicing any part of the spray system,
when installing, cleaning or changing spray tips, and
whenever
you stop spraying.
1.
Engage the trigger safety latch.
2. T
urn the ON/OFF switch to OFF
.
3.
Unplug the power supply cord.
4. Disengage the trigger safety latch. Hold a metal
part
of the gun firmly to the
side of a grounded metal
pail,
and trigger the gun to relieve pressure.
5.
Engage the trigger safety latch.
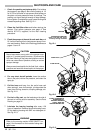
6. Open
the pressure drain valve, having a container
ready to catch the drainage. Leave the pressure
drain
valve open
until you are ready to operate the
sprayer
again.
If
you suspect that the spray tip or hose is completely
clogged,
or that
pressure has not been fully relieved af
-
ter
following the steps above,
VER
Y SLOWL
Y
loosen
the
tip guard retaining nut or hose end coupling and re
-
lieve pressure gradually. Then loosen the part com-
pletely.
Clear the tip or hose obstruction.
WARNING


