


-20-
Model G0440/G0441 (Mfg. Since 03/12)
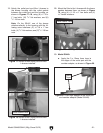
5. Place the intake barrel brace in position
and mark the location of the mounting holes
(shown in Figure 13) with a small pencil, nail,
or push pin.
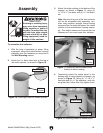
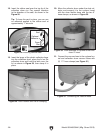
Figure 14. Using tape on wrench in tight spot.
6. Remove the intake barrel you temporar-
ily attached in Step 4, drill holes where you
marked in Step 5, and loosely install the wall
mount brace to the wall with the remaining
fasteners from the Wall Mounting proce-
dure.
7. Use the (12)
5
⁄16"-18 x
3
⁄4" hex bolts and (12)
5
⁄16" flat washers to re-install the intake bar-
rel to the housing with a barrel gasket in
between, as shown in Figure 12 on the previ-
ous page.
Note: When installing the two bolts above
the intake port, use duct tape on the bottom
of your wrench to hold the bolts in place, as
shown in Figure 14, to start the bolts easier.
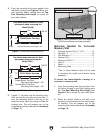
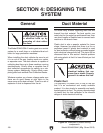
Figure 13. Intake barrel brace positioned to
mark the mounting holes.
Mounting
Hole
Locations
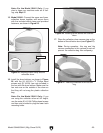
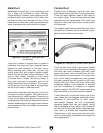
8. Attach the cyclone funnel to the intake barrel
with a barrel gasket between them, as shown
in Figure 15, using (12)
5
⁄16"-18 x 1" hex bolts,
(24)
5
⁄16" flat washers, and (12)
5
⁄16"-18 hex
nuts; also secure the wall mounting brace to
the lip of the intake barrel/funnel assembly
with the same hardware.
Note: At the places where you see 3 holes in
a row, only use the center hole for this step.
The two outside holes are only designed for
use with the optional stand.
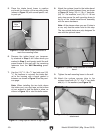
Figure 15. Cyclone funnel attached to intake
barrel.
Barrel
Gasket Here
9. Tighten the wall mounting brace to the wall.
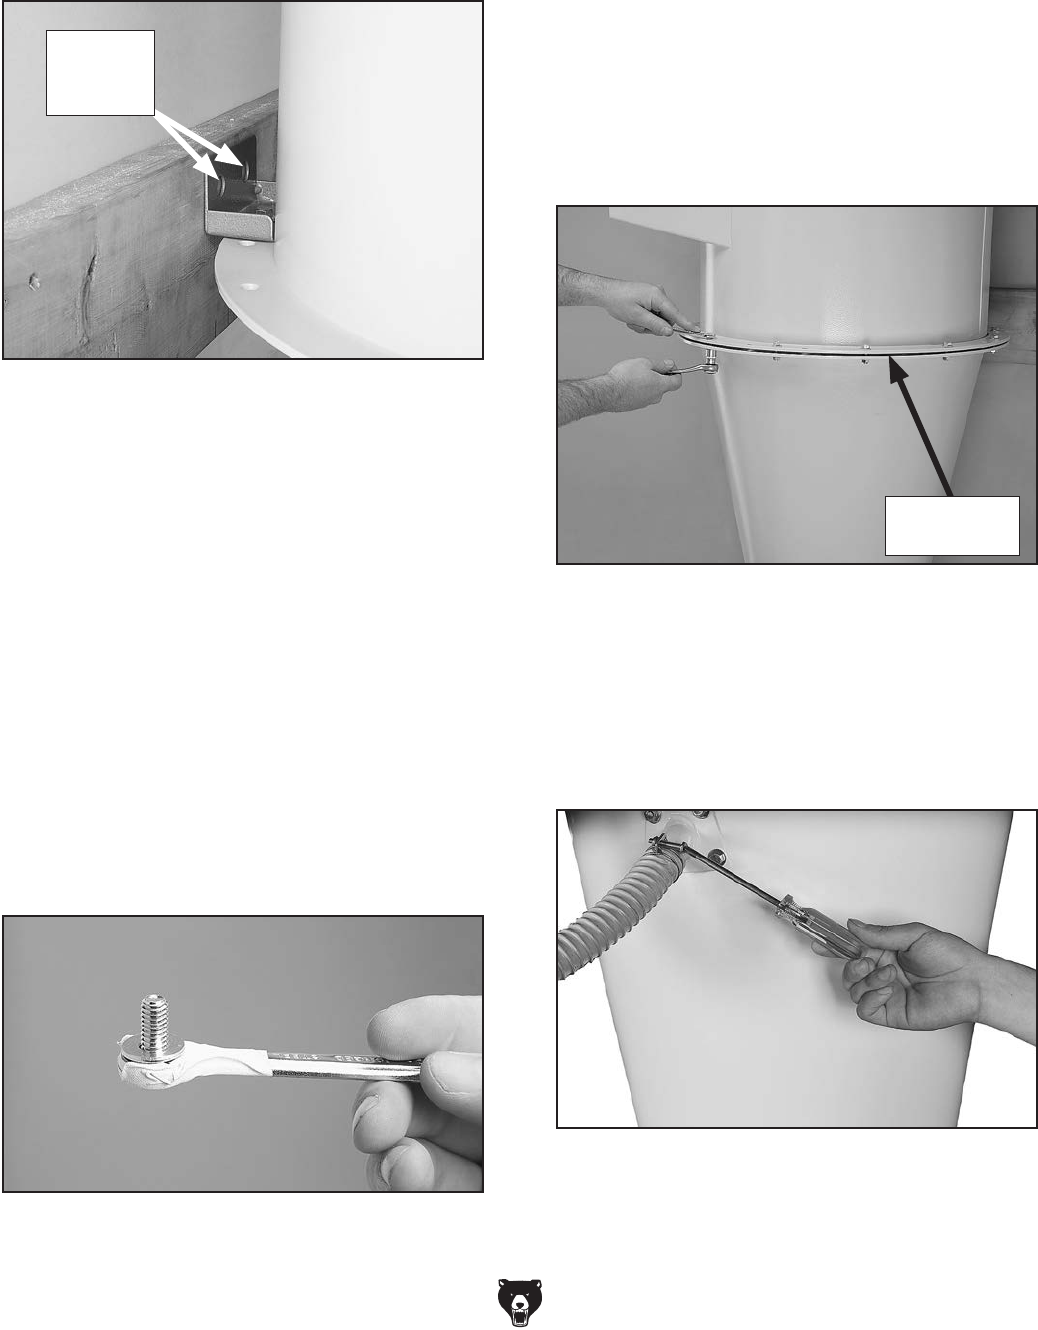
10. Attach the cyclone vacuum tube to the
cyclone funnel with (4)
5
⁄16"-18 x
3
⁄4" hex bolts
and (4)
5
⁄16" flat washers (see Figure 16).
Figure 16. Cyclone vacuum tube and hose
attachment.